A laser sintering machine is one of the most practical ways to turn nylon powder into strong, functional parts without support structures, which is why it keeps showing up in product development labs and small production cells. The real question is not whether it can print complex geometry, but whether the workflow, part mix, and operating cost make sense for your shop. This article breaks down how the process works, what to look for in the machine itself, where the money goes, and where SLS beats or loses to other 3D printing options.
The essentials you need before you choose an SLS system
- SLS uses a laser to fuse polymer powder layer by layer, so the unfused powder supports the part during the build.
- The process is strongest for functional nylon parts, jigs, housings, ducts, clips, and low-volume end-use components.
- Real ownership cost goes beyond the printer: powder, depowdering, blasting, sieving, labor, and floor space all matter.
- Cooling is part of the job, not dead time; plan for it in your production schedule.
- SLS usually beats FDM on geometry freedom and part strength, while MJF often competes on throughput and batch economics.
- The right machine is the one that matches your monthly volume, post-processing capacity, and tolerance for powder handling.
How the process works from powder to part
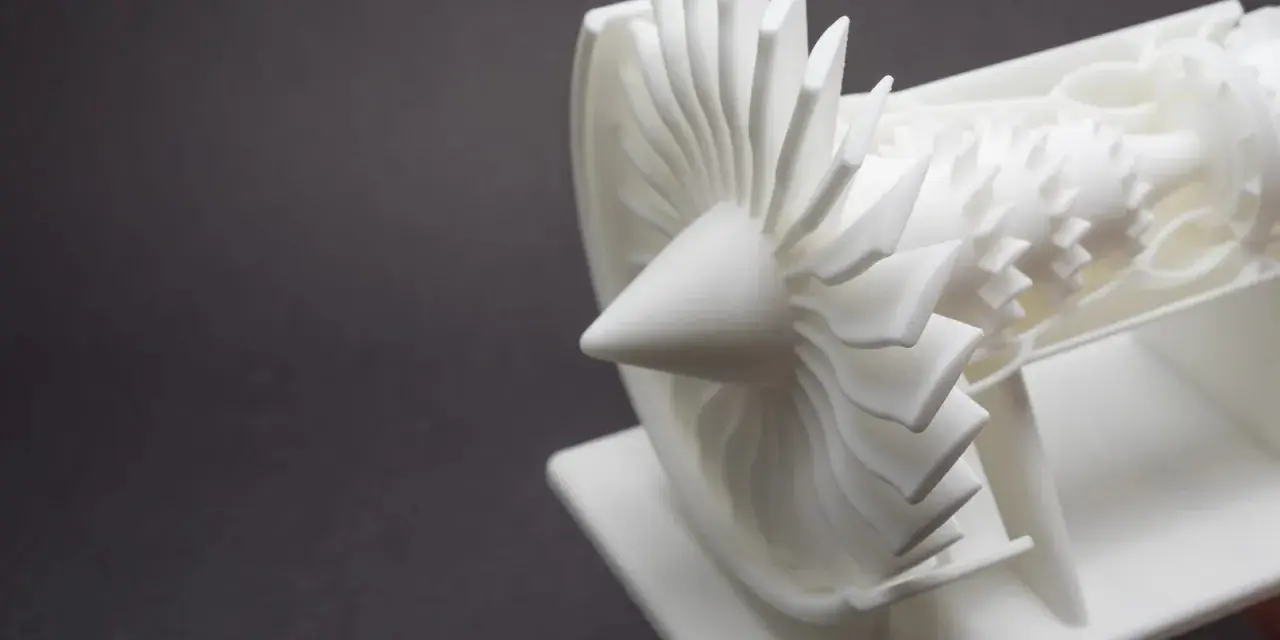
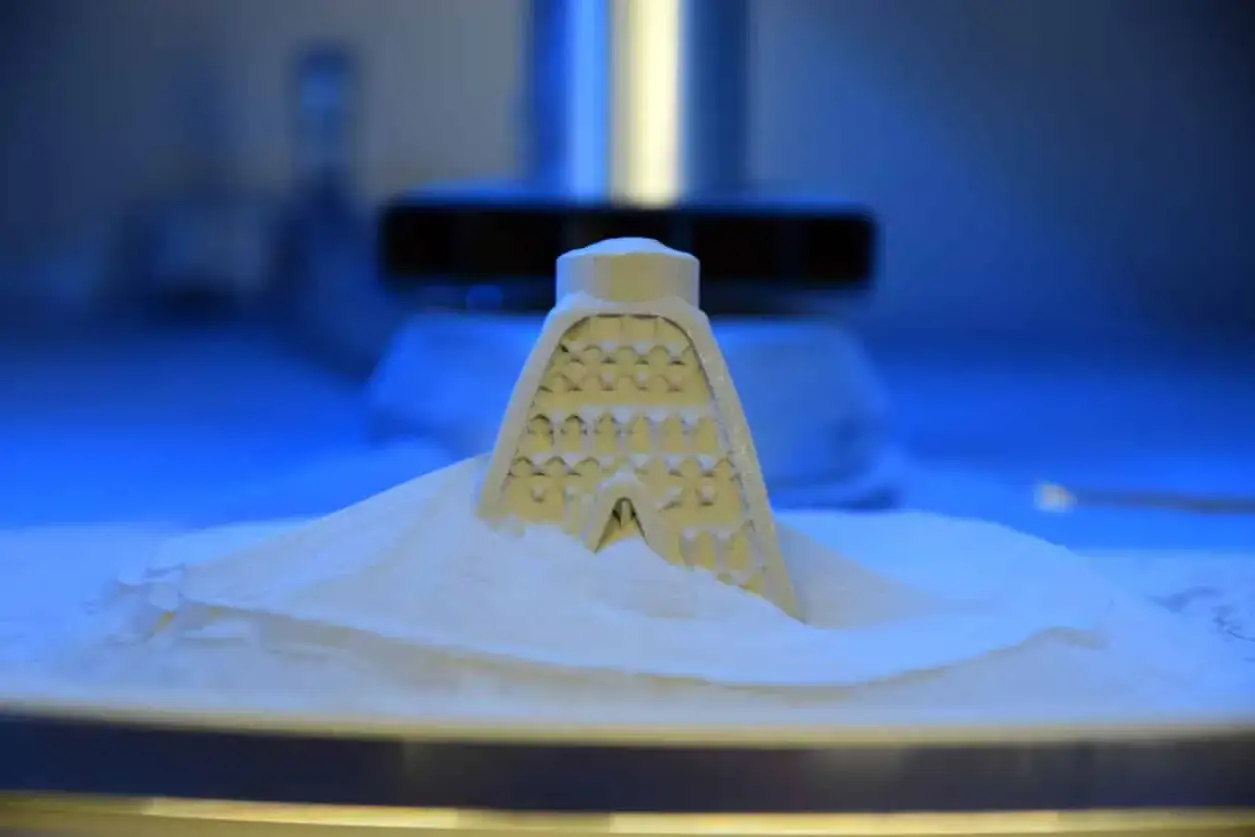
The workflow is simple on paper and a little less simple in production. A thin layer of powder is spread across the build chamber, the laser traces the cross-section of the part, and the platform drops so the next layer can be added. Because the surrounding powder holds the geometry in place, you do not need conventional support structures, which is one of the reasons SLS is so useful for internal channels, lattice forms, snap-fits, and nested assemblies.
In practice, I think of SLS as a thermal process as much as a printing process. The chamber has to stay stable while the part forms, then the build usually needs to cool before you can break it out and clean it. A common rule of thumb is that cooldown can take roughly 30% to 50% of the print time, and denser builds can take longer. That is not wasted time; it is part of how you avoid warping and preserve dimensional accuracy.
Once the chamber comes out, the parts are separated from the loose powder, cleaned, and often bead blasted or tumbled. That is the point where the machine stops being the whole story and the production workflow begins. From here, the next question is not how the printer works, but which parts justify the process in the first place.
What it makes well and where it pays off
SLS is at its best when you need functional plastic parts that would be annoying or expensive to make another way. The process excels at complex geometry without support scars, and that matters more than many buyers expect. If you design with hidden passages, snap features, thin ribs, or interlocking assemblies, the technology can save real engineering time.
The parts I see fit SLS most often are:
- Jigs and fixtures for assembly lines
- Equipment housings and covers
- Air ducts, manifolds, and fluid-routing components
- Snap-fit enclosures and clips
- Low-volume replacement parts
- Functional prototypes that need real load testing
That list matters because it points to the actual value: SLS is not just about printing a shape, it is about printing a part that can survive handling, fit checks, and repeated use. Nylon 12 is the default material in many shops because it balances strength, stability, and usability, while Nylon 11, glass-filled powders, and other specialty formulations expand the range when stiffness, temperature resistance, or impact behavior becomes more important.
Where it is less convincing is cosmetic work. The surface finish is usually matte and slightly grainy straight off the machine, so if your part needs a polished consumer look, you will either spend time finishing it or choose a different process. That tradeoff becomes clearer once you compare the machine categories side by side.How to choose the right system for your shop
The biggest mistake I see is buying on build volume alone. Chamber size matters, but thermal control, powder handling, and software workflow usually determine whether the machine feels productive or annoying after the first month. If I were evaluating a system for a plastics-focused shop, I would look at these factors first.
| Criterion | Why it matters | What to look for |
|---|---|---|
| Thermal stability | Protects accuracy and reduces warp risk | Consistent chamber control and a predictable cooldown workflow |
| Build volume | Determines how many parts you can nest per run | Enough usable chamber space for your real part mix, not just one large demo part |
| Powder handling | Affects labor, cleanliness, and material loss | Closed cartridges, sieving support, and a sensible depowdering station |
| Automation | Drives throughput and consistency | Automatic powder feed, efficient breakout, and repeatable job setup |
| Software | Controls packing density and cost per part | Nesting tools, cost estimation, and stable material profiles |
| Serviceability | Impacts uptime and support costs | Fast support, spare parts access, and training that does not assume you already know the workflow |
One detail that gets overlooked is powder discipline. I treat powder handling as part of the machine, not an accessory. If the workflow relies on awkward scooping, constant manual cleanup, or a vacuum setup that was not designed for fine polymer dust, the shop will feel slower than the sales brochure suggested. A well-designed system should make it easier to keep material clean, recover reusable powder, and move builds through post-processing without turning every job into a small incident.
What ownership costs look like in the US
The sticker price is only the first line item. In the US market, a compact professional SLS setup can sit in the $30,000 to $90,000 range, while production-oriented systems can move into the $100,000 to $400,000+ territory once you add automation and throughput features. Powder-handling and finishing equipment can easily add another $5,000 to $50,000, depending on how polished you want the workflow to be.
Material cost is easier to underestimate than machine cost. Standard nylon powders often land somewhere around $45 to $150 per kilogram, with bulk buying lowering the effective rate. That range matters because cost per part is not just about how much powder a model uses; it is also about refresh rate, packing density, and how much of each build chamber is actually filled with useful parts. Refresh rate is the share of fresh powder mixed back into recovered powder, while packing density is simply how efficiently you nest parts in the chamber.
If you are deciding between in-house and outsourcing, volume is only part of the answer. The real break-even point comes when your team is printing often enough that waiting on vendors hurts product development or delivery. If you only need occasional parts, a service bureau can be smarter because it removes powder inventory, maintenance, training, and machine downtime from the equation. If you are iterating weekly or shipping repeat parts, owning the system can make sense much sooner.
How it compares with FDM and MJF
SLS is often compared with FDM and MJF, but the comparison only works if you focus on the actual use case. FDM is cheaper and easier to start with, but it leaves layer lines, needs supports for many shapes, and usually cannot match the surface consistency of powder-bed systems. MJF, on the other hand, is a serious production alternative for batch work, and it often competes hard on throughput and repeatability.
| Technology | Strengths | Tradeoffs | Best use |
|---|---|---|---|
| SLS | Support-free geometry, strong nylon parts, good functional performance | Powder handling, longer cooldown, rougher surface finish than molded parts | Functional prototypes, fixtures, end-use plastic parts |
| FDM | Lowest entry cost, simple operation, broad desktop availability | Visible layer lines, support scars, weaker results on complex geometry | Concept models, simple brackets, low-cost fit checks |
| MJF | Strong batch productivity, consistent surface quality, production-friendly workflow | Different equipment ecosystem and fewer shops that run it in-house | Medium to high-volume polymer production |
My practical read is simple: choose SLS when geometry freedom and functional nylon performance matter more than glossy cosmetics. Choose FDM when cost and simplicity dominate. Choose MJF when you need a batch-production mindset and the economics justify the platform. That leaves one last issue, which is the gap between what SLS can do and what it should do in a real workshop.
The limits that matter more than the brochure
SLS has real strengths, but they are easier to use well than to use blindly. Surface finish is the obvious limitation, yet dimensional drift, powder aging, and part cooling are the issues that usually create friction in production. If a build is rushed out of the chamber too early, the geometry can move. If powder management is sloppy, part properties become less predictable. If the chamber is packed badly, the run may be expensive even when the printer itself performs perfectly.
There are also design limits that do not show up clearly in marketing material. Very thin walls can become fragile. Deep cavities can trap powder and slow cleaning. Small holes may need secondary cleanup. And while nylon is a strong material family, it is not the answer to every application. If a part needs a glossy consumer surface, chemical resistance beyond standard nylons, or sealing without any finishing, SLS may only be part of the solution.
That is why I keep coming back to workflow rather than hype. The machine is only valuable if the shop can move parts through printing, cooling, breakout, cleaning, and inspection without bottlenecks. Once that chain is stable, the technology becomes much easier to justify.
The cutoff I use before buying one for a plastic workshop
If I were deciding for a US-based plastics or product-design team, I would use a simple filter. Buy the system if you need repeatable nylon parts every week, you can keep the machine busy, and you have space for powder handling and finishing. Outsource if your demand is sporadic, your team is small, or you are still learning what materials and geometries your customers actually want.
- Buy now if your work is mostly functional nylon parts, fixtures, or low-volume production and turnaround time matters.
- Wait if you mainly need cosmetic parts, occasional prototypes, or a machine that will sit idle between jobs.
- Outsource if you do not have time for powder recovery, depowdering, or operator training.