Automotive 3D printing is most useful when speed, geometry, and low volume matter more than paying for a mold or waiting on a machining queue. In practice, it lets teams move from CAD to physical parts faster, test more ideas, and keep production support closer to the line. I would treat it less as a replacement for stamping or injection molding and more as a very sharp tool for prototypes, fixtures, service parts, and short runs.
The short version for busy teams
- It works best for prototypes, jigs, fixtures, tooling, customization, and spare parts.
- Polymer printing still does most of the heavy lifting; metal comes in when heat, strength, or durability demand it.
- Surface finish, heat resistance, vibration, and chemical exposure matter more than the printer brand.
- The economic win is usually in avoiding tooling, speeding design changes, and producing only what you need.
- For high-volume simple parts, molding still wins on unit cost once the tool is amortized.
Where additive manufacturing fits in automotive production
By 2026, the real question is not whether 3D printing works in automotive. It does. The better question is where it creates leverage that conventional methods cannot match. In my view, the sweet spot starts wherever design changes are frequent, part volumes are modest, and lead time is hurting the program more than raw unit cost.
That usually means three things first: prototypes, manufacturing aids, and low-volume functional parts. A prototype can be printed, handled, and revised in days instead of waiting on a machined sample or a molded trial. A jig or fixture can be customized to one line, one station, or one inspection step without paying for a custom machined tool. And a service part can stay available even when the original tooling is long gone or too expensive to reopen.
The numbers in the market reflect that shift. One OEM has publicly described a 70 percent cut in tooling lead time, while another reported a printed parts catalog of more than 5,000 items, with some pieces costing up to 90 percent less to produce. That does not mean every part should be printed. It does mean the technology is already doing real work where speed, flexibility, and low-volume economics matter most. Once that scope is clear, the next question is which jobs should be handled first.
The jobs it does best on the shop floor
The best automotive use cases are the ones that look small on paper but eat time in the real world. A part may be simple, yet still expensive to source because it changes often, needs a custom fit, or exists in low quantity. That is exactly where additive manufacturing earns its place.
- Rapid prototyping for design validation. Teams use printed parts to check fit, routing, ergonomics, airflow, assembly clearance, and appearance before any expensive tooling is committed.
- Jigs, fixtures, and gauges for production support. These manufacturing aids are often perfect candidates because they need to be accurate, repeatable, and custom to a specific line, but not necessarily beautiful.
- Rapid tooling for bridges, molds, dies, and composite layup tools. Printed tooling is especially useful when the production run is short or the geometry is still in flux.
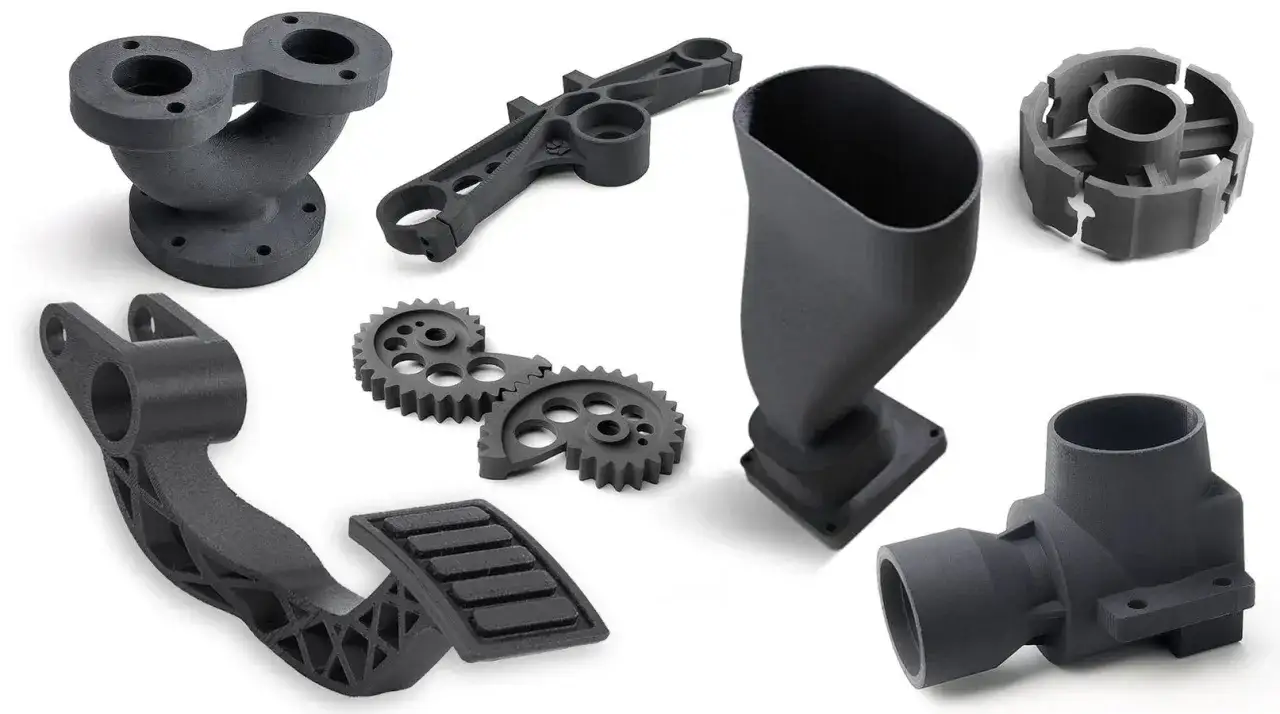
- End-use low-volume parts such as ducts, brackets, housings, clips, covers, and interior accessories. These parts are often hard to justify with injection molding if demand is uncertain.
- Spare parts and legacy components for older platforms. Digital files can keep a replacement part alive long after the original tool would have been retired.
- Customization and motorsport parts where fit, weight, and niche performance matter more than maximum throughput.
There is a useful pattern here: printing is strongest when the part has a short lifecycle, a weird geometry, or a high cost of delay. General Motors, for example, has used additive manufacturing to produce tens of thousands of parts in a short window, which shows that printing is not limited to one-off samples. It can support production rhythms when the part and the process are chosen wisely. That is where process choice starts to matter.
Which printing process fits which part
Not every printer serves the same purpose, and this is where many teams get frustrated. A nice-looking prototype process may fail as a production tool, while a rugged production process may produce a part that looks rough on a design review table. I usually sort the options by the job they solve, not by the machine label.
MJF and SAF are powder-bed polymer processes, which means parts are built inside a bed of powder. That is useful for functional nylon components and batch production. LPBF, or laser powder bed fusion, is the metal route many teams mean when they talk about printed structural metal parts. And FDM, the familiar extrusion process, is still a workhorse for tooling, fixtures, and larger engineering parts.
| Process | Best automotive uses | Strengths | Tradeoffs |
|---|---|---|---|
| FDM | Fixtures, jigs, brackets, functional prototypes, larger service tools | Strong thermoplastics, accessible cost, good for shop-floor support | Visible layer lines, lower cosmetic quality, less detail than resin or powder systems |
| SLA / PolyJet | Styling models, interior trim studies, transparent parts, color-critical prototypes | Very high detail, smooth finish, realistic form-fit-finish checks | Resins can be more brittle, and post-curing or support removal adds time |
| MJF / SAF / SLS | Nylon clips, ducts, housings, end-use plastic parts, low-volume production | Good functional strength, efficient batching, no support structures in the powder bed | Matte surface, powder cleanup, less decorative straight out of the printer |
| Metal AM | High-temperature parts, brackets, inserts, structural components, complex metal geometry | Real metal performance, part consolidation, good for hard-to-machine shapes | Higher cost, more post-processing, more qualification work |
If I had to compress the decision into one sentence, it would be this: use the simplest process that still gives you the function, finish, and durability the part actually needs. The part still has to survive the right environment, which is where material choice comes in.
Materials and design rules that make the part usable
This is where additive manufacturing either becomes genuinely useful or quietly turns into a demo that never reaches production. I always start with the environment, not with the printer. Ask what will kill the part first: heat, fuel, oil, UV, vibration, impact, or abrasion. If you answer that honestly, material selection gets much easier.
Design for additive manufacturing, or DfAM, means shaping the part around the process instead of forcing the process to mimic a conventional one. That can mean adding ribs instead of thick walls, combining multiple pieces into one printed assembly, or designing channels and lattice structures only where they improve performance. It also means thinking ahead about orientation, supports, warping, and post-processing.
- Use ABS or ASA when you need practical prototypes or exterior-adjacent parts with decent stability.
- Use PA12 or PA11 when you need tough functional nylon parts for clips, housings, ducts, or low-volume production.
- Use TPU when the part needs flexibility, grip, vibration damping, or a soft interface.
- Use carbon-fiber reinforced nylons for rigid tools, fixtures, and structural aids that need stiffness without a metal machined part.
- Use high-temperature polymers when the part lives near heat and ordinary plastics start to creep or deform.
- Use metal when plastic cannot handle the load, temperature, or safety requirement.
For interior parts, I care about feel, finish, and odor as much as strength. For under-hood parts, thermal and chemical resistance usually decide the material. For fixtures, stiffness and repeatability matter more than cosmetics. Another practical rule: if a part needs a lot of sanding, coating, or machining to become acceptable, the print was probably only half the solution. That brings us to the economic side, where the real trade-offs show up.
Costs, lead times, and the limits you cannot ignore
3D printing saves money when it removes tooling, compresses iteration, or prevents overproduction. It loses money when teams use it for the wrong volume, ignore finishing costs, or assume every printable part is automatically production-ready. That mistake is common, and it is expensive.
A useful rule of thumb is simple: the more often the design changes, the more additive wins. A prototype can often move from CAD to part in a few days, sometimes faster. A molded part may take weeks once the tool, trial, and adjustment loop are included. On the other hand, if you need thousands or tens of thousands of identical simple parts, injection molding often wins because the tooling cost gets spread across a much larger run.
| Situation | Usually better fit | Why |
|---|---|---|
| One-off design changes | 3D printing | No tool is needed, so revisions are cheap and fast |
| Small batches or recurring service parts | 3D printing or a hybrid workflow | Low setup cost and easy file changes matter more than ultra-low unit cost |
| High-volume simple plastic parts | Injection molding | Tooling is expensive, but unit cost drops sharply at scale |
| Dense structural metal parts | Metal AM or machining, depending on geometry | Qualification, post-processing, and fatigue performance drive the choice |
The hidden cost is almost always post-processing. Support removal, cleaning, curing, machining, surface finishing, inspection, and documentation can add more time than the print itself. If the part is safety-critical, certification and repeatability may matter more than speed. In my view, the biggest pricing mistake is counting only the printed shell and ignoring everything that makes it usable. That is why rollout matters as much as the printer itself.
What turns a pilot into a production habit
If I were setting this up in a U.S. automotive team, I would start with one recurring pain point, not with a grand platform strategy. Pick a part that is waiting too long, changing too often, or costing too much to source conventionally. Then define the acceptance criteria before anyone prints a sample. If the part needs a certain stiffness, heat resistance, dimensional tolerance, or surface finish, write that down first.
- Choose a single high-friction part, fixture, or bracket that is easy to measure.
- Specify the load, environment, service life, and cosmetic requirements.
- Match the process to the job instead of shopping for the cheapest machine.
- Print a pilot batch and test it in the real workflow, not only on the bench.
- Document revision control, material handling, inspection steps, and post-processing.
- Decide whether the part belongs in-house or with a service bureau based on how often it is needed.
In-house printing usually makes sense when the part is needed often, the team needs quick iteration, and waiting on suppliers is the bottleneck. Outsourcing is often smarter when the parts are rare, the geometry is metal-heavy, or the qualification burden is high. For a U.S. plant, the point is not to print everything locally. The point is to remove the slowest part of the loop. Once that loop is working, you can build digital inventory, support spare parts more cleanly, and respond to demand without reopening a tool every time a design changes.
The most durable lesson is that additive manufacturing in automotive is not about making a whole car from powder or resin. It is about making the right parts faster, with less waste, and with fewer rigid assumptions about volume. In 2026, the teams getting the most value are the ones that treat 3D printing as a production capability with rules, not as a novelty. That mindset is what turns a good pilot into a manufacturing habit.