A color resin 3D printer is worth considering when the surface finish has to carry the color, not just the shape. The phrase sounds simple, but in practice it can mean anything from a single solid-color SLA part to a far more expensive full-color system. I’ll separate those options, show where each one makes sense, and point out the traps that usually waste time or money.
Key takeaways for choosing the right color workflow
- Most resin machines still print one color per build, so the first question is whether you need colored material or true multi-color output.
- Pre-colored SLA resin is the cleanest route for branded parts, jigs, and prototypes that need a molded look.
- Full-color systems are a different class of equipment entirely, and the budget moves into industrial territory fast.
- Painting and dyeing still matter when labor is cheaper than hardware or when only a few presentation parts are needed.
- Surface prep, support placement, and color matching method often matter more than the resin itself.
What a color resin printer really means
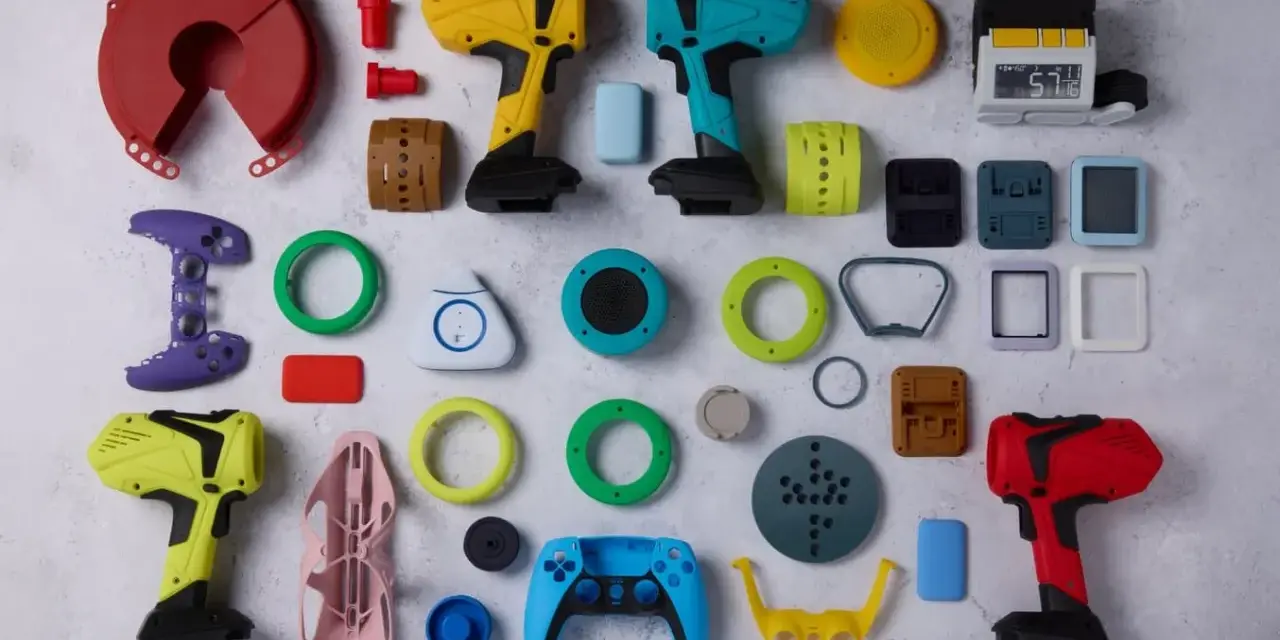
The first thing I clarify with teams is that colored resin and multi-color printing are not the same problem. Most desktop SLA, DLP, and MSLA machines still print one resin color at a time, so a part comes out in a single solid hue even if that hue is custom mixed. That is ideal when you want a molded-looking prototype, a color-coded fixture, or a presentation part that does not need paint.
True multi-color output means the printer can place different colors in one build, sometimes even within the same layer. That is a different capability set entirely, and it is usually tied to material jetting or PolyJet-class systems rather than the resin machines people buy for a clean, compact shop floor. Once you separate those use cases, the rest of the decision becomes much clearer, which is why I compare the available workflows next.
The main ways to put color into resin parts
When I map the options, I look at them as a trade-off between fidelity, labor, and machine cost. The table below is the fastest way to see where each workflow earns its keep.
| Workflow | What it gives you | Best for | Main limitation | Cost signal |
|---|---|---|---|---|
| Pre-colored or custom-colored SLA resin | Solid-color parts straight from the printer with a clean resin finish | Brand-matched prototypes, jigs, fixtures, and small end-use parts | Usually one color per part | Low to moderate, depending on resin ecosystem and batch size |
| Grey or neutral resin plus paint | Any visible color after finishing, with maximum control over the final look | Show parts, one-off display models, custom effects | Extra labor, extra failure points, more lead time | Often cheaper in material, but not always cheaper in labor |
| Dyeing after printing | Quick color change without a full paint workflow | Small batches, darker tones, simple color coding | Less precise than custom-mixed resin | Usually low material cost, medium labor |
| PolyJet or material jetting | Multiple colors or materials in one build, sometimes with gradients | Realistic mockups, branded concept parts, complex models | Industrial purchase price and maintenance burden | High upfront cost, usually far beyond a desktop budget |
Formlabs is a good example of how far current resin workflows have moved: its custom-color SLA program ships from the US, starts at one liter, and has been published with an in-house example around $40 per part, versus about $70 for grey resin plus paint and roughly $250 to $500 for outsourcing. Stratasys sits at the other end of the market, where PolyJet systems can print five resins at once and claim more than 640,000 distinguishable color combinations. The point is not to pick a winner; it is to see why the workflow matters more than the bottle on the shelf.
The real difference now is not just the hue on paper, but how much finishing and control you need to get there cleanly, so the next step is color quality.
How to get clean color results without wasting prints
Most bad color outcomes come from ignoring the workflow around the resin, not from picking the wrong shade on the spec sheet. I focus on three things: the target standard, the surface, and the finishing step.
Start from a physical standard, not a phone photo
If color accuracy matters, I trust a physical swatch more than a screen image. Pantone and RAL standards are useful because they give you something repeatable to compare against, while a phone photo inherits whatever lighting, white balance, and camera processing happened to be in the room. If a supplier can work from a HEX or RGB value, that is fine as a starting point, but I would still ask for the closest achievable match and a sample before approving a production run.
Place supports where they will not ruin the eye line
Support scars are more visible on colored parts than on neutral prototypes. That is why orientation matters so much in resin work: if the front face is going to be seen, I try to keep supports off that face and accept a slightly longer setup time up front. When the geometry allows it, I will spend more time in print prep than in post-processing, because that is where you save the most finishing labor later. If sanding is unavoidable, I start coarse and move upward gradually; on fine SLA work, a polished surface can reach very high grit levels, but you only need that on display-facing surfaces.
Wash and cure as part of the color process
Washing and curing are not just mechanical cleanup steps. Residual resin, surface tack, and uneven cure can all change how color reads under light, especially on matte or semi-gloss parts. I wash thoroughly, cure according to the material guide, and only add a topcoat when it solves a real problem. A clear coat can improve durability or gloss, but it also shifts the appearance of the color, which is fine if that is intentional and frustrating if it is not.
Read Also: SLA 3D Printing - Master Resin Prints for Perfect Parts
Use paint or clear coat only when it adds something real
Paint is still useful, but it should not be the default answer. I use it when the part needs a very specific visual effect, a different sheen, or a finish that hides the raw resin texture entirely. If the part needs to preserve fine detail, though, every extra coating step is a chance to blur edges, fill small features, or introduce inconsistency between parts. The less work you ask the finish to do, the more likely the printer itself can carry the result.
With the workflow under control, the next question is whether colored resin is actually the right fit for the part you need.
Where colored resin works well and where it disappoints
In my view, colored resin is best when color is part of communication, not just decoration. That includes product prototypes that must look like the final part, jigs and fixtures that need color coding, branded samples, and small runs of end-use parts where a clean molded look matters more than multi-color graphics.
- Good fit: looks-like prototypes, assembly aids, branded enclosures, demo models, and color-coded tooling.
- Also workable: small batches where you want a part that leaves the printer already close to final appearance.
- Poor fit: parts that need gradients, logos, skin tones, or several hues in one object.
- Poor fit: jobs where outdoor UV exposure, high heat, or long-term abrasion matter more than appearance.
One reason I keep the warning sign up is that color is not perfectly neutral to material behavior. In current SLA color-resin lines, published properties stay close to the baseline material, but the variation still exists, so I would never assume a pigment is just cosmetic without checking the data sheet. Once the use case is clear, the buying checklist becomes much easier to trust.
That leads to the practical question buyers actually face: what should they ask before committing to a machine, a material, or an outside service?
The buying checklist that avoids expensive mistakes
If you are deciding whether to buy a printer, outsource the job, or stick with paint, I would ask the same five questions every time.
| Question | What I want to hear | Red flag |
|---|---|---|
| Is this one color or many? | One solid color, or a clearly defined need for multi-color output | The spec keeps changing between “colored resin” and “full-color printing” |
| How exact is the color match? | A physical swatch, Pantone/RAL target, or defined tolerance | “We picked it from a screenshot” |
| How much finishing is acceptable? | Minimal sanding and a controlled wash/cure workflow | The finish plan depends on a lot of manual touch-up |
| What is the true cost per part? | Material, labor, waste, and failed prints all included | Only the resin price is being counted |
| Do lead times matter? | Domestic supply or a service bureau with predictable turnaround | No one has checked availability, minimum order size, or shipping time |
If you want domestic, short-run color production, the current US-based custom-color resin programs are genuinely useful because they cut a lot of waiting out of the process. If you only need a few highly realistic show parts once in a while, though, outsourcing can still be the smarter move than buying a six-figure machine just to avoid paint. I would rather see a team underspend on hardware and spend a little more on finishing than buy the wrong class of printer and live with it for years.
The simplest rule I use before choosing a resin color workflow is this: if you need one clean color, stay with colored resin; if you need several colors or gradients in one build, move to a full-color system or outsource; if you only need a nice-looking part once, print neutral and paint. That keeps the budget aligned with the real requirement instead of the most impressive-sounding option.
For plastics design work, the better question is rarely whether a part can be printed in color. It is how color should support the function of the part, whether that means branding, assembly clarity, inspection points, or presentation quality. When you frame it that way, resin becomes a disciplined CMF tool, meaning color, material, and finish working together, instead of a gimmick, and that is where it does its best work.