A 3D-printed blast gate can be a smart workshop upgrade when you need a custom size, a cleaner fit for a nonstandard duct, or a low-cost way to test a dust-collection idea before committing to metal hardware. I focus on the details that decide whether it works in practice: geometry, material choice, sealing, print settings, and the point where printing stops being the better option. For a small woodshop, those choices matter more than the STL itself.
The best results come from a tight fit, the right plastic, and a design you can clean easily
- PETG or ABS/ASA is usually a safer choice than PLA for a working gate, especially in a warm shop.
- The slider needs a short, straight path and a real seal, not just a part that looks good on the bench.
- Standard U.S. 4-inch and 2.5-inch duct sizes are the easiest to build around; custom adapters are where printing pays off.
- A printed gate makes the most sense when you need unusual spacing, mounting, or a prototype before buying hardware.
- Material cost can stay low, but print time can still run into the tens of hours.
What a printed blast gate is good at in a real shop
The job of a blast gate is simple: open one branch of a dust collection system and close the others so the collector can pull useful airflow where it matters. A printed version is most useful when the shop is not built around standard parts, because plastic lets me change diameter, offset, wall thickness, or mounting style without paying for a custom-machined piece.
I also like the flexibility. A quick look through Printables shows how many builders are already experimenting with different duct diameters and compact bodies, which tells me the real value is not novelty but adaptation. If the gate has to sit close to a machine, fit inside a cabinet, or bridge from one hose standard to another, printing often solves the packaging problem better than off-the-shelf hardware.
That said, I would not treat a printed gate as universally better. If the line carries heavy chips, sees rough handling, or lives near warmth and sunlight, the material choice and design details become the difference between a useful part and a short-lived one. Once you know where it fits, the real work starts in the geometry.
The design choices that matter before you print
I think of this part as a functional plastic mechanism, not just a connector with a moving plate. The body has to guide the blade smoothly, keep the bore aligned, and survive repeated cycling without turning sticky or loose.
Keep the movement simple
The best gates usually have a straight, short sliding path with as few turns and traps as possible. Every extra corner inside the flow path can collect dust, create drag, or make the blade bind when fine debris packs into the track.
Design for sealing, not just clearance
Most failures I see come from people chasing a perfect-looking fit instead of a reliable seal. A small, controlled clearance is fine, but I would rather add a gasket groove, a thin foam seal, or a replaceable wear strip than trust two printed surfaces to stay airtight forever.
Read Also: Injection Molding - Design, Cost & When to Choose It
Use hardware where the part will be serviced
If you expect to open the gate more than once or twice, use threaded inserts or captive nuts instead of chewing up printed threads. This is one of those small fabrication choices that changes whether the part feels disposable or maintainable.
- Start with a test section before committing to the full body.
- Leave room for cleanup around the blade track.
- Add chamfers at hose ends so clamps seat evenly.
- Keep screw bosses away from the thinnest walls.
- Avoid long unsupported spans in the sliding channel.
As soon as the geometry is sensible, the next question is material, because the wrong plastic can make an otherwise good design feel unreliable.
The material and print settings I would trust
For a working dust-collection part, I rank materials by how forgiving they are in real use, not by how nice they look on the spool. My default choice is usually PETG, because it gives a better balance of toughness, temperature tolerance, and printability than PLA without forcing me into the full difficulty curve of engineering filaments.
| Material | Why I would use it | Main limitation | My take |
|---|---|---|---|
| PLA | Fast, easy, stiff, and good for fit checks | Softens sooner than I like and can become brittle over time | Fine for prototypes, not my first pick for a gate that stays in service |
| PETG | Strong enough for shop use, more heat tolerant than PLA, still easy to print | Can string and may need cleaner tuning around clearances | Best all-round choice for most indoor workshops |
| ABS / ASA | Better heat resistance and toughness for harsher conditions | Warping is real; an enclosure helps a lot | My pick when the printer setup is already tuned for technical parts |
| Nylon or filled nylon | Very tough and wear-resistant | Moisture sensitivity and more demanding print behavior | Only if you already print functional parts confidently |
For settings, I usually start with 0.20 mm layers, 4 to 6 perimeters, and 35 to 50 percent infill. I like extra wall thickness around the rails and screw bosses more than I like brute-force infill, because the weak point is usually the mechanism, not the middle of the body. If the gate is large, a 0.6 mm nozzle can cut print time without hurting function, provided the surfaces that slide against each other still come out clean.
Dry filament matters too, especially for PETG and nylon. A wet spool can turn a precise-looking design into a noisy, gritty one, and in a sliding dust gate that is enough to make the part feel wrong even if it technically works. Good material choice sets the ceiling, but fit and sealing decide whether the gate feels finished.
Fit and sealing are where most builds succeed or fail
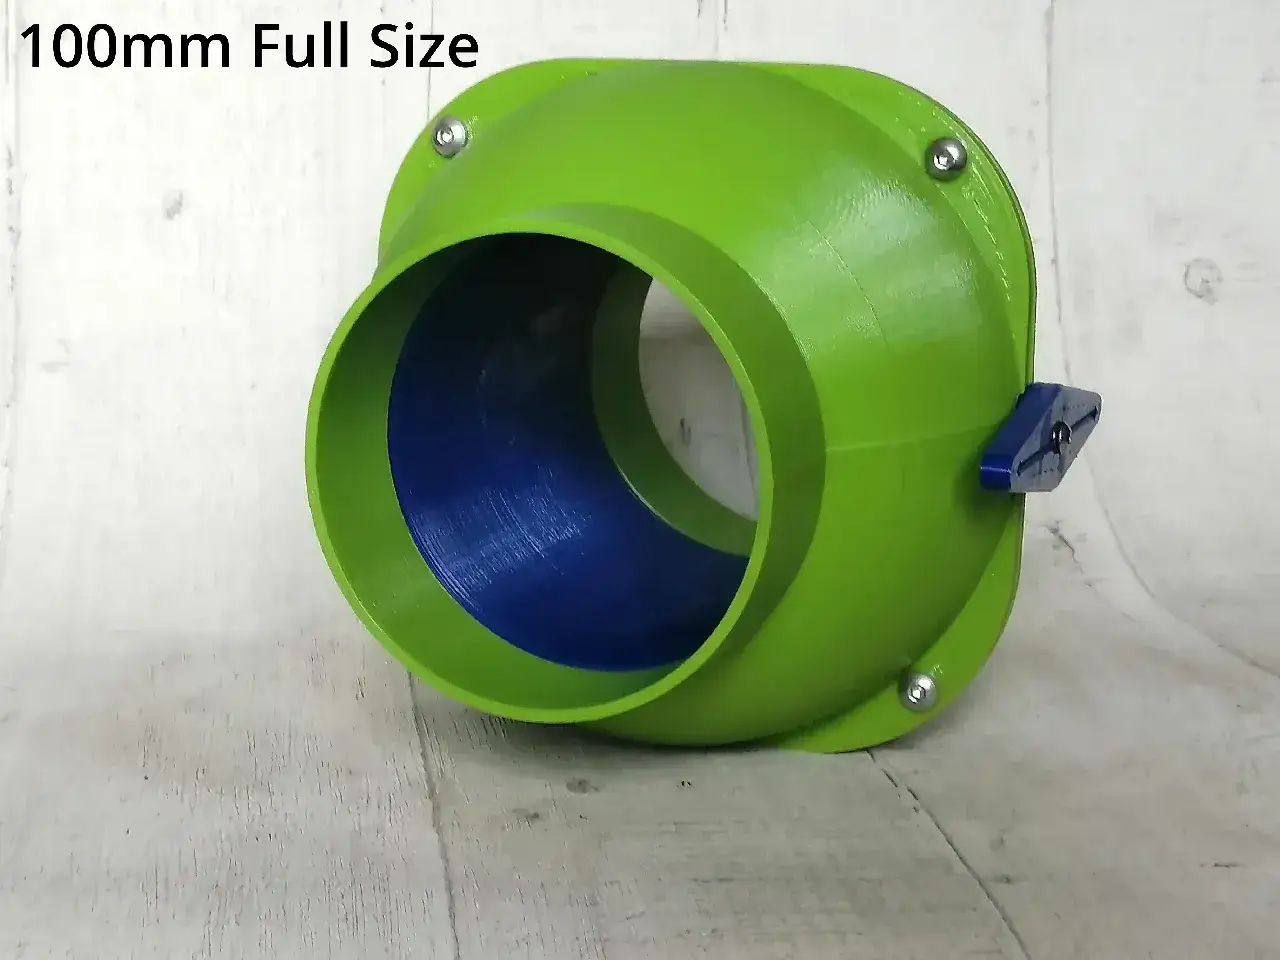
The first thing I check is whether the part matches the system I am actually using. In the U.S., that usually means a 4-inch dust collection line, a 2.5-inch hose, or a shop-vac-style connection; in metric systems, 100 mm is common. If the printed part is trying to bridge two standards, I would test the adapter side separately before I print the whole gate.
My starting point for a clean slip fit is usually a small clearance in the 0.2 to 0.4 mm range, then I adjust after a test print. That is only a starting point, because printer calibration, filament shrinkage, and wall thickness all change the result. A gate that slides freely on day one but leaks air around the throat is still a leaky gate, so I would rather tune the seal than chase perfection on the first print.
For sealing, I prefer a practical approach: a foam gasket, a thin printed lip, or an O-ring groove if the geometry allows it. If the surfaces rub directly, they need to be smooth enough to avoid dust packing into the track, and if the machine sees vibration, the mounting points need enough stiffness that the blade does not go out of square. Tight fit and airtight fit are related, but they are not the same thing.
One more detail that gets missed often: plastic does not solve grounding. If the rest of the dust-collection run depends on a grounding strategy, that has to live in the duct system, not in the printed gate itself. Once fit and sealing are under control, the last big question is whether printing truly beats buying.
When printing beats buying and when it does not
I do not think every workshop should print its own gate just because it can. If you need one standard 4-inch part and you want it today, a commercial gate is still the low-friction answer. Printing wins when the shape is unusual, the spacing is awkward, or you want to integrate a mount, an adapter, or a removable wear piece into the body.
| Approach | Best when | Upside | Trade-off |
|---|---|---|---|
| Printed gate | You need custom dimensions, odd transitions, or a replacement part | Low material cost and complete design freedom | Printer time, iteration, and some risk of leakage |
| Off-the-shelf plastic gate | You are building a standard system and want a quick fix | Predictable, simple, and usually cheaper in time | Less customization and sometimes mediocre fit |
| Metal gate | The line sees harder use or more abuse | Durable and familiar | Heavier, less flexible, and not always quieter |
On Reddit, one maker described a small gate that took about 19 hours and roughly $11 in filament, while a larger custom version came in around 50 hours and about $34 in material. I find that a useful reality check: the printed part may be inexpensive in plastic, but it still costs time, machine wear, and a few design revisions. That is why I only recommend printing when the customization actually solves a problem the bought part cannot.
If the job is simple, buying often wins. If the job is awkward, a printed gate can save the build because it lets the ducting follow the shop instead of forcing the shop to follow the ducting. That decision becomes easier once you know what a durable version should look like.
What I would build if it had to survive a real shop
For a gate I expected to keep in service, I would build conservatively rather than cleverly. That means PETG or ABS/ASA, a clear sliding path, threaded inserts for anything that may come apart, and a design that can be cleaned without taking the whole system apart.
- Use a material that can handle the real temperature of the shop, not just the print room.
- Reinforce screw bosses and the rail area before you chase extra infill.
- Print a spare blade or wear strip so the whole assembly is not scrap when one part wears.
- Round the airflow path where possible to reduce turbulence and dust buildup.
- Check the first fit after a few days of use, not just right after assembly.
- Leave enough access to clear packed dust without damaging the body.
For me, the best printed gate is the one that disappears into the system: it opens smoothly, seals well enough to preserve suction, and is easy to replace when the shop eventually wears it out.