3D printing education works best when it solves a real teaching problem: making abstract ideas tangible, letting students prototype faster, and connecting design work to manufacturing reality. Additive manufacturing, the industrial term for 3D printing, builds parts layer by layer from digital models, which makes it unusually good for learning by doing. The catch is simple: a printer alone does not improve a course. The value comes from the lesson design, the material choice, and the workflow around the machine.
The biggest gains come from matching the printer to the lesson, not the other way around
- FDM/FFF is usually the best first choice for schools because it is cheaper, simpler, and easier to supervise.
- Resin printers make sense when detail matters more than speed and cleanup is manageable.
- Students learn more when printing is tied to design, testing, and revision instead of one-off novelty projects.
- The hidden costs are time, supervision, post-processing, and maintenance, not just the printer price.
- Safe classroom use depends on ventilation, material selection, and clear rules for handling tools and chemicals.
Why 3D printing belongs in modern classrooms
I see the biggest educational value in the feedback loop. A student sketches an idea, models it, prints it, tests it, and then changes the design based on what actually happened. That is a much sharper lesson than watching a perfect demonstration once and moving on. The object itself matters less than the thinking it forces.
This is why additive manufacturing fits so many subjects. In science, it turns molecules, organs, and mechanical systems into something students can hold. In engineering, it exposes tolerances, overhangs, infill, and support structures, which are the practical details that separate a clean part from a failed one. In art and product design, it rewards iteration instead of guesswork. In career and technical education, it connects digital files to real fabrication decisions.
I also think it helps with student engagement for a simple reason: people pay attention when their ideas leave the screen and become physical. The best classroom uses are not gimmicks. They are projects where the printed part is the proof that a student understood a concept well enough to build it. Once that is clear, the next question is where the technology has the most impact.
Where it delivers the most value
In k-12 classrooms
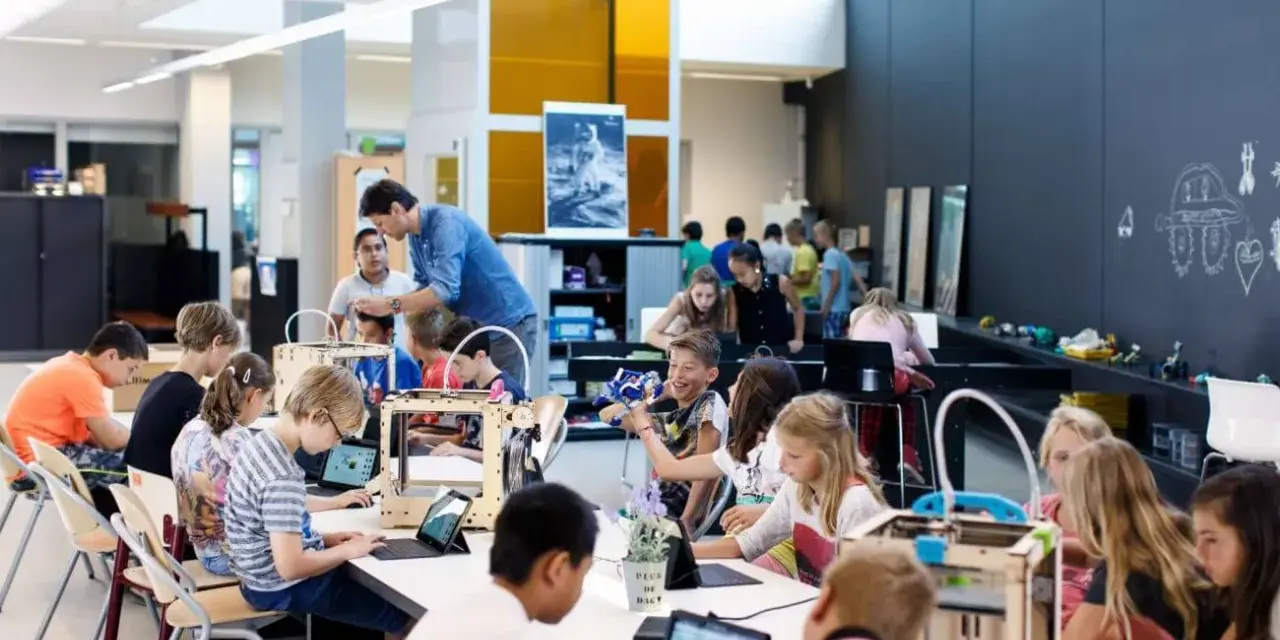
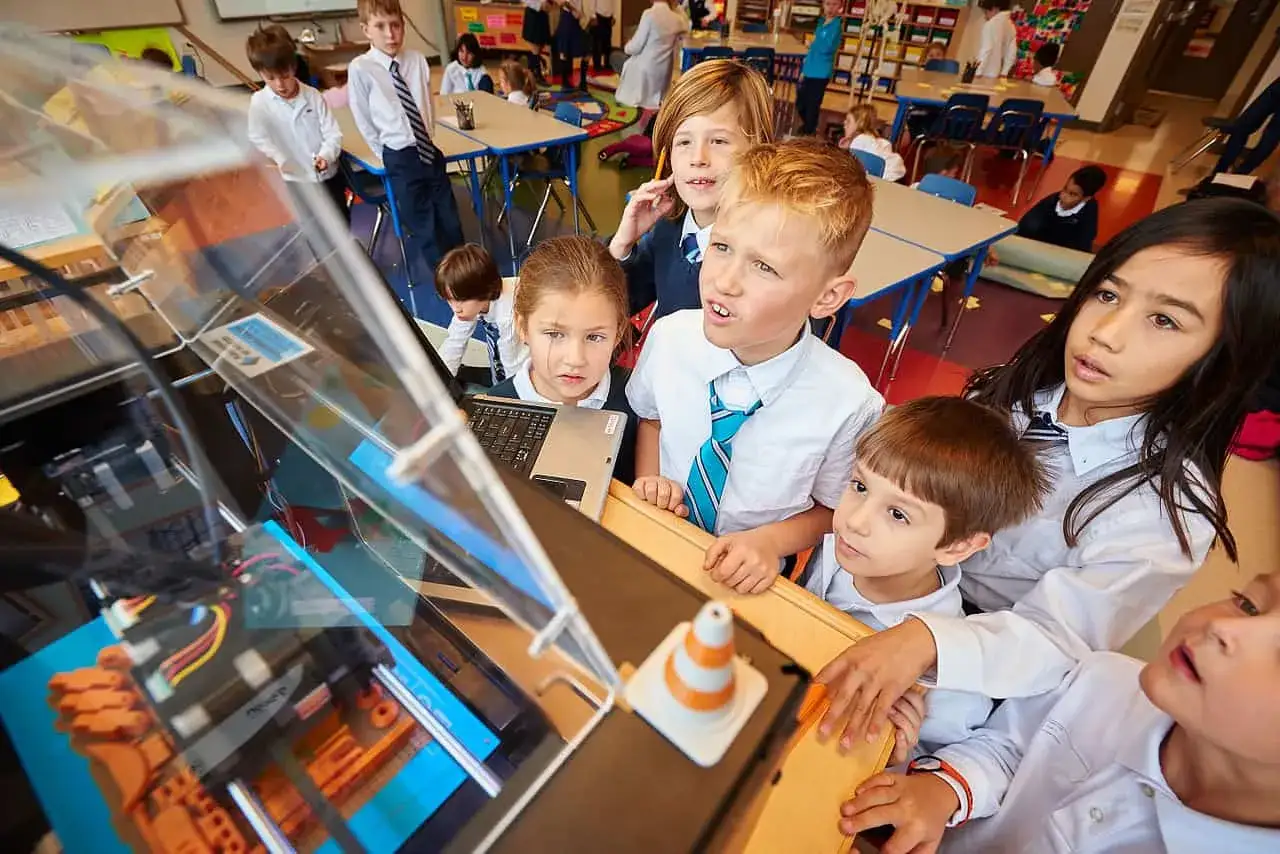
In lower grades, 3D printing works best as a visual and tactile aid. A geometry lesson becomes more concrete when students compare different solids side by side. A biology unit becomes easier to discuss when a model of a heart, bone, or cell structure is sitting on the table. I like this level for simple, low-risk projects: name tags, map pieces, classroom tools, science models, and design challenges with a single clear constraint.
The danger at this stage is overcomplication. If the project requires too many software steps or too much printer babysitting, the machine becomes the lesson instead of the topic. That is usually a sign to simplify the design or let the teacher handle the slicing behind the scenes.
In career and technical education
CTE and community college programs get more value from 3D printing when they treat it as a fabrication tool, not a novelty. Students can print jigs, fixtures, replacement knobs, inspection aids, and early prototypes for parts they will later machine, mold, or assemble. That is where the technology starts to look less like a classroom toy and more like a real manufacturing workflow.
This is also the level where students should begin learning material selection, orientation, support removal, and part accuracy. If a student can explain why one orientation prints cleaner than another, that student is already learning design for manufacturability. That skill transfers directly into plastics, tooling, and production environments.
In universities and research labs
At the university level, the focus shifts from basic exposure to process control and application. Students may print experimental fixtures, test samples, anatomical models, or custom research hardware. Engineering labs use additive manufacturing to shorten prototyping cycles, while design programs use it to test form, ergonomics, and assembly logic. In practice, it becomes a bridge between theory and a working object.
That is also where students start to appreciate that speed is not the only variable. Accuracy, repeatability, surface finish, material behavior, and post-processing all matter. A lot of programs fail to teach that nuance, and then graduates arrive at internships expecting every part to be instant and perfect. Good labs prevent that misconception early.
In art, design, and health programs
Art and design students use 3D printers to iterate on physical form, texture, scale, and proportion. Health programs use them to create anatomical models, patient education tools, and simulation aids that make complex structures easier to understand. I would argue this is where many people underestimate the technology. It is not only about engineering. It is about communication, spatial reasoning, and empathy for the end user.
That broader use case is one reason additive manufacturing keeps spreading across disciplines. The printer is just the tool. The real question is whether it helps students see something they could not see clearly before. That leads directly to machine selection, because the wrong setup can make a good idea harder than it needs to be.
Choose the right printer and material mix
If I were helping a school choose its first machine, I would start with the lesson goal, the supervision level, and the cleanup the staff can realistically support. That usually points to FDM first, resin only when detail demands it, and SLS only for advanced labs with a larger budget and stronger workflow discipline.
The printer types that make sense
| Technology | Best for | Why it works in education | Main tradeoff |
|---|---|---|---|
| FDM/FFF | General classroom use, prototypes, fixtures, simple functional parts | Lowest barrier to entry, broad material choice, easy to teach and maintain | Visible layer lines, lower detail, supports sometimes need cleanup |
| SLA or other resin systems | Fine detail, dental models, anatomy, miniatures, smooth surfaces | Excellent surface quality and crisp geometry | Wash and cure steps, resin handling, gloves, ventilation, more cleanup |
| SLS | Advanced engineering programs, strong end-use prototypes, complex geometry | No support structures and strong functional parts | Higher cost, powder handling, less classroom friendly |
Read Also: 3D Printed Blast Gates - Build Better for Your Workshop
The materials I would start with
- PLA for the first wave of projects because it prints reliably, is inexpensive, and is forgiving for beginners.
- PETG for parts that need more toughness or better heat resistance than PLA can offer.
- TPU for grips, flexible covers, and projects where students need to understand elasticity.
- ABS only when the school has an enclosed, ventilated setup and a clear reason to use it.
- Resin when surface detail or small features matter enough to justify the extra handling steps.
I usually recommend that schools buy one dependable FDM printer before they chase color, multi-material, or exotic hardware. A reliable machine, a good slicer workflow, and a short list of materials will teach more than a flashy setup that nobody knows how to maintain. Once that foundation is in place, the rollout becomes much easier to manage.
Build a rollout plan that teachers can sustain
The schools that get real value from 3D printing do not start with ten projects. They start with one repeatable process. That matters because teacher time is the scarce resource, not printer availability. If the workflow is messy, the machine will sit unused no matter how capable it is.
- Pick one learning outcome and design the print around it.
- Choose one or two repeatable projects instead of a long list of one-offs.
- Create a file intake rule so students submit clean models, not random downloads.
- Define who handles modeling, slicing, printing, and post-processing.
- Build a rubric that scores function, accuracy, iteration, and reflection, not just appearance.
- Keep a failure log so students learn from bad prints instead of hiding them.
For younger students, I would pre-slice files and keep settings locked down. For older students, I would let them change orientation, infill, and support strategy while still protecting the machine from accidental misuse. That balance is important. Too little control and the printer becomes unpredictable. Too much control and students never learn how the process really works. The next issue is the one many programs underestimate: money and safety.
Budget and safety details that often get missed
The sticker price of the printer is only part of the cost. Schools also need tools, spare nozzles, build plates, filament or resin, cleaning supplies, training time, and some kind of maintenance routine. If the budget is too tight, the machine gets treated like fragile equipment instead of a learning tool.
| Setup | Ballpark budget | What it should cover |
|---|---|---|
| Starter FDM lab | $500-$1,500 | One printer, PLA, basic tools, spare nozzle, scraper, and slicer software |
| Reliable classroom setup | $1,500-$4,000 | Enclosed printer, backup parts, storage, labels, and maintenance supplies |
| Resin workflow | $2,500-$6,500 | Printer, wash and cure station, gloves, filters, handling tools, and ventilation support |
| Annual operating budget | $300-$1,500 per machine | Consumables, failed prints, replacement parts, and training refreshers |
Schools in the United States can also make the business case through STEM, CTE, and workforce-development priorities, which is often easier than treating 3D printing as a standalone purchase. That framing helps administrators understand that the machine is not a novelty item. It is part of a larger training ecosystem. Once the budget and safety rules are in place, the program can finally focus on what students are supposed to learn from it.
What a strong program teaches beyond the print
The strongest programs do not just produce objects. They produce habits. Students learn to measure carefully, model with intent, and revise work after seeing real results. They learn that tolerances matter, that orientation affects strength, and that a part can look fine while still failing its job. That kind of material literacy is hard to get from a worksheet.
- CAD fluency so students can move from sketch to model without relying on guesswork.
- Design for manufacturability so they understand why shapes, wall thickness, and support structures change the outcome.
- Troubleshooting so failures become useful data instead of frustration.
- Documentation so they can explain what changed, why it changed, and what improved.
- Material judgment so they stop treating every plastic as interchangeable.
If I were starting a new program today, I would keep the first semester deliberately simple: one printer, one material family, one clear set of projects, and one way to measure success. The goal is not to print as much as possible. The goal is to teach students how to think through a physical design problem until the part works. That is the real payoff of additive manufacturing in education.