Polypropylene 3D printing is one of the few ways to get a lightweight part that can flex repeatedly, resist many chemicals, and still behave like a molded component rather than a brittle prototype. The catch is that PP is unforgiving on the bed and sensitive to cooling, so the difference between success and frustration usually comes down to setup, not luck. Here I cover what makes the material different, which printer settings are worth starting with, how to choose a build surface, and when another filament is the smarter call.
The practical points to know before you load PP
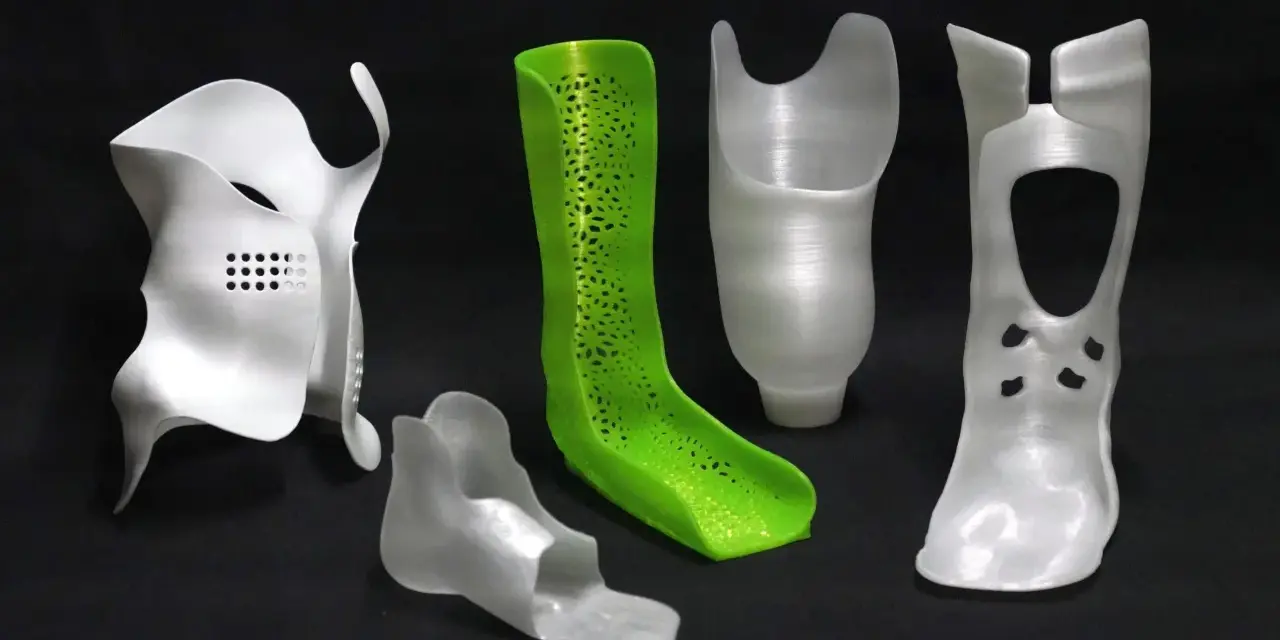
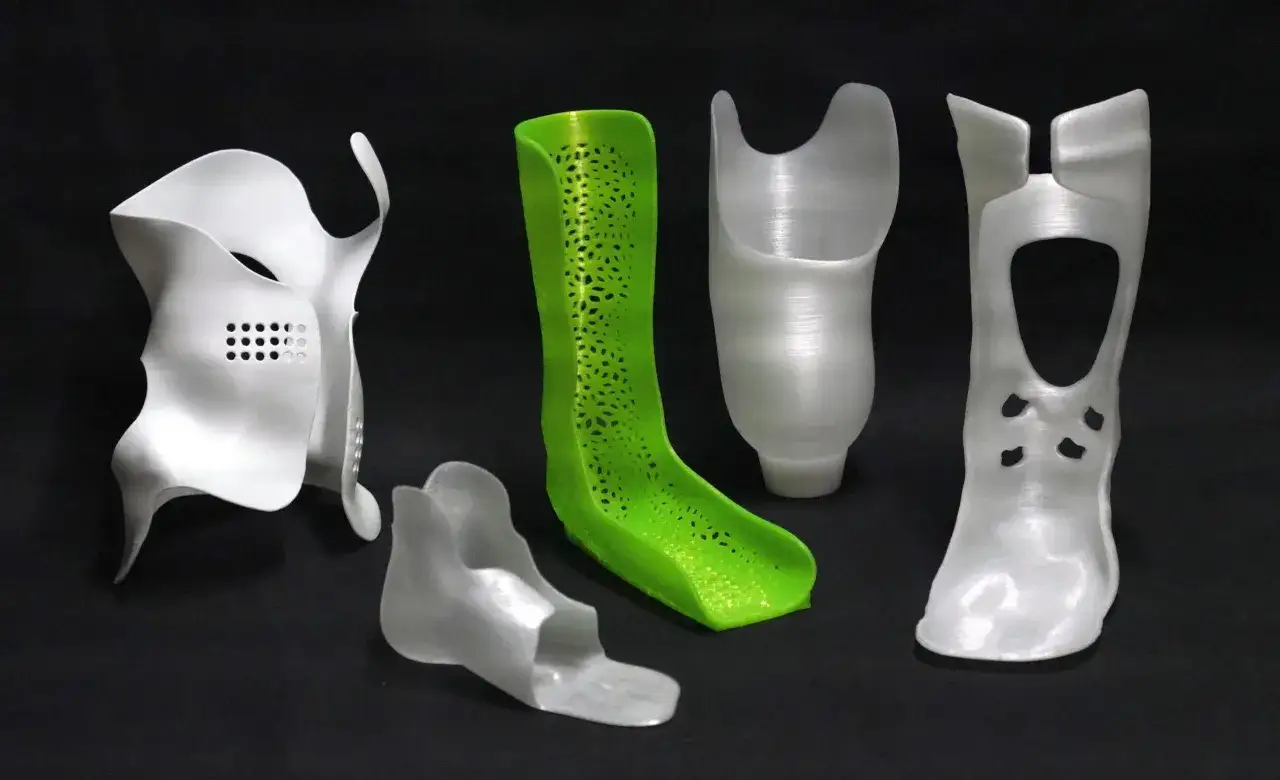
- PP is a strong choice for clips, hinges, fluid-handling parts, and functional prototypes that need repeated flexing.
- The main obstacle is adhesion: standard PEI often performs poorly, while a PP sheet or PP tape is far more reliable.
- A sensible starting window is 220-270°C on the nozzle and 80-105°C on the bed, then tune by brand and geometry.
- A 5-10 mm brim helps larger parts stay down, and an enclosure becomes more valuable as room temperature gets less stable.
- Use a hardened nozzle if the filament is carbon- or glass-filled.
What makes PP different from the usual desktop filaments
I do not think of PP as a general-purpose filament. I think of it as a material with a clear job: repeated bending, lightweight parts, and decent resistance to oils, cleaners, and many shop fluids. The reason it is tricky is structural as much as thermal. PP sits in the low-surface-energy category, which means it does not like to bond to smooth build plates the way PLA or PETG often do.
It is also semi-crystalline, which means it shrinks as it organizes while cooling. That is why a part can look fine for the first few layers and then start pulling itself off the bed as it gets taller. The upside is worth it when the part needs fatigue resistance, low friction, or a shape that would make other plastics crack sooner. In practice, PP is the material I reach for when the part must flex like a hinge instead of merely bend once.
That difference shows up first at the bed, because if the first layer does not stay put, none of the other advantages matter.
The bed surface matters more than the first layer temperature
If I had to narrow PP success down to one decision, it would be the build surface. A dedicated PP sheet is the cleanest route because it gives the material something it can actually hold onto. When that is not available, PP tape or foil on a smooth PEI sheet is the next practical option, and glass or mirror with a PP-friendly adhesive can also work. Raw PEI is usually the wrong starting point for this material.
What matters here is not just adhesion, but controlled adhesion. PP should stay attached during the print and release without tearing up the surface afterward. That is why I prefer a setup that is purpose-built for PP rather than trying to force a generic plate to behave. Clean the sheet carefully, keep the surface dry, and avoid unnecessary solvents. On dedicated PP plates, simple IPA cleaning is usually enough; aggressive cleaning habits often do more harm than good.
Once the part can actually stay on the bed, the next variable is heat control, and that is where many first-time PP prints either stabilize or drift apart.
The starting settings I would use for the first test print
PP varies by blend, so I would never treat one manufacturer’s recipe as universal. Still, a sane starting window saves a lot of trial and error. For a first test, I would keep the machine in a range that favors adhesion and slower cooling rather than chasing surface speed or shiny top layers.
| Setting | Starting point | Why it matters |
|---|---|---|
| Nozzle temperature | 220-270°C | Most PP blends print in this range; hotter often improves bonding, but only within the filament's spec. |
| Bed temperature | 80-105°C | A warm bed reduces edge lift and helps the first layers stay relaxed. |
| Fan | 0-50% after the first layers | Too much cooling makes warping worse, especially on larger parts. |
| Brim | 5-10 mm | A wider anchor gives the part more grip on the plate. |
| Print speed | Moderate, not aggressive | PP benefits more from consistent extrusion than from chasing speed. |
| Nozzle type | Hardened if filled | Carbon- and glass-filled PP wears brass quickly. |
| Enclosure | Helpful in cold or drafty rooms | Stable air temperatures reduce edge pull and random layer stress. |
If the filament is a reinforced blend, I would also check the hardware before I touch the slicer. Pure PP can usually run on a normal hot end, but abrasive-filled grades push me toward a hotter-capable setup and a hardened nozzle. That small change matters more than people expect, because a worn nozzle ruins consistency long before a print looks obviously damaged.
From there, the part geometry becomes the real lever. PP can forgive a lot, but it is still a material that rewards the right shape and punishes lazy design.
Design the part for PP's strengths instead of fighting the material
The best PP parts are the ones that use its strengths instead of demanding stiffness it does not naturally want to give. Living hinges, snap-fit clips, clamp arms, lids, and flexible fixtures are all natural fits because PP handles repeated bending well. Some filaments are even translucent enough to make bottle prototypes useful for seeing fluid levels, which is a practical detail rather than a cosmetic one.
When I design for PP, I avoid sharp internal corners and oversized flat footprints. Radii calm down stress. Smooth thickness transitions calm down warping. A big square base with abrupt walls is exactly the sort of geometry that invites edge lift. If the part has to flex, I keep the flex zone intentional and thin, and I keep the surrounding structure honest rather than overbuilt.
- Use generous fillets where the part changes direction.
- Prefer a brim and a smaller footprint over a wide, flat base.
- Keep repeated-flex features like hinges and clips simple.
- Avoid unnecessary support-heavy shapes if the same function can be achieved with cleaner geometry.
- Choose PP when the part must survive bending cycles, not when the main goal is pure rigidity.
That is also why PP prototypes are useful when you want the printed part to behave like the end product rather than merely resemble it. Once you know what the part needs to do, the next question is whether PP is the best material for that job or whether another filament gets you there faster.
Where PP fits against PETG, ABS, and nylon
For most shops, the choice is not between PP and nothing. It is between PP and a filament that is easier to print. That comparison is where the material starts to make sense.
| Material | Why I would choose it | Main trade-off |
|---|---|---|
| PP | Best for fatigue resistance, chemical resistance, low friction, and living hinges. | Harder bed adhesion and more warp sensitivity. |
| PETG | Easier to print, good for general-purpose functional parts, and less fussy on the bed. | Not as strong a match for repeated flexing or PP-style chemical use. |
| ABS/ASA | Good when rigidity, enclosure parts, or a more traditional engineering plastic are the priority. | More warp-prone than PETG and less natural for flexing parts. |
| Nylon | Excellent when toughness and wear resistance matter more than print convenience. | Moisture sensitivity can make results less predictable on the bench. |
If the job is a simple functional prototype and I want the lowest-friction print path, PETG is often the practical answer. If the part will live in a harsher mechanical or chemical environment, PP starts looking more attractive. For industrial production routes, powder-bed PP systems exist as well, and they make sense when the goal is throughput, nesting density, and repeatability rather than a desktop workaround. That is a different workflow, but it points to the same conclusion: PP earns its place when the end-use requirements are specific.
The last judgment call is simpler than it sounds. I ask whether the part benefits more from PP's material behavior than from the convenience of an easier filament.
Where PP pays off fastest
If I were choosing one first project to justify PP, I would pick a snap-fit enclosure, a living hinge, a clamp, or a fluid-contact prototype. Those are the jobs where the material's fatigue resistance and chemical resistance are immediately visible, and where the extra setup effort pays for itself in the finished part. I would also consider PP when I need a lightweight component that should flex repeatedly without cracking at the root.
I would not reach for PP when the part is mostly decorative, dimensionally tight to the point of intolerance, or simple enough that PETG already solves the problem. I would also be cautious about assuming a printed PP part is automatically food-safe or chemically certified just because the base polymer is familiar. Pigment, additives, layer lines, and printer contamination still matter.
The practical line is straightforward: choose PP when the part has to behave like polypropylene, not just look like it. That is where the material stops being a headache and starts being useful.