The short answer to whether you can use resin in silicone molds is yes, but the result still depends on the resin chemistry, mold quality, and heat created during cure. Silicone is the default material for most resin casting because it releases cleanly and captures detail well, which is why it shows up so often in prototype work and short-run fabrication. I’ll walk through what works, what causes problems, and the practical checks that keep a simple pour from turning into a wasted cast.
What matters most before you pour resin
- Yes, silicone molds are normally the right match for epoxy, polyurethane, and polyester resin.
- Most silicone molds do not need release agent for standard resin casting, but a release can extend mold life.
- Heat is the main limit: large or fast-curing pours can shorten mold life or distort thin areas.
- UV resin needs a clear or translucent path for light, so opaque cavities are a poor fit.
- Room temperature is the safest starting point, usually around 70 to 75°F in a typical shop.
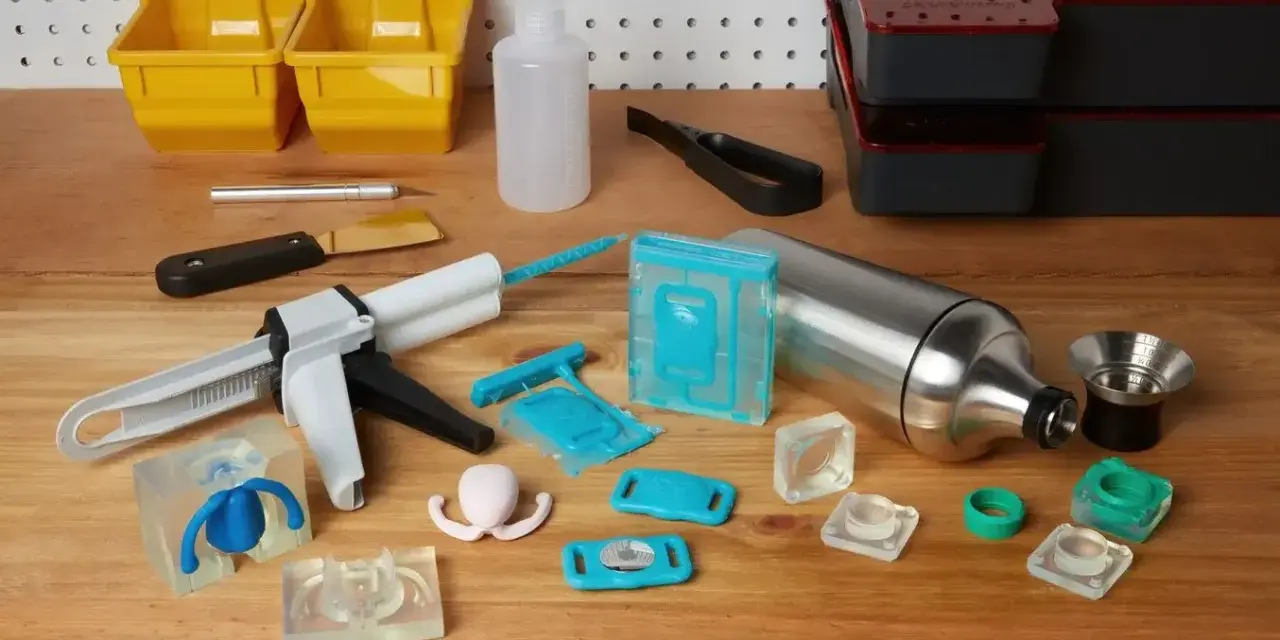
Why silicone is the default choice for resin casting
Silicone works so well because it combines flexibility with a naturally nonstick surface. That matters more than people expect. A rigid mold can hold shape, but it usually fights you at demolding; silicone bends just enough to let the part release without chewing up fine edges.
In practical fabrication terms, that makes silicone a better fit for small-batch resin parts than most rigid mold materials. It sits in a very useful middle ground between hand-built prototypes and heavier tooling methods. Mold suppliers such as Smooth-On and Alumilite routinely list silicone as a casting material for epoxy, polyurethane, and polyester resin, which matches what I see in real workshop use.
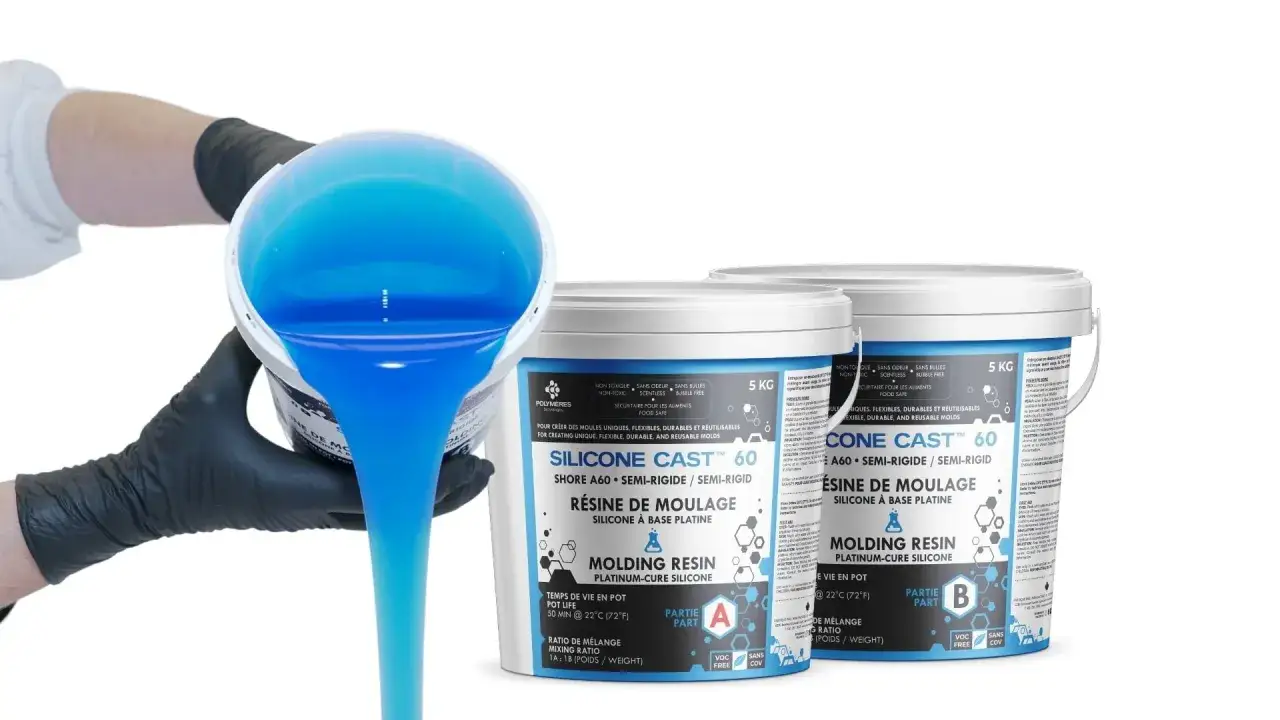
There are two broad silicone families you will run into: tin-cure and platinum-cure. Tin-cure silicone is often the workhorse option for repeated resin casting, while platinum-cure silicone is valued for lower shrinkage and longer mold life. If you are making a mold for more than one part, that distinction becomes worth paying attention to, because the mold itself is part of the process, not just a container. The next question is which resin chemistry fits your project best.
Which resins work best in silicone molds
Most common casting resins behave well in silicone, but they do not behave the same way. Some are forgiving and slow, others are fast and hot, and those differences change how long the mold lasts and how easy the cast is to demold.
| Resin type | Works in silicone? | What I watch for |
|---|---|---|
| Epoxy | Yes | Best all-around choice for beginners; longer working time helps with detail, but deep pours can trap bubbles and build heat. |
| Polyurethane | Yes | Useful for fast small-batch parts, but it is more sensitive to moisture and humidity than epoxy. |
| Polyester | Yes | Compatible with silicone, though the smell and cure behavior make ventilation and testing important. |
| UV resin | Yes, with caveats | Works best when light can reach the resin through a clear or translucent mold path; opaque cavities are a problem. |
If I want a forgiving first project, I usually choose epoxy. It gives you enough working time to pour calmly, chase bubbles, and correct minor mistakes. Polyurethane is the faster, more production-minded choice when cycle time matters. UV resin is the most specialized of the group, because light has to penetrate the cavity; if the mold blocks that light, the center of the part may stay under-cured.
That is also why I do not think about “resin” as one single material. The mold may be the same, but the pour can behave very differently depending on whether the liquid is epoxy, urethane, polyester, or UV-cured resin. Once the resin is chosen, the mold itself becomes the next deciding factor.
How to choose the right silicone mold for cleaner casts
For most projects, I start with a medium-firm silicone mold rather than the softest one I can find. Very soft molds are great for deep undercuts and delicate details, but they can flex too much when the resin gets heavy. Firmer molds hold shape better, especially on larger flat pieces, but they are less forgiving when you need to peel the part out.
| Mold feel | Best for | Tradeoff |
|---|---|---|
| Soft silicone | Jewelry, thin details, deep undercuts | Easier release, but more distortion under load. |
| Medium-firm silicone | Coasters, figurines, prototypes, general resin work | Best balance of flexibility and shape control. |
| Firm silicone | Larger parts and flatter castings | Better support, but harder to peel around complex geometry. |
The surface finish matters too. A clean, glossy cavity usually releases better and gives a better-looking cast. If you are using UV resin, clear or translucent silicone is the safer choice because light needs a path into the resin. For ordinary epoxy or urethane, transparency is not required, but a clean mold surface still makes a visible difference in the final part.
So the mold choice is not just about shape. It is about how the mold flexes, how much heat it can tolerate, and whether the cavity helps or fights the resin you plan to pour. That leads straight into prep, because even a good mold can fail if the setup is sloppy.
The setup that keeps resin from sticking or failing
The biggest practical mistake I see is assuming the mold alone will solve everything. It will not. Temperature, mix accuracy, cleanliness, and demolding timing matter just as much as the silicone itself. I keep both the mold and the resin near room temperature, roughly 70 to 75°F, because extreme cold slows cure and extreme heat shortens working time.
- Clean the cavity so dust, release residue, and old resin film do not become part of the new cast.
- Use a mold release only when the geometry is tricky, the mold is aging, or the manufacturer recommends it.
- Measure the resin accurately by weight or volume, depending on the system, and scrape the mixing cup sides and bottom.
- Pour in a thin stream into one area so the resin can flow through the cavity instead of trapping air.
- Tap, vibrate, vacuum-degas, or pressure-cure if the part needs a cleaner surface and fewer bubbles.
- Wait for a full cure, not just a surface set, before demolding.
On simple parts, I usually skip release agent because silicone already releases resin well. When I do use it, I use a mold-compatible product rather than a random household spray. Release agent is not there to mask a bad process; it is there to extend the life of a mold or help a difficult shape come out cleanly. That distinction matters, because the wrong release can blur detail or leave a film on the casting.
For bubble-prone clear castings, pressure casting in the 30 to 60 psi range can make a visible difference, and vacuum degassing helps before the pour if the resin and equipment allow it. Those tools are optional, but they pay off quickly once you start making repeat parts. The remaining problems are usually the edge cases where resin and silicone stop being such an easy match.
When silicone stops being the easy answer
Most failures come from heat, trapped air, or geometry that asks too much of the mold. The silicone may still be technically compatible with the resin, but the job can still be the wrong one for a thin or delicate mold.
| Situation | Why it becomes a problem | Better move |
|---|---|---|
| Large deep pour | Exotherm builds heat inside the casting and can age the mold faster. | Use a slower resin, pour in layers, or reduce the mass of each pour. |
| Sharp undercuts | The mold has to stretch too far during release. | Redesign with draft, split the mold, or choose a softer silicone. |
| Repeated production runs | The mold starts losing detail and tear strength over time. | Use higher-tear silicone and a release strategy that preserves the surface. |
| UV resin in a dark cavity | Light cannot reach all of the resin, so cure becomes uneven. | Switch to clear or translucent silicone, or use a different resin system. |
The real limit is not usually whether resin and silicone are compatible. It is whether the resin’s heat, cure speed, and flow behavior match the mold’s thickness and geometry. A slow epoxy in a medium-firm silicone mold is easy territory. A fast, hot pour in a thin cavity is where the trouble starts.
This is also where I see the difference between hobby casting and repeatable fabrication. The first part may come out fine, but if the process is not controlled, the third or fourth cast shows the mold wear. That is why my first-project advice is deliberately conservative.
My rule of thumb for the first casting
If I were starting from scratch, I would use a medium-firm silicone mold, a room-temperature epoxy or polyurethane resin, and a simple open cavity before trying deep undercuts or thick pours. That combination tells you quickly whether the mold is the issue or whether the problem is mix ratio, temperature, or pour technique.
Once the first cast works, I would change only one variable at a time. That is the fastest way to learn whether you need a different resin, a firmer mold, a release agent, or better temperature control. If you plan to scale beyond a one-off part, the next useful upgrade is usually pressure casting, because cleaner parts save more time than any cosmetic fix afterward.
In practice, that is the cleanest answer: yes, resin belongs in silicone molds, but the best results come from matching the mold firmness, resin chemistry, and cure conditions instead of treating them as interchangeable. Get those three things right, and silicone becomes one of the most reliable ways to cast detailed plastic parts, prototypes, and short-run pieces.