Polyurethane vacuum casting is a practical way to make detailed plastic parts when you want production-like appearance without paying for hard tooling. I’m focusing on how the process works, how it compares with thermoforming and injection molding, and what usually makes the difference between a clean part and a disappointing run. If you are weighing a prototype, a bridge-production run, or a small batch of end-use parts, the details here will save you time and bad assumptions.
The practical takeaways before you commit to tooling
- This process is strongest for detailed, low-volume parts with a good cosmetic finish.
- The vacuum stage is mainly about degassing and helping the resin fill fine features cleanly.
- Standard silicone tools are short-lived; plan for roughly a few dozen pulls, not thousands.
- Thermoforming is a sheet process for shallow shells; it solves a different problem.
- Injection molding still wins when the run becomes large enough to justify hard tooling.
- Wall thickness, venting, and finish expectations should be agreed before the first pour.
How the process works and why the vacuum step matters
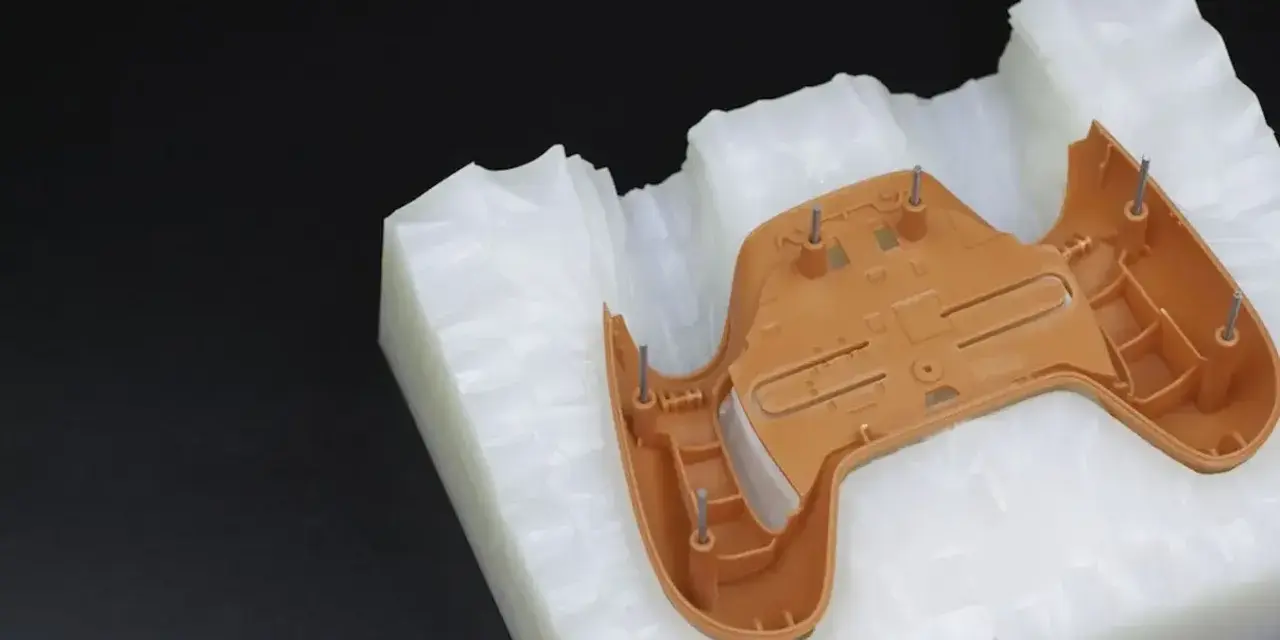
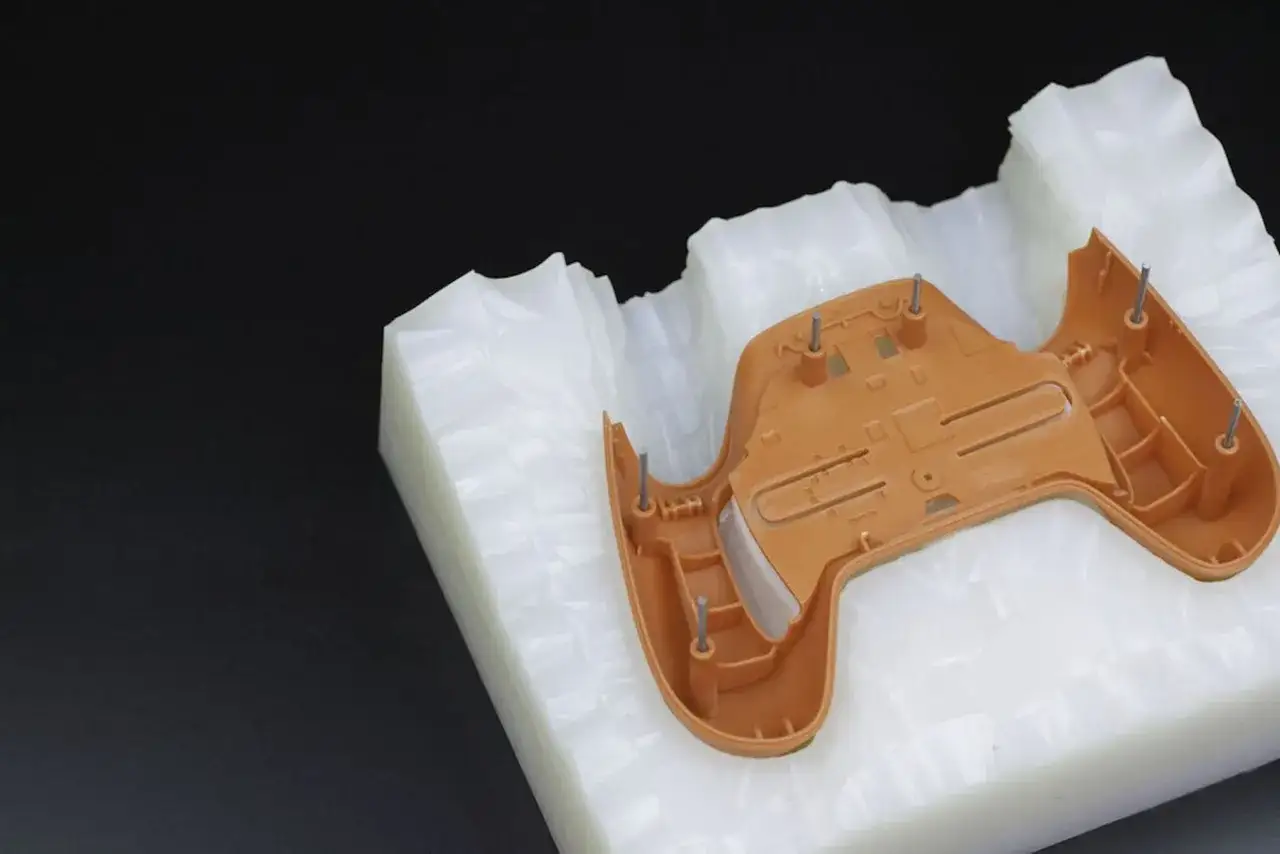
At a practical level, the workflow is simple: make a master pattern, build a silicone mold around it, mix the polyurethane resin, pull the mix through a vacuum environment to reduce trapped air, cast the part, cure it, and trim the flash. I like this process because it reproduces small features well without forcing you into expensive steel tooling too early.
The usual sequence
- Create a master pattern, usually by CNC machining or high-resolution 3D printing.
- Encapsulate the master in silicone to form a soft mold with the negative geometry.
- Mix the resin system, often with pigment or performance additives if needed.
- Degas the mix and/or fill the mold under vacuum so trapped air can escape.
- Let the part cure, then demold, trim flash, and finish the surface as required.
Read Also: Epoxy Resin Mold Making - Flawless Casts Every Time
What the vacuum actually does
The vacuum does not make the chemistry better. It makes the part cleaner. Air bubbles are the enemy here, especially in thin walls, sharp corners, and decorative surfaces where pinholes are easy to see. A controlled vacuum environment helps the resin wet the mold more evenly and reduces the chance that small voids become visible defects later.
In my experience, that is the real value of this process: it is not just a way to pour plastic into a mold, it is a way to control the tiny failures that make a prototype look cheap.
Why it is different from thermoforming and injection molding
Vacuum casting is often grouped with molding because it uses a mold, but the material state and the economics are completely different. Thermoforming starts with a heated sheet of thermoplastic. Injection molding starts with a high-pressure flow of molten plastic. Here, you are working with a liquid resin and a soft mold, so the sweet spot is different.
| Process | Best for | Tooling profile | Main limitation |
|---|---|---|---|
| Urethane casting | Detailed prototypes, bridge production, and small batches with molded appearance | Low-cost silicone tooling | Short mold life and slower throughput |
| Thermoforming | Large, shallow shells, covers, trays, and panels made from sheet stock | Lower-cost open molds | Limited detail on deep or fully enclosed geometry |
| Injection molding | Stable designs and high-volume runs with strong repeatability | Hard tooling with higher upfront cost | Expensive to change once the tool is cut |
My rule is simple: choose the process that matches the part's geometry and the expected volume, not the process name you happen to know best. Thermoforming is about forming a sheet. Casting is about reproducing a volume. That distinction matters more than people expect when they are moving from concept to first article.
Material and mold choices that decide the final part
Not every polyurethane behaves the same. Some formulations imitate ABS-like rigidity, others feel closer to rubber, and some are tuned for translucency or heat resistance. The real decision is not just color or durometer; it is how the resin behaves during cure, how much it shrinks, and what the part must survive after delivery.
- Pot life controls how long you have before the mix begins to thicken.
- Cure profile affects when you can demold and how much post-cure time you need.
- Heat deflection matters if the part will sit in a dashboard, enclosure, or warm indoor environment.
- UV stability matters for light exposure, especially on colored or transparent parts.
- Master quality is critical because the silicone mold copies every scratch, seam, and tool mark.
I usually tell teams that the master is not a rough mockup; it is the template for every later part. If the master looks acceptable only from three feet away, that flaw will be repeated on every casting.
The mold itself matters just as much. Softer silicone releases undercuts more easily, but it can distort faster. Harder silicone holds geometry better, but it is less forgiving on tricky shapes. If the part has deep pockets, the gate and vent layout become just as important as the resin.
Design rules that prevent bubbles, sink marks, and stuck parts
Most cast-part failures are design problems that show up at the mold stage. I see the same mistakes repeatedly: thick sections that trap heat, deep blind pockets that trap air, and sharp transitions that create stress or visible print-through.
- Keep wall thickness as uniform as possible; a minimum around 0.75 mm is possible, but 1.5 mm or more usually gives better results.
- Avoid heavy mass around bosses and ribs; hollowing or thinning those zones reduces sink and shrink variations.
- Use generous radii instead of sharp internal corners.
- Keep undercuts reasonable so the silicone can release without tearing.
- Place gates and vents where air can escape, especially around deep cavities and closed pockets.
- Separate cosmetic faces from clamp lines and pour paths.
Draft still helps even though silicone is forgiving. I would not rely on elasticity alone if the part needs repeatable release or a cleaner surface finish.
The other mistake I watch for is treating a molded part like a machined part. Cast resin wants consistent thickness and clean transitions. It does not reward aggressive section changes, and it will happily show every poor geometry decision you make.
Cost, lead time, and mold life in real runs
This is where expectations usually drift. The tooling is cheap compared with hard tooling, but it is not a permanent asset. A standard silicone mold often lasts around 25 to 50 pulls before dimensional drift becomes noticeable, and some higher-temperature systems go further. For a small run, lead time is commonly measured in weeks rather than months, and output is usually in the low single digits per day rather than a true production rate.
| Factor | Typical reality | What it means for you |
|---|---|---|
| Tooling cost | Low compared with steel or aluminum tooling | Good for prototypes and bridge production |
| Mold life | About 25 to 50 parts for a standard silicone mold | Plan replacement molds if the run is longer |
| Output rate | Roughly 1 to 10 parts per day, depending on part size and mold count | Fast enough for small batches, not for mass production |
| Lead time | Often around 3 to 4 weeks for a small job | Useful when you need production-like parts before hard tooling is ready |
I would treat these numbers as planning ranges, not promises. Geometry, resin choice, post-curing, and finishing can all move the schedule. If you are trying to meet a launch date, the replacement mold plan matters almost as much as the first mold itself.
When I would choose this over thermoforming, injection molding, or 3d printing
My decision rule is not abstract. I ask what the part looks like, how many are needed, and how close to final use the prototype must be. That usually makes the answer obvious.
| Process | Choose it when | Avoid it when |
|---|---|---|
| Urethane casting | You need detailed, cosmetic parts in low volume and want production-like behavior without hard tooling. | You need tens of thousands of identical parts or very tight cost per unit at scale. |
| Thermoforming | You need large, shallow parts such as covers, trays, liners, or panels from sheet stock. | You need deep undercuts, fine all-around detail, or closed 3D geometries. |
| Injection molding | You have a stable design and enough volume to justify expensive tooling. | You are still changing the part every week or only need a few dozen units. |
| 3D printing | You need one-offs, internal fit checks, or geometry that changes too often for soft tooling. | You need a molded look, molded material behavior, or better repeatability than a printed part gives you. |
Thermoforming and casting are easy to confuse because both can use vacuum in the workflow, but they solve different jobs. Thermoforming shapes a sheet; casting creates a solid from liquid resin. That difference is the reason one excels at shells and the other excels at detailed bodies.
If the part is a tray, lid, liner, or large cover, thermoforming usually wins on simplicity and cost. If it is a small housing, decorative panel, or prototype with ribs and bosses, casting usually gives me more freedom and a better-looking first article.
What I would lock down before the first production run
Before I approve a run, I want the supplier and the design team aligned on five things: quantity, finish, dimensional priorities, resin behavior, and what happens when the mold wears out. If those are vague, the first batch tends to become a negotiating exercise instead of a manufacturing process.
- Mark the critical dimensions on the CAD and tell the supplier which features are cosmetic only.
- Specify the finish target early, including matte, semi-gloss, paint-ready, or clear.
- Confirm whether inserts, threads, or overmold-style details are needed.
- State the acceptable cosmetic range for seams, pinholes, and color variation.
- Ask for a replacement plan once the silicone tool reaches its useful life.
My strongest recommendation is to request a first-off sample and compare it against a real acceptance standard, not just the CAD file. That is where a lot of avoidable disagreement disappears.
The choices that make a small batch feel like a real product
If there is one thing I want you to remember, it is that this process rewards preparation more than optimism. Good results come from choosing the right resin, keeping the geometry clean, and accepting that a soft tool has a finite life. That is not a weakness; it is simply the tradeoff that makes low-volume manufacturing practical.
For the right part, that tradeoff is excellent: you get detail, speed, and production-like appearance without committing to hard tooling too early. For the wrong part, it becomes expensive rework. I would use it when I need a short or mid-size run, a credible appearance, and enough design freedom to justify silicone tooling, then move to thermoforming or injection molding only when the geometry or volume clearly asks for it.