A clear 3D print is rarely about one magic setting; it is usually the result of a material that can support clarity, a model designed for light flow, and finishing that removes the micro-scratches that scatter light. In practice, the difference between translucent and truly see-through often comes down to surface quality and internal voids, not just the color of the filament or resin. I’ll walk through the choices that matter, the settings that actually move the needle, and where 3D printing stops being the best tool.
What matters most when transparency is the goal
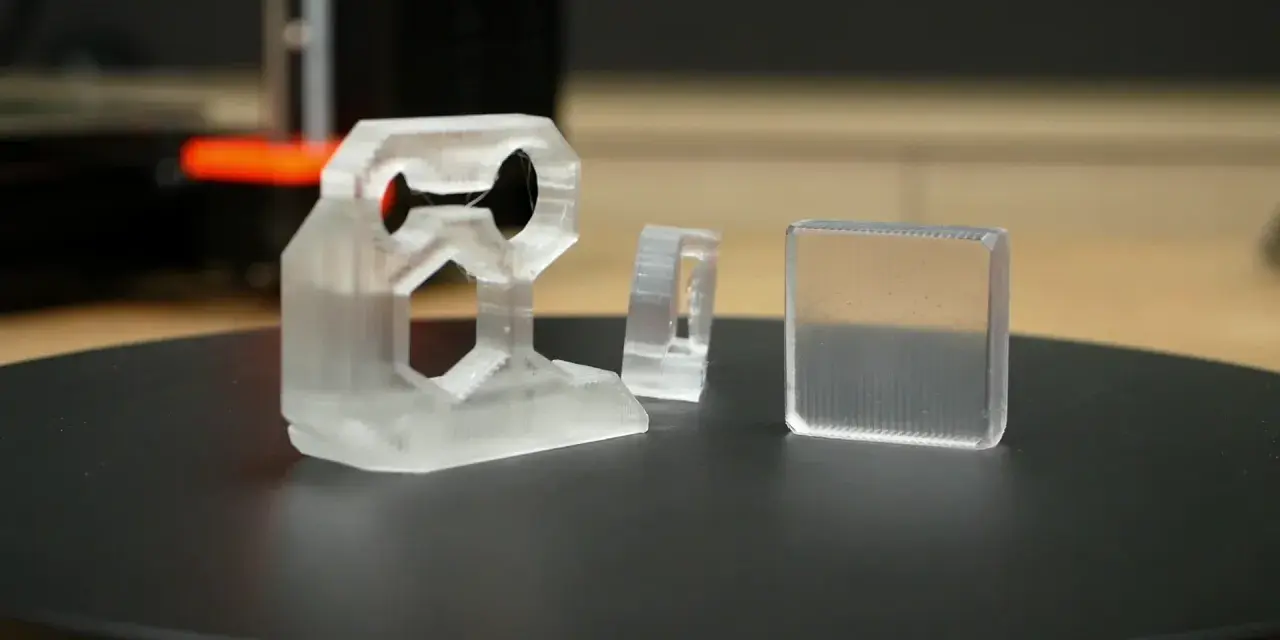
- Resin printing is the most reliable route when you need real clarity, especially for windows, light guides, and display parts.
- FDM usually produces translucent results, not optical transparency, even with clear filament.
- Uniform wall thickness and smooth surfaces matter more than decorative detail if light has to pass through the part.
- Wet sanding and polishing often change the result more than slicer tweaks do.
- For lens-like parts, acrylic or polished resin usually makes more sense than a basic filament workflow.
What clear parts actually need to do
I separate transparent parts into two different jobs. One job is practical visibility, such as seeing a fluid level, checking a mechanism, or letting light glow through a housing. The other job is optical clarity, where the part has to behave almost like glass or acrylic. Those are not the same target, and treating them as if they were leads to disappointment very quickly.
Clarity depends on four things working together: the material, the geometry, the layer structure, and the surface finish. Any one of them can introduce haze. Rough surfaces scatter light. Tiny voids inside the part scatter light. Sharp changes in thickness bend light unevenly. Visible seams or support scars do the same. That is why a part can look decent straight off the printer and still fail the moment you put a bright lamp behind it.
When I evaluate a part, I ask a simple question: does it need to be transparent enough to see through, or does it need to be optically clean? Once that is clear, the rest of the workflow becomes much easier to choose. With that target set, the next step is to design the part so the printer is not fighting the geometry.
Design the model for light, not just shape
Transparent printing starts before the slicer. If the CAD model is built like a normal cosmetic part, the printer will usually expose every weakness. I get better results when I design for light transmission first and aesthetics second.
- Keep thickness consistent across any viewing area. Sudden jumps in wall thickness create distortion and visual banding.
- Avoid text, ribs, and heavy texture on the optical face. These features are fine on structural zones, but they interrupt light flow on windows.
- Use large radii instead of sharp internal corners. Sharp transitions are harder to print cleanly and usually show up as stressed, cloudy zones.
- Separate structural and visual zones. I like to move bosses, clips, and screw features away from the clear panel whenever possible.
- Leave room for finishing. If sanding and polishing are part of the plan, the model should tolerate a small amount of material removal.
- Minimize support contact on visible faces. A support scar on a hidden edge is a nuisance; the same scar on a viewing window is a problem.
One useful habit is to design the part as if the printer were only responsible for the rough shape, not the final optical quality. That mindset keeps you from over-trusting the raw print. Once the geometry is sensible, material choice becomes the next big decision.
Which materials and processes work best
If the goal is a genuinely transparent part, the process matters as much as the plastic. In my experience, resin-based printing gives the broadest path to high clarity, while FDM is better for translucent covers, diffusers, and functional prototypes. FDM can still look good, but it rarely becomes truly glass-clear without a lot of compromise.| Option | Clarity potential | Best use | Main limitation |
|---|---|---|---|
| Clear photopolymer resin | High | Windows, light pipes, display parts, small optical features | Needs careful washing, curing, and post-processing |
| PETG filament | Moderate | Housings, reservoirs, guards, translucent prototypes | Usually remains cloudy compared with resin or acrylic |
| PLA filament | Low to moderate | Quick display pieces and low-heat prototypes | Brittle, heat sensitive, and rarely truly transparent |
| Polycarbonate filament | Moderate | Tough covers and functional parts that need better heat resistance | Harder to print and often requires an enclosed, dry setup |
| Machined or cast acrylic | Very high | Parts where optical clarity is the actual requirement | Not a printed workflow, so geometry freedom is lower |
If I need the part to look almost like acrylic, resin is usually my first choice. If I need speed, low cost, or a part that only needs to be see-through enough for inspection, PETG is often the more practical option. The main mistake is expecting every clear-looking filament to behave like optical plastic. It usually does not. The slicer settings can improve the result, but they cannot turn an inherently cloudy process into a lens.
Slicer settings that change clarity
Material gets you into the right range; slicer settings decide how much of that potential survives the print. I keep the setup conservative and focus on consistency. Randomness shows up very quickly in transparent parts.
| Setting | Resin printers | FDM printers |
|---|---|---|
| Layer height | About 0.05 to 0.10 mm for fine detail and smoother surfaces | About 0.12 to 0.16 mm as a practical starting range |
| Orientation | Rotate to keep supports off optical faces | Orient the part to reduce visible stair-stepping and seams |
| Walls and infill | Use enough structure for stability, but avoid support marks on visible surfaces | Use consistent walls and dense infill when the goal is uniform translucency |
| Speed and cooling | Follow the material profile closely and avoid aggressive settings that distort fine features | Print slowly enough for good layer fusion and reduce cooling when the material tolerates it |
| Dryness and curing | Wash and fully cure the part before judging clarity | Dry filament thoroughly before printing to reduce haze and bubbling |
For resin, I care most about support placement and post-cure consistency. A part that is under-washed or under-cured can look milky even when the print itself is technically fine. For FDM, the biggest enemies are poor layer bonding, moisture, and trapped air. If the filament has absorbed water, the part will often look dull before finishing even begins. I also avoid over-complicating the part with dense internal geometry, because that usually shows up as visual noise rather than useful structure.
At this stage, the print should be structurally sound and visually acceptable. If you want it to look genuinely clear, though, the surface still needs work. That is where finishing earns its keep.
How I finish parts for a better surface
Finishing is where a translucent part starts moving toward clarity. I would never skip it if the visible face matters. The goal is simple: remove every scratch that can scatter light, then replace the rough surface with something uniform enough to reflect light cleanly.
- Clean the part first. Remove support residue, dust, and any uncured material before sanding. If the surface starts dirty, the finish will be uneven from the beginning.
- Wet sand in stages. I usually start around 400 or 600 grit, then move through 800, 1200, 2000, and sometimes 3000. The point is not speed; it is removing the scratches from the previous step.
- Keep the sanding even. Pressure should stay light and consistent. If one area is over-sanded, the part will warp visually long before it changes shape physically.
- Polish with a plastic-safe compound. This is the step that starts to restore gloss after the fine sanding has done its job.
- Add a clear coat only if it fits the use case. A coating can improve appearance quickly, but it can also change dimensions, add reflections, or age poorly if the part is handled a lot.
- Inspect under strong side light. That is the fastest way I know to spot swirl marks, scratch patterns, and uneven patches that are easy to miss under flat lighting.
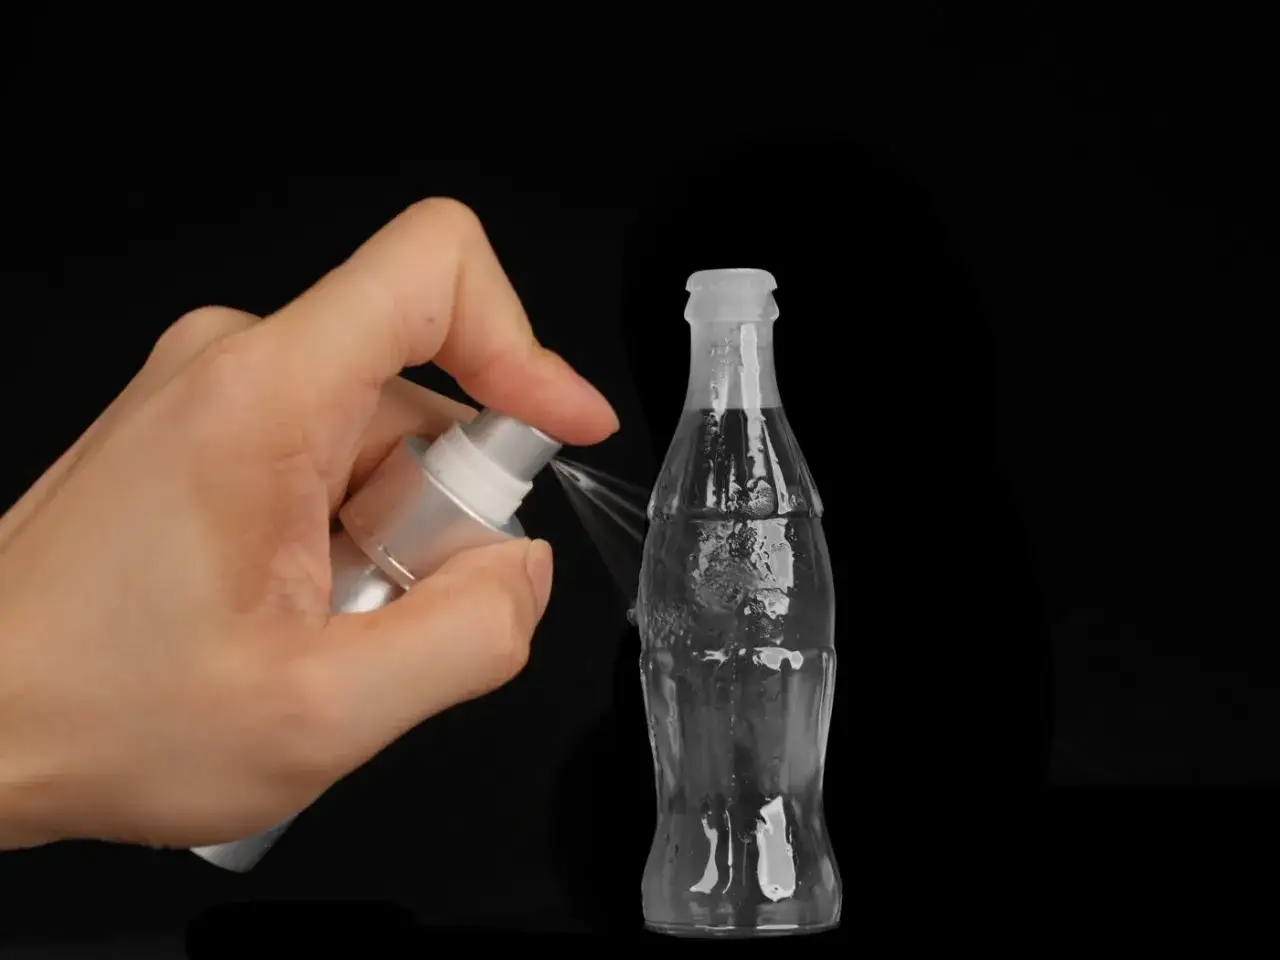
There is also a practical shortcut for parts that only need a temporary visual test. A thin surface treatment can make the finish look more uniform for presentation, but I would not rely on that as a final production finish. It is a useful trick for prototypes, not a substitute for proper polishing when the part needs to last.
For resin, the finishing sequence is usually wash, cure, sand, polish, then inspect. For FDM, sanding is even more important because the layer lines are larger and the surface starts rougher. If I want a part to look close to acrylic, I expect to spend time here. There is no shortcut that replaces surface work completely.
Mistakes that make a print look milky
Most disappointing transparent prints are not failures of the printer alone. They are usually the result of one of a few very predictable mistakes. Once I know what to watch for, the bad results become much easier to avoid.
- Expecting “clear” filament to look like glass. Clear plastic on the spool usually means translucent, not truly transparent.
- Leaving support scars on visible faces. Even tiny scars scatter light and are hard to hide later.
- Using wet or poorly dried filament. Moisture creates haze, bubbles, and inconsistent extrusion.
- Skipping the resin wash or cure cycle. Residual material keeps the surface cloudy and can yellow over time.
- Printing too fast or too cold on FDM. Poor layer fusion leaves internal scatter points that polishing cannot fully remove.
- Jumping through sanding grits too quickly. Fine polish cannot erase deep scratches left by coarse paper.
- Using a highly textured design for an optical face. Texture looks intentional on a cosmetic part, but it destroys clarity.
There is one more mistake I see often: choosing the wrong target. If the part is supposed to diffuse light, a slightly cloudy finish may actually be better than a polished one. A clear window and a light diffuser are different products, so they should not be judged by the same standard. That distinction matters a lot when you decide which process to use next.
Choosing the right route for the part
When I am deciding how to make a transparent component, I start with the real use case, not the printer I happen to have on the bench. That keeps the trade-offs honest. If the part needs to be beautiful and see-through, resin or acrylic is usually the safer answer. If the part needs to be tough, inexpensive, and “clear enough,” FDM can still be the right call.
| Use case | Best route | Why I would choose it |
|---|---|---|
| Light diffuser or indicator lens | PETG or resin | Transparency is helpful, but perfect optical clarity is not required |
| Viewing window on a housing | Clear resin or PETG | The face must be even, but the part usually does not need lens-level performance |
| Small optical element or fluidic part | Polished clear resin | Fine detail and surface quality matter more than brute toughness |
| Heat-resistant functional cover | Polycarbonate or machined acrylic | Clarity matters, but heat and mechanical performance come first |
| Fast concept prototype | FDM with clear filament | Good enough for fit, light behavior, and early design review |
For me, the fastest path to a better clear 3D print is to treat transparency as a process, not a material label. Start with the part’s real optical requirement, design the geometry to help light pass through, choose the process that can actually reach the target, and finish the surface patiently. That approach saves time, avoids false expectations, and gives you a result that looks intentional instead of merely printed.