Plexiglass cuts cleanly when the tool matches the sheet, not when the saw is simply sharp. The practical answer to what do you cut plexiglass with is not one single tool; it depends on thickness, the shape of the cut, and how clean you need the edge to be. I’ll walk through the blades and tools that actually work, where each one fits, and the mistakes that usually turn a simple cut into a chipped or melted edge.
The fastest way to choose the right cutter
- Thin straight cuts are best handled with an acrylic scoring knife and a clean snap.
- For straight cuts in thicker sheet, a table saw or circular saw with a carbide-tipped triple-chip blade is the standard choice.
- Curves and cutouts usually call for a jigsaw with a fine, wavy-set blade in the 7 to 14 TPI range.
- Heat is the enemy: feed too slowly and acrylic melts, feed too fast and it chips.
- For intricate shop work, a CO2 laser gives the cleanest edge, but it is not the right answer for every project.
Pick the tool by thickness, not by habit
When I choose a cutter for acrylic, I start with three questions: how thick is the sheet, is the cut straight or curved, and how polished does the edge need to be. That simple filter removes most of the guesswork. A thin sign panel behaves very differently from a half-inch display top, and the blade that looks “aggressive enough” on paper is often the one that ruins the finish in practice.
| Tool | Best for | Blade or bit | What it does well | Where it struggles |
|---|---|---|---|---|
| Acrylic scoring knife | Straight cuts in thin sheet, usually up to about 1/8 inch; some dedicated tools can handle up to 1/4 inch | Hardened scoring blade | Fast, inexpensive, minimal waste, clean snap line | Curves, thick sheet, and non-straight cutouts |
| Table saw or circular saw | Long straight cuts and repeatable shop work | Carbide-tipped triple-chip blade | Best all-around balance of speed and edge quality | Needs support, the right feed rate, and a dedicated plastics blade |
| Jigsaw or band saw | Curves, notches, and internal openings | Wavy-set blade, usually 7 to 14 TPI | Lets you follow shapes that a straight saw cannot | Edge finish is rougher and can need sanding |
| Router | Template work, trimming, and final edge shaping | Sharp carbide straight bit or flush-trim bit | Excellent control for pattern work | Can chatter or melt if feed and bit choice are wrong |
| CO2 laser | Intricate profiles and production cutting | Laser beam, not a blade | Narrow kerf and polished edge on complex parts | Shop equipment only, and it can leave internal stress in the part |
That split usually answers most project questions before I even touch the sheet. Once you separate straight cuts from curves, the next choice is whether to score the material or saw through it.
Scoring and snapping is still the cleanest answer for thin sheets
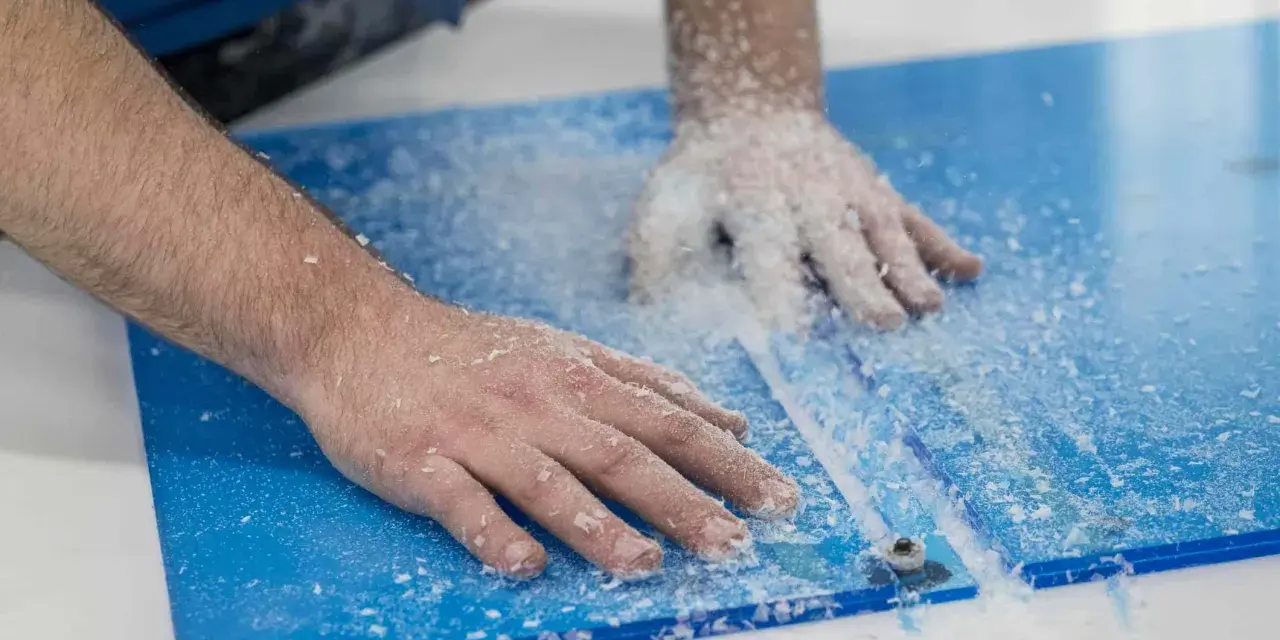
For thin acrylic, I still reach for a scoring knife first. A dedicated acrylic scorer makes a V-shaped groove, and that groove becomes the break line. It is the cleanest option for straight cuts in thin sheet because you are not forcing a blade all the way through the material, which means less heat, less chatter, and less edge cleanup.
My rule is simple: use scoring for straight cuts when the sheet is around 1/8 inch thick or thinner, and treat 1/4 inch as the upper edge of the method rather than the comfortable middle. A good scorer can handle more than people expect, but the quality drops quickly if you try to make it do work that belongs to a saw.
- Clamp a straightedge so the score line cannot wander.
- Make one firm pass instead of several weak ones.
- Keep the protective film on the sheet while you mark and score it.
- Snap the waste side cleanly over the edge of a bench or a sharp support line.
- Sand only if needed; a good score line should already look crisp.
I like this method because it is fast, quiet, and hard to overcomplicate. If the cut is longer, thicker, or not perfectly straight, though, saw work starts to make more sense than trying to wrestle the sheet by hand.
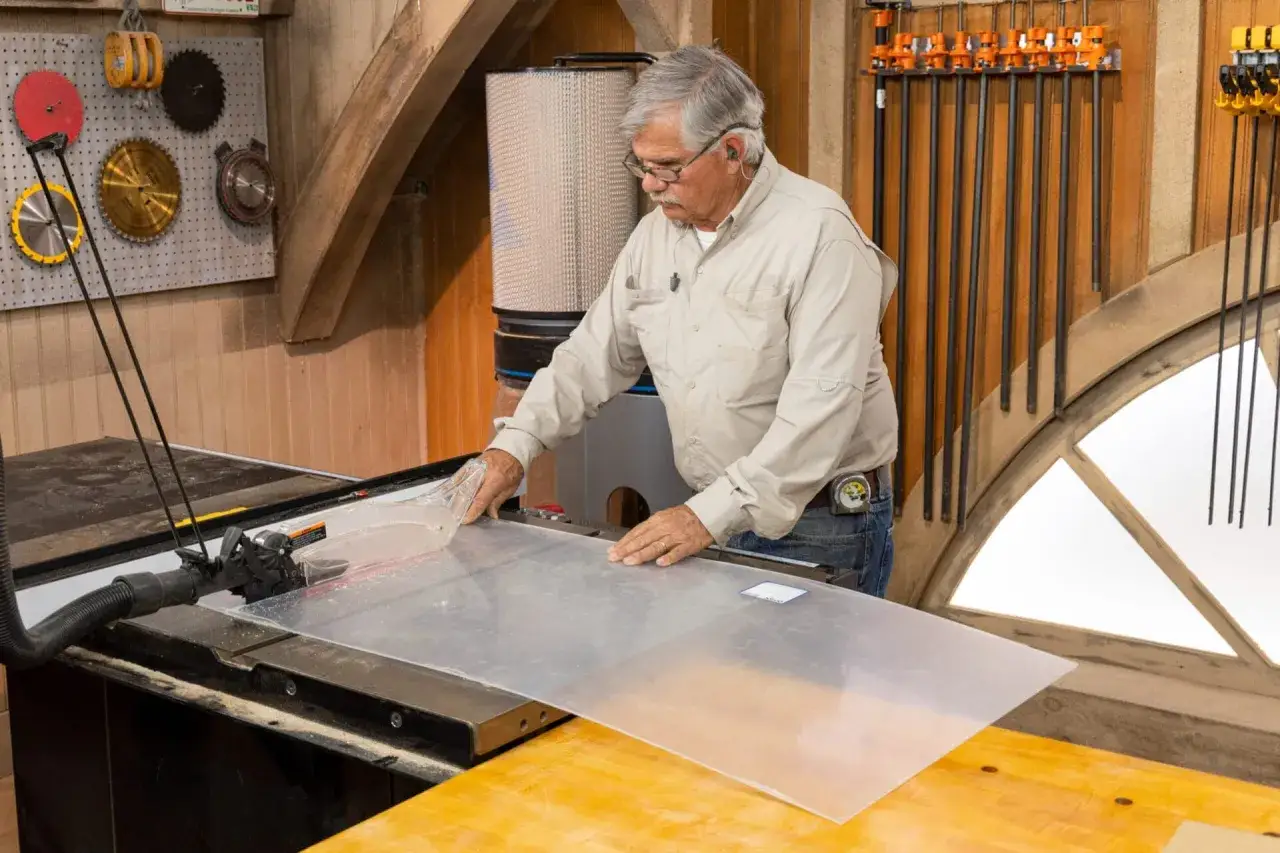
Table saws and circular saws do the heavy lifting
For straight saw cuts, blade selection matters more than saw brand. I look for a carbide-tipped triple-chip blade made for plastics, not a generic wood blade. Triple-chip teeth alternate beveled and flat edges so the blade clears chips instead of gouging the acrylic, which is exactly why manufacturers such as ACRYLITE and TAP Plastics keep pointing fabricators toward the same blade geometry.
For common shop setups, a 10-inch blade with 80 teeth is a solid all-purpose choice, while thicker sheet often does better with 60 teeth. Acrylic blade speed is typically kept in the 6,000 to 14,000 feet-per-minute range, and the blade should protrude just enough above the sheet to clear the cut cleanly. In practical terms, that usually means about 1/8 inch above thin material and up to about 1/2 inch for thicker stock, with the exact setup depending on blade diameter and thickness.
I also try to keep the feed steady instead of slow. A moderate feed rate around 100 to 300 inches per minute is a useful reference point for panel-saw style work, but the edge tells the truth: if it melts, I am feeding too slowly or the blade is dull; if it chips, the blade is too aggressive, too high, or the sheet is vibrating.
- Use a blade dedicated to plastics if you want consistent results.
- Support the sheet fully so the cut does not chatter.
- Keep the teeth sharp; a dull blade turns acrylic into a heat problem.
- Set the fence and blade square before you start.
- Let the saw do the work instead of pushing hard through the cut.
That approach gives the cleanest straight cuts most people can reasonably get in a workshop. Curves are a different problem, and that is where a finer blade or a router earns its keep.
Jigsaws, band saws, and routers cover curves and cutouts
When a design stops being linear, I stop thinking about score lines and start thinking about blade control. A jigsaw is the most common choice for cutouts, small radii, and field adjustments, but it needs the right blade. A wavy-set blade in the 8 to 13 TPI range is the sweet spot for most acrylic work, and the slightly offset teeth help clear chips as the blade moves. For all-purpose work, blades in the 7 to 14 TPI range are usually acceptable.
A band saw gives you a little more control than a jigsaw on repetitive curves, and it is often the better call when I have several identical parts to cut. It still leaves a rougher edge than a saw blade designed for straight cuts, but the tradeoff is worth it when the geometry is more important than a showroom finish.
For template work, trimming, or edge shaping, I move to a router with a sharp carbide bit. The point is not to force a curve through a tool that wants to run straight; the point is to choose a tool that matches the path. If I need an internal cutout, I usually drill a starter hole first, then feed the blade into that opening instead of trying to plunge through the sheet and hope for the best.
For highly detailed work, a CO2 laser is still the cleanest option I know. It cuts a narrow kerf and leaves a polished-looking edge, but it can leave internal stress in the acrylic, which is why some parts benefit from annealing after laser cutting. That makes it a very good shop process, not a universal answer for every DIY job.
Once the shape gets complex, the real enemy is no longer the tool itself. It is heat, vibration, and poor support, which is why the next section matters even if you already own the right blade.
The mistakes that ruin acrylic edges
I can usually predict a bad cut before it happens. The sheet flexes, the blade is too coarse, and the feed rate is all over the place. Acrylic does not forgive that combination. If you want clean edges, the cutting setup has to be calm and deliberate.
- Using a general-purpose wood blade with too few teeth.
- Letting too much blade stick above the sheet.
- Feeding so slowly that the acrylic melts instead of cutting.
- Feeding so fast that the blade chatters and chips the edge.
- Skipping full support under the sheet and allowing vibration to build.
- Reusing a dull blade that has already been abused on plywood or MDF.
I read the edge like a diagnostic chart. A chipped top edge usually means the tooth geometry is wrong, the blade is too high, or the sheet is moving. A hazy or melted edge usually means too much heat from a slow feed or a dull blade. Tiny cracks that show up later are often a stress problem, not just a cutting problem, which is why I keep solvents, clamping pressure, and blade choice in the same conversation.
The simplest fix is often the best one: sharper blade, steadier feed, better support. Once those three things are right, acrylic becomes much more predictable.
The setup I would choose for a sign, panel, or custom project
If I were setting up a small project from scratch, I would choose the tool based on the final shape rather than the tool I already had on the bench. For a 3 mm sign face or display insert, I would score and snap it. For a 1/4-inch shelf, machine guard, or clear panel, I would use a table saw with a dedicated triple-chip blade. For a curved logo, notch, or internal opening, I would reach for a jigsaw with an 8 to 13 TPI wavy-set blade, and for production work with intricate geometry, I would seriously consider a CO2 laser.
That is the practical answer I keep coming back to: thin and straight, score it; thick and straight, saw it with a plastics blade; curved or intricate, use a fine blade, router, or laser. In acrylic work, the cleanest edge usually comes from restraint, not force, and the right blade matters more than any single saw model ever will.