Acrylic is one of those materials that rewards patience and punishes guesswork. The cleanest cut depends less on force and more on matching the tool to the sheet thickness, the cut shape, and the finish you need. In this guide, I break down the methods I actually trust for straight cuts, curves, and quick trim work, plus the small setup details that prevent cracking, chipping, and melted edges.
The cleanest result starts with the right method for the sheet
- Thin acrylic, usually up to about 1/8 inch (3 mm), is often best handled with score-and-snap.
- Long straight cuts on thicker sheet are cleaner with a circular saw or table saw fitted with a fine-tooth plastic blade.
- Curves, inside cutouts, and irregular shapes are better suited to a jigsaw or rotary tool.
- Leave the protective film on, clamp the sheet, and support both sides of the cut line.
- Heat is the main enemy: dull blades, fast feed rates, and vibration lead to melting and ragged edges.
- If the cut edge will be visible or glued, plan on finishing it instead of stopping at the saw line.
Choose the cutting method before you touch the blade
My first rule is simple: do not pick the tool first and the cut second. Acrylic behaves very differently depending on whether you are trimming a thin panel, ripping a long straight line, or cutting a small opening in the middle of a sheet. If you choose the wrong method, the sheet usually tells you immediately by chipping, flexing, or heating up.
| Method | Best for | Typical use range | Main advantage | Main risk |
|---|---|---|---|---|
| Score-and-snap | Straight cuts in thin sheet | Up to about 1/8 inch (3 mm) | Fast, quiet, and low cost | Poor choice for curves and thicker material |
| Circular saw or table saw | Long straight cuts | Thin to thick sheet | Clean, repeatable, and efficient | Heat buildup if you feed too fast |
| Jigsaw | Curves and rough interior shapes | Thin to medium sheet | Flexible and easy to steer | Vibration and chatter can roughen the edge |
| Rotary tool | Small notches and detail trimming | Light detail work | Useful in tight spots | Melting if you linger in one area |
| Laser or CNC | Repeat parts and precision profiles | Shop or production work | Excellent consistency and edge quality | Higher cost if you only need one piece |
If I want the shortest path to a clean result, I match the method to the shape first, then to the thickness. That decision makes the rest of the job easier, because the real work starts before the first cut. Once that is settled, preparation becomes the difference between a clean edge and a ruined sheet.
Prepare the sheet so it cuts cleanly
Most bad acrylic cuts start with poor setup, not the wrong saw. I always leave the protective film in place until the job is finished, because it helps prevent scratches and gives me a clean surface for marking. If the sheet does not have film, I use painter’s tape along the cut line so the blade is less likely to mark the surface.
- Measure twice and mark once, ideally on the film side with a fine marker or grease pencil.
- Support the sheet on a flat, clean surface so the offcut cannot drop or vibrate.
- Clamp the sheet firmly, but do not overclamp it to the point that it flexes or stresses the plastic.
- Use a straightedge or guide track for straight cuts instead of freehanding the line.
- Keep a dedicated plastic blade if possible; a blade that has already been dulled on wood or metal will cut hotter and rougher.
For saw work, tooth count matters more than people expect. A practical starting point is around 16 TPI for sheet near 1/8 inch and around 8 TPI for 1/4 inch, with a general working range of 7 to 14 TPI for many saws. I also like to check that the blade is sharp enough to keep heat down, because once acrylic starts to warm and smear, the cut quality drops fast. With the sheet set up properly, the actual sawing becomes much more predictable.
Cut straight lines with a saw
For long straight cuts, a circular saw or table saw is usually the cleanest route. The goal is not speed; it is a steady feed that keeps the blade cutting, not rubbing. I want the saw doing the work, not my hands forcing the sheet through the blade.
Circular saw and table saw setup
On a table saw, I set the blade only slightly above the sheet thickness so there is less exposed tooth and less chance of chipping. On a circular saw, I use a straightedge guide and keep the shoe flat against the surface. In both cases, the saw should be running before it touches the acrylic, and the feed should stay smooth from start to finish.
- Use a fine-tooth blade rated for plastic or laminate.
- Support the offcut so it cannot snap early or pinch the blade.
- Keep the cut line aligned with the guide instead of correcting mid-cut.
- Back off slightly if you hear chatter, see chips increasing, or notice the edge whitening from heat.
- Use a sacrificial board underneath when appropriate to reduce breakout on the underside.
I also clear chips as I go when the setup allows it. A vacuum cleaner or steady air blast can help remove swarf and keep the blade cooler. If the cut is long and visible, I will sometimes make a test pass on scrap first, because one minute of testing is cheaper than replacing a sheet. Straight cuts are only half of the job, though, because thin stock often calls for a much simpler method.
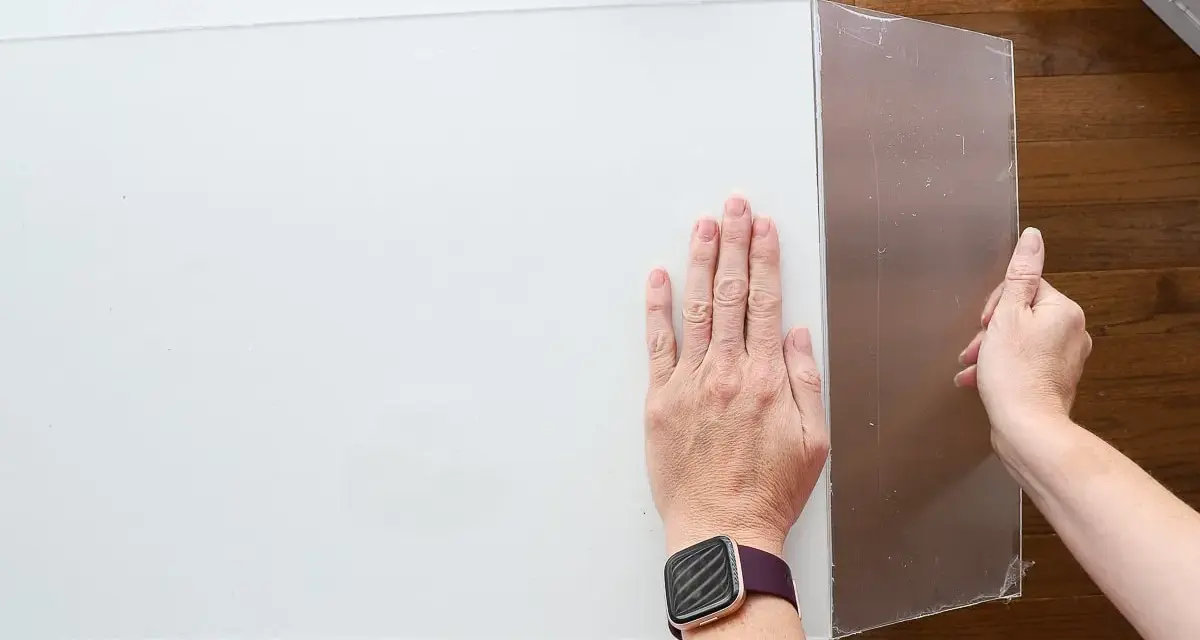
Use score-and-snap for thin, straight cuts
When the sheet is thin enough, score-and-snap is still one of the most practical methods. It is best for straight cuts in sheet up to about 1/8 inch, and I would treat it as a precision trimming method rather than a general solution. It works because acrylic fractures cleanly along a deep score line, but only when the line is straight and the material is not too thick.
- Clamp a straightedge firmly along the cut line.
- Score the line several times with a plastic cutter or sharp utility blade, applying steady pressure on each pass.
- For slightly thicker thin stock, score the opposite side on the same line as well.
- Move the scored line to the edge of a bench or table.
- Apply a quick, controlled downward pressure to snap the sheet cleanly.
I like this method because it is quiet, fast, and does not require a power tool for every small job. It is also unforgiving if you rush it. A shallow score leads to a wandering break, and an uneven snap can leave a jagged edge that needs more cleanup than the cut saved in the first place. For anything thicker, longer, or more visible, I switch to a saw rather than forcing the break. Once the straight options are covered, the next challenge is the work that does not want to be straight at all.
Cut curves and openings with a jigsaw or rotary tool
Curved cuts are where a lot of acrylic projects go wrong, because the material is easy to overwork. Vibration, heat, and hesitation are the usual troublemakers. I keep the pace slow and the blade moving, especially when the line starts turning sharply.
Jigsaw for curves and interior cutouts
A jigsaw is the best general option for curved profiles and openings that start in the middle of the sheet. A fine-tooth blade, roughly in the 7 to 14 TPI range, is a sensible choice, and the sheet should be fully supported to reduce chatter. For an internal cutout, I drill a starter hole large enough for the blade to enter. For tight corners, I often drill a relief hole at the corner rather than trying to pivot the blade through a hard turn.
- Keep the shoe flat on the sheet.
- Let the blade reach full speed before advancing.
- Move slowly enough that the blade cuts, not melts.
- Use relief cuts for tight radii so the offcut can clear without binding.
Read Also: Plexiglass for Windows - Is It Right for Your Home?
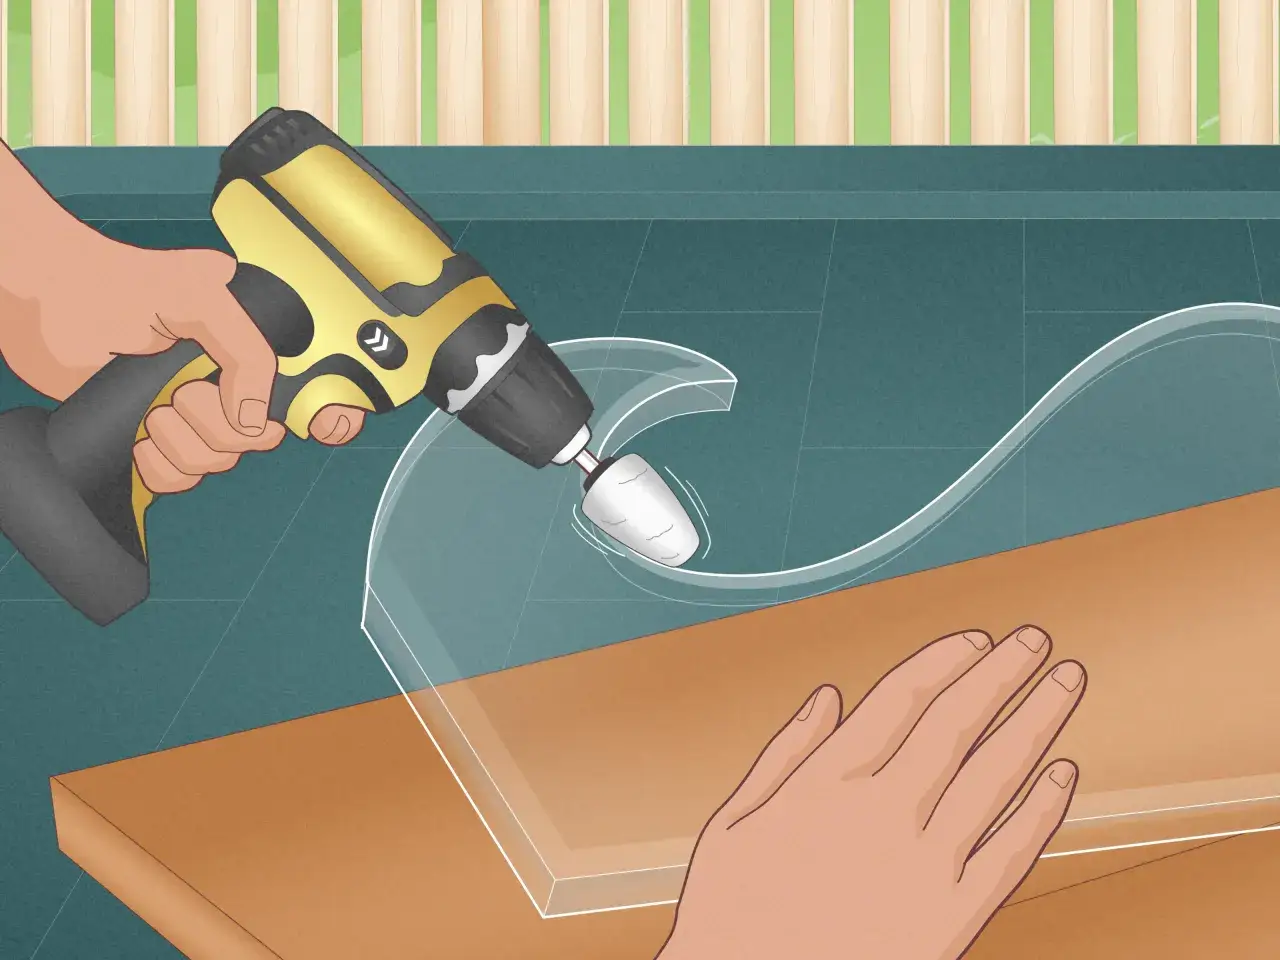
Rotary tool for small detail work
A rotary tool is not my first choice for a major cut, but it is useful for tiny notches, cleanup around corners, and small adjustments after the main cut. The key is to remove a little material at a time. If the wheel dwells in one spot, heat builds quickly and the edge can glaze or soften. For small repairs it is handy; for full-length cuts, it is the wrong tool. Once the shape is in place, the edge still needs attention if you want the job to look finished instead of merely cut.
Finish the edge before you call the job done
Acrylic edges are sharp, and rough edges look unfinished even when the dimensions are right. After the cut, I remove the masking film only when every step is done, then I deburr the edge with a scraper, a fine file, or sandpaper. If the edge will be visible, I step through finer grits until the line looks even and controlled.
- Break the edge lightly first so it is safe to handle.
- Sand progressively rather than trying to polish a rough edge all at once.
- Use a sanding block when possible to keep the edge straight.
- Buff only after the edge is smooth enough to justify it.
For hidden edges, a clean deburr is often enough. For display pieces, covers, signage, or parts that will be bonded, the finish matters more because it affects both appearance and fit. I treat edge finishing as part of the cut, not as optional cleanup. That mindset also helps expose the mistakes that ruin acrylic before they become expensive.
The mistakes that cause cracks, chips, and melted edges
Most acrylic failures are predictable, which is frustrating but useful. Once you know the pattern, the fix is straightforward. The biggest problems usually come from heat, vibration, and poor support, not from the acrylic itself.
- Using a dull blade that was already abused on wood or metal.
- Feeding the sheet too quickly and heating the edge.
- Letting the sheet flex because it is not clamped or supported well enough.
- Removing the protective film too early and scratching the face during the cut.
- Trying to score-and-snap material that is too thick for the method.
- Forcing a jigsaw through a tight curve instead of letting it follow the line naturally.
- Skipping eye protection, hearing protection, or dust control when the tool calls for it.
If I had to reduce all of that to one practical rule, it would be this: do not let the tool decide the pace. Acrylic wants a steady, controlled process, not aggression. When the project gets too detailed, too visible, or too repetitive to justify hand cutting, I start thinking about a shop process instead. That is usually the point where the economics shift.
When I would let a shop process do the precision
There are times when cutting by hand is the right answer, and times when it is just the most expensive way to reach a less accurate result. If I need several identical pieces, tight tolerances, polished edges, or a profile with many small inside corners, I would rather use laser cutting or CNC than keep refining a hand cut. The repeatability alone is worth it.
I also lean toward a shop process when the edge will be bonded, the part will be highly visible, or the sheet is too thick to behave nicely with a handheld tool. For one-off DIY trimming, a sharp blade and careful setup are usually enough. For production work, the cleaner path is often to let the machine do what it does best and save your time for assembly, finishing, and design decisions.
For most projects, the formula does not change: support the sheet, keep the blade sharp, move slowly, and finish the edge with intent. That is the difference between a piece of acrylic that merely fits and one that looks like it was made to belong there.