A 3D printer acrylic project usually means one of two things: printing with PMMA filament or using acrylic sheet around the machine. Those are very different use cases, and the right answer depends on whether you want a clear printed part, a tidy enclosure, or a material that simply looks good but is still easy to work with. I’m going to separate those options, show where acrylic works well, and point out the limits that save time, money, and a lot of failed prints.
The practical takeaway for acrylic and 3D printing
- PMMA filament is workable, but niche. It can produce clean-looking parts, yet it is less forgiving than PLA or PETG.
- Clear parts are usually better made with resin or PETG. FDM acrylic rarely becomes truly optically clear.
- Acrylic sheet is more useful than acrylic filament for enclosures. It gives you visibility, a polished look, and easy fabrication.
- Temperature control matters more than speed. Warping and poor layer bonding are the most common failure points.
- Ventilation is not optional. The EPA notes that 3D printing can release VOCs and ultrafine particles, so airflow and sensible containment matter.
What acrylic means in a 3D printing workflow
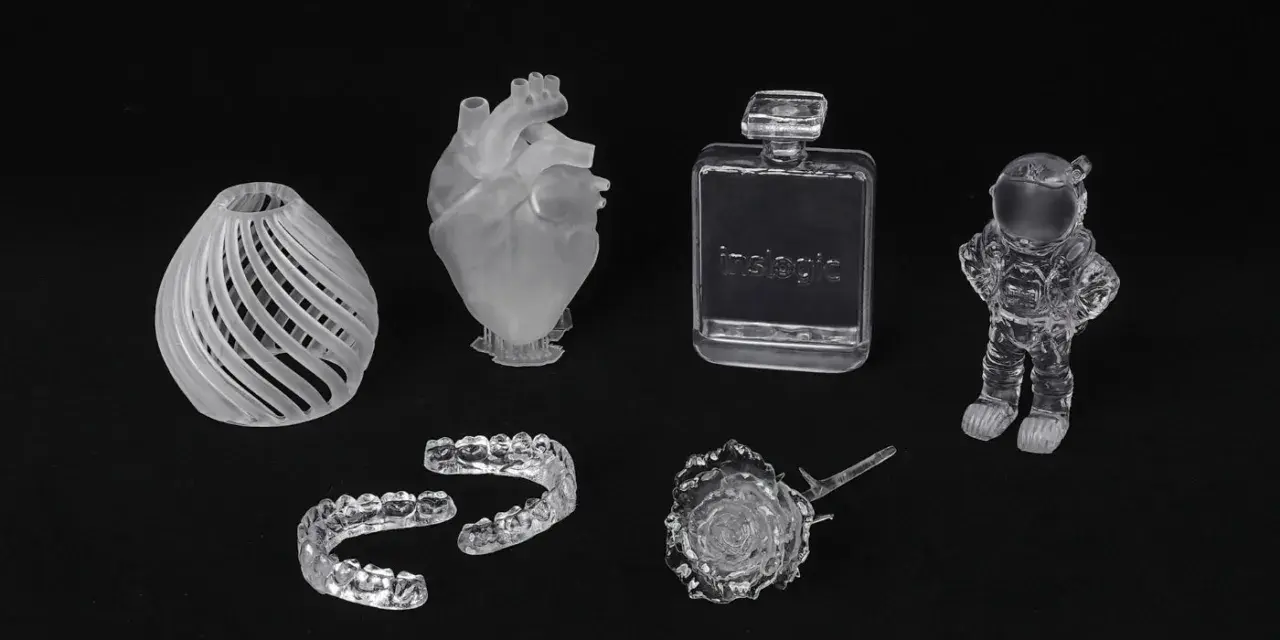
In this context, acrylic usually means PMMA, or polymethyl methacrylate. It is the clear thermoplastic used in sheets, display panels, guards, and the occasional specialty filament spool. When people talk about acrylic and 3D printers, they are often mixing three different ideas: a printable PMMA filament, acrylic sheet used as a machine panel, and acrylic-like transparency achieved by post-processing another material.
I keep those categories separate because they solve different problems. PMMA filament is for the printer itself. Acrylic sheet is for the workshop around the printer. And if the goal is a transparent functional part, the best route is often neither of those. Once you separate the use case, the material choice becomes much clearer.
- PMMA filament is the actual print material.
- Acrylic sheet is usually cut, drilled, or bonded, not printed.
- Acrylic-like parts are often made from clear resin and finished afterward.
That distinction matters because the material that looks best on paper is not always the one that behaves best on the machine, and the next section shows that tradeoff in plain terms.
When acrylic filament makes sense and when it does not
PMMA can be a good choice when you want a rigid, clear-ish part that feels more polished than basic hobby filament. It has a cleaner appearance than most opaque plastics and is often used for light covers, diffusers, decorative inserts, and small transparent components. But I would not call it a beginner-friendly filament. It tends to warp more easily, its process window is narrower, and the results are usually semi-translucent rather than glass-clear.
| Goal | Best choice | Why it usually wins | Where acrylic falls short |
|---|---|---|---|
| Decorative translucent part | PMMA filament | Clean appearance and decent stiffness | Needs tight temperature control and careful tuning |
| Functional printed part | PETG or ABS/ASA | More forgiving and easier to tune | Acrylic is less reliable under stress |
| Optically clear component | Clear resin with post-processing | Better transparency after sanding and coating | FDM acrylic rarely becomes truly clear |
| Printer enclosure panel | Acrylic sheet | Looks clean, cuts well, and stays transparent | Not as impact resistant as polycarbonate |
| High-heat or impact-prone guard | Polycarbonate sheet | Much tougher under abuse and heat | Less scratch-resistant and harder to machine neatly |
The pattern is pretty consistent: acrylic is attractive and rigid, but it is not the most forgiving material. If you need reliability first, there are easier choices. If you need a clean visual result and can control the process, acrylic can still be worth using. That leads directly to the settings that make or break PMMA printing.
How to print PMMA with fewer failures
If I were setting up a PMMA print from scratch, I would start with temperature stability and adhesion, not speed. Acrylic prints are sensitive to drafts, bed prep, and small temperature swings. A good first pass is usually a nozzle around 230 to 255°C, a bed around 60 to 100°C, low part cooling, and a closed or at least draft-free environment. Different brands vary, so the spool data sheet still matters more than any generic range.
- Use an all-metal hotend if your setup runs at the upper end of PMMA temperatures.
- Keep cooling low, usually off or near minimum, unless the print absolutely needs extra bridging support.
- Print slowly, often around 20 to 40 mm/s, because speed usually hurts layer quality before it helps anything else.
- Use a brim if the part has a small footprint or long edges that want to lift.
- Improve first-layer adhesion with glue stick or another bed aid if the part does not grip reliably.
- Dry the filament if needed; moisture is not the main enemy here, but a dry spool still gives more consistent flow.
The detail people miss is that acrylic does not reward aggressive tuning. Push it too hard and you get stringing, blobs, edge lift, or a part that looks clear only in the worst possible way. I also watch infill more closely with PMMA than with many other materials, because higher infill can reduce the translucent effect and add internal stress. This solves the print itself, but the material behaves differently again once you move from filament to sheet stock.
How acrylic sheets work for enclosures and machine guards
Acrylic sheet is where acrylic becomes genuinely useful in a shop setting. It gives you a clean, professional look, good scratch resistance, and enough stiffness for window panels, side walls, and light-duty covers. For many printer enclosures, 3 mm sheets are common for small panels, while 4.5 to 6 mm makes more sense for larger spans or anything that needs extra rigidity.
The downside is that acrylic is more brittle than polycarbonate. It can crack if you over-tighten fasteners, drill carelessly, or leave stress concentrated around holes and corners. I treat it as a polished, neat material rather than a rough-and-ready one. If the machine runs hot, sees impact, or lives in a busy work area, polycarbonate is usually the safer choice.
| Property | Acrylic sheet | Polycarbonate sheet |
|---|---|---|
| Clarity | Excellent | Very good |
| Scratch resistance | Better | Weaker |
| Impact resistance | Lower | Much higher |
| Ease of machining | Easy to cut and polish, but crack-prone | Tougher and more flexible, but harder to keep pristine |
| Best use | Display panels, light shields, clean-looking enclosures | High-heat chambers, guards, and impact-prone builds |
For enclosure work, the real decision is not “Can I use acrylic?” but “Will acrylic stay stable and safe in this specific machine?” If the answer is yes, it is hard to beat for appearance. If the answer is maybe, I start looking at tougher sheet materials before I cut anything.
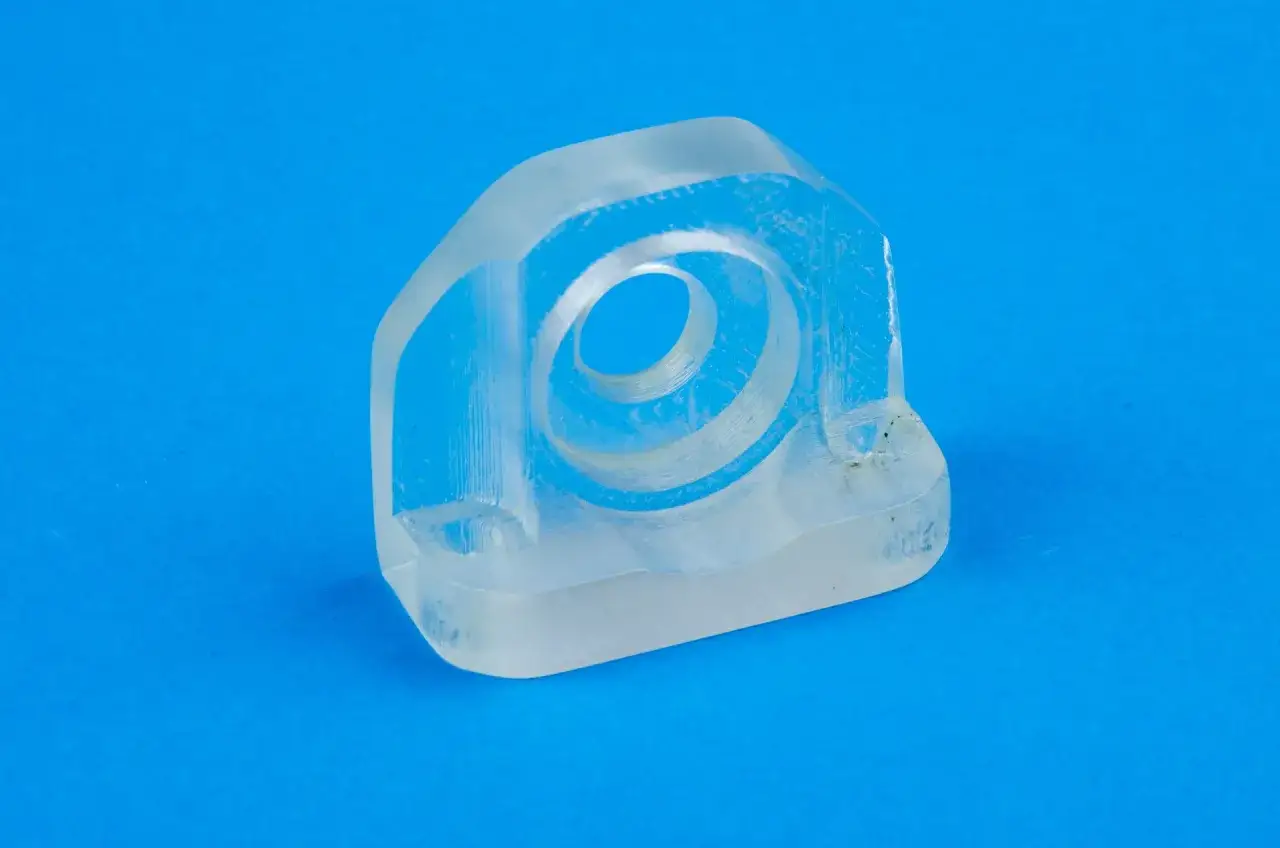
How to get clear parts without wasting time
This is where expectations need to stay realistic. FDM acrylic can be translucent, but it is rarely truly transparent because layer lines scatter light. If the part must look like a lens, a window, or a light pipe, I would not bet on a standard FDM print. Formlabs recommends clear resin plus post-processing when the goal is acrylic-like transparency, and that lines up with what I have seen in practice: the printer gets you the shape, but finishing gets you the clarity.
- Choose the right process first. For optical clarity, clear resin beats FDM PMMA almost every time.
- Keep geometry simple. Flat faces, shallow curves, and minimal internal detail polish much better than complex channels.
- Leave room for finishing. If you plan to sand and polish, design slightly oversized surfaces or accept some dimensional loss.
- Work through the grits. A smooth progression from coarse sanding to very fine polishing is what actually removes the haze.
- Finish with a clear coat or acrylic-safe polish. That is often where the part finally starts to look believable.
Clear PETG can be a useful middle ground when you want durability and some light transmission, but it still will not give the crisp optical look of a properly finished resin part. My rule is simple: if the part needs to look clear, I design for finishing from the start instead of hoping the printer alone will do the job. The last step is making sure the finishing and safety choices do not undo the work.
Finishing, bonding, and safety details that change the outcome
Acrylic rewards careful finishing more than brute force. Sanding works, but it creates fine dust, so I use extraction or a vacuum and wear proper respiratory protection when the job is large. Flame polishing can make edges look excellent, but it can also introduce stress or distortion if the part is thin or the flame lingers too long, so I reserve it for simple edges and test pieces.
Bonding is another place where generic habits fail. Acrylic usually performs best with PMMA-specific cement or solvent-based acrylic adhesive, not a random glue from the drawer. A sloppy bond can go cloudy or brittle, and once the joint is stressed, the crack tends to spread faster than people expect. This is also where ventilation matters most: the EPA notes that 3D printing can release gases and ultrafine particles, and I treat that as a basic workshop requirement, not an alarmist warning.
- Do not rely on smell alone to judge safety or exposure.
- Keep the printer in a ventilated space, especially if you are running specialty filaments.
- Support the sheet when drilling to reduce chipping and edge cracks.
- Avoid overtightening fasteners; acrylic likes clean support, not compression abuse.
Those small habits make more difference than most people expect. A good print can still look cheap if the edge treatment is rough, and a useful enclosure can fail because one hole was drilled too aggressively. With those constraints in mind, the decision gets much simpler.
The setup I would choose for most projects
If the goal is a functional printed part, I would usually skip PMMA and choose PETG, ABS, or ASA unless there is a specific visual reason to use acrylic. If the goal is a truly clear printed component, I would move to clear resin and plan for sanding or coating from day one. If the goal is a clean enclosure panel, acrylic sheet is still one of the best-looking materials available, provided the temperatures and fastening loads are reasonable.
That is the practical way I look at acrylic in 3D printing: good for polished sheet work, possible for specialty filament jobs, and rarely the best route for clear printed parts unless you are willing to fight the process. Choose it when appearance and rigidity matter, choose something tougher when the machine will take abuse, and choose a different printing route when optical clarity is the real objective. The material is useful, but only when the job matches what PMMA actually does well.