Plexiglass scratches look more serious than they often are, but the repair only works if the method matches the damage. The practical answer to how to get scratches out of plexiglass depends on how deep the mark is, whether the sheet is coated or textured, and how much optical clarity you need after the repair. In most cases, light marks can be polished away, while deeper ones need wet sanding before polishing, and a cracked panel is usually better replaced than chased with aggressive abrasion.
The safest repair starts with scratch depth
- If you cannot feel the mark with a fingernail, a plastic polish may be enough.
- If the scratch catches lightly, wet sanding with 1000 to 2000 grit and then polishing usually works.
- If it catches strongly or the sheet is cracking, replacement or professional refinishing is often the better call.
- Always clean first and use acrylic-safe products, because ammonia and harsh solvents can haze the surface.
- Work a slightly wider area than the scratch itself so the finish blends evenly.
Start by judging the scratch, not the product
I always begin with the same test: if I run a fingernail across the mark and it barely catches, I treat it as a light surface defect. If the nail drops into it, the scratch has enough depth that polish alone will usually disappoint. That distinction matters because acrylic repairs are about leveling the surface, not hiding the damage.
| Scratch type | What it looks or feels like | Best first move | Likely outcome |
|---|---|---|---|
| Scuff or haze | Visible in glare, not really felt | Plastic polish only | Often clears fully |
| Light scratch | Faint catch with a fingernail | Wet sand, then polish | Usually blends out well |
| Moderate scratch | Clearly felt, but not gouged | Start with 600 to 800 grit, then step finer | Visible improvement, sometimes a faint trace remains |
| Deep gouge, crack, or crazing | Sharp edge, white stress lines, or cracking | Stop and evaluate replacement | DIY polishing is rarely the right fix |
If the sheet has an anti-glare, matte, or hard-coated finish, I become more cautious. Polishing one spot can make it glossier than the surrounding area, which is sometimes worse than the scratch itself. Once you know where the damage sits, the next step is making sure you are not grinding dirt into the surface while you work.
Clean the acrylic before you polish anything
Scratches get deeper when dust and grit are dragged across the panel, so I clean first every single time. Warm water, a drop of mild dish soap, and a soft microfiber cloth are usually enough for the prep step. Rinse well, dry with a clean lint-free cloth, and inspect the scratch under bright side light before you start.
What I avoid is just as important: paper towels, ammonia-based glass cleaners, acetone, gasoline, and strong alcohol cleaners can leave acrylic cloudy or stressed. The same goes for dirty shop rags that carry metal dust or wood fibers. If the panel has adhesive residue, remove that carefully with an acrylic-safe cleaner before you touch the scratch, because sticky debris turns a small repair into a larger mess.
Once the surface is clean, I decide whether the repair can stay at polish level or needs to be leveled with abrasive paper first.
Use the least aggressive repair that actually works
For hairline marks, I start with a dedicated plastic polish on a clean microfiber cloth and use small, overlapping motions with light pressure. That is the cheapest, safest first attempt, and it works surprisingly well on fine haze and tiny scuffs. If the line remains visible, I move to wet sanding.
- Soak wet-dry sandpaper in water and keep the surface wet while you work.
- For light scratches, begin around 1000 to 1500 grit. For scratches you can feel, start closer to 600 to 800 grit.
- Sand a slightly wider area than the scratch itself until the patch becomes evenly matte.
- Keep pressure light and the paper flat so you do not create dips or ripples.
- Step up through finer grits, such as 1200, 1500, and 2000, without skipping the intermediate stage.
- Finish with plastic polish and a clean cloth to restore clarity.
That sequence is basically the same process acrylic manufacturers document: remove the scratch by leveling the surface, then restore the gloss with polish. I prefer hand sanding on small display panels because it gives me more control over flatness, while a foam pad or low-speed buffer makes more sense on larger sheets where even pressure matters. The important part is patience. Short passes of about 1 to 3 minutes, then inspection under good light, will beat one long aggressive session almost every time.
Pick tools and compounds that actually suit acrylic
Not every “scratch remover” is a good fit for plexiglass. I look for products made specifically for plastics because they are usually fine enough to polish instead of cut too aggressively. A basic kit does not need to be fancy, but it should match the task.
| Tool or compound | Best for | My take |
|---|---|---|
| Plastic polish | Hairline scratches, final shine, light haze | Safest place to start |
| Wet-dry sandpaper | Leveling visible scratches before polishing | Essential when polish alone is not enough |
| Microfiber cloth | Applying polish, buffing, and cleaning | Use clean cloths only; dirty cloths re-scratch the panel |
| Foam pad or low-speed buffer | Large flat areas that need even finishing | Efficient, but easy to overheat or over-polish |
| Flame polishing | Edges and shop work, usually not the face of a panel | Effective in skilled hands, risky for most DIY repairs |
I reach for a dedicated plastic polish before I touch automotive rubbing compound or metal polish. Those compounds can be too aggressive, and acrylic does not forgive much heat or pressure. If I am working on a sign face, sneeze guard, or display cover, I stay conservative. If I am finishing a cut edge in a fabrication setting, I may use more advanced tools, but only after the scratch has already been reduced by sanding.
One more practical point: if you are choosing between hand work and power tools, think about optics, not speed. A slightly slower repair that keeps the sheet flat is almost always better than a fast one that leaves waves in the reflection.
Avoid the mistakes that turn a scratch into a haze
Most bad acrylic repairs do not happen because the wrong brand was used. They happen because the surface was treated like glass or metal. Acrylic softens quickly under friction, so the margin for error is thin.
- Do not sand dry. Dry sanding loads the paper and leaves deeper, irregular marks.
- Do not jump from coarse paper straight to polish. The coarse scratches will still show.
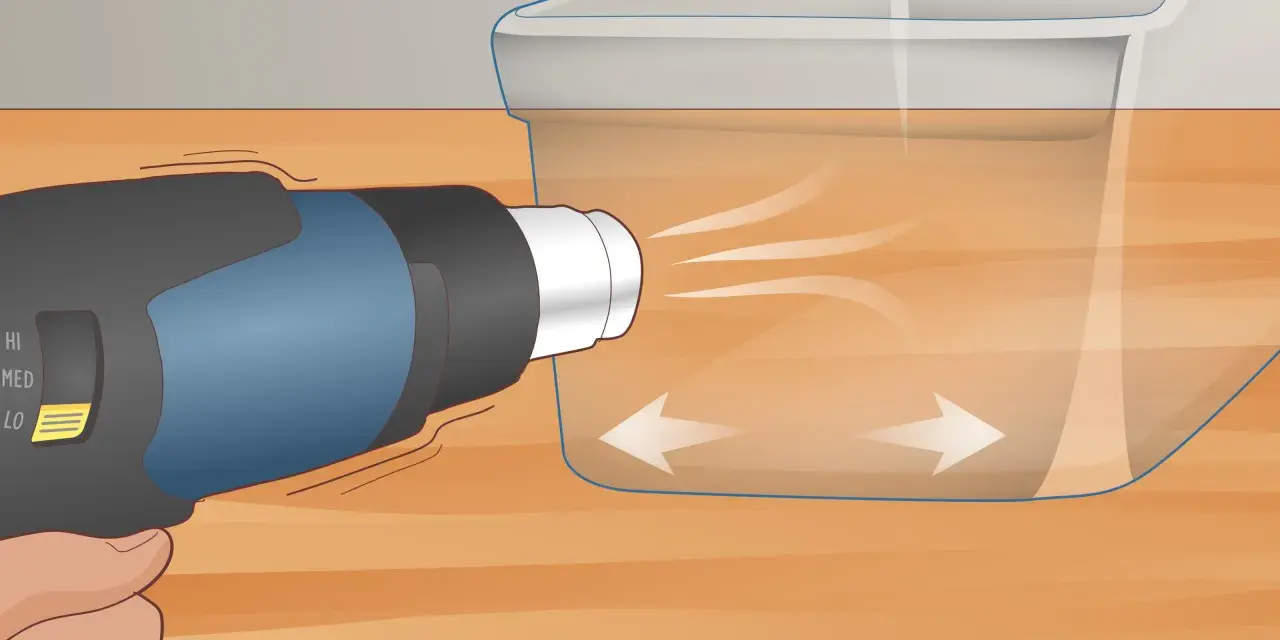
- Do not stay in one place with a machine buffer. Heat can warp the panel or create optical distortion.
- Do not use paper towels or rough rags. They are abrasive enough to create fresh micro-scratches.
- Do not try to fix broad face scratches with a torch or flame unless you already know the material and the risk.
- Do not rely on toothpaste as the main solution. It may dull a very faint scuff, but the result is inconsistent and usually not worth the mess.
I also avoid trying to “spot fix” a scratch too tightly. If I only work the damaged line and ignore the surrounding area, the repaired zone often becomes a shiny or frosted stripe that catches light differently from the rest of the sheet. Blending a little wider keeps the finish more natural.
Once the panel starts looking even and clear, the real question becomes whether you should keep going or stop before you remove more material than necessary.
Know when replacement is the smarter repair
There is a point where polishing stops being a restoration job and starts being an optical compromise. I replace or professionally refinish acrylic when the panel has cracks, stress crazing, a hard coating I cannot safely remove, or a scratch so deep that the sheet would need a lot of material removed to look right again.
That decision is often about function as much as appearance. On a decorative tray, a faint line might be acceptable. On a clear guard, display case, retail sign, or any part where people look through the sheet, distortion matters more. If the reflection turns wavy after two or three grit steps, that tells me I am getting close to the point where further sanding may do more harm than good.
- If you still feel a groove after stepping up through finer grits, the scratch may be too deep for a clean DIY finish.
- If the sheet shows white stress lines away from the mark, do not keep sanding aggressively.
- If the panel is thin near an edge, extra abrasion can weaken it faster than you expect.
- If the finish is textured or matte, repair may permanently change the look of that spot.
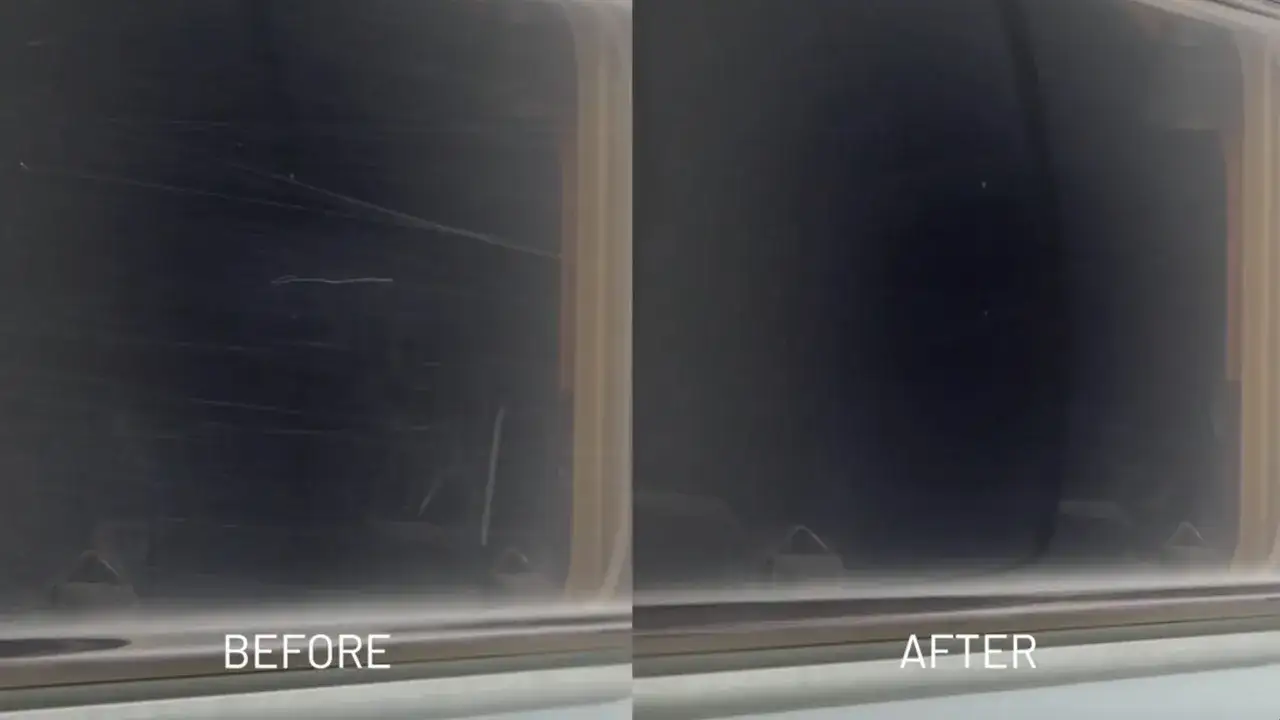
For most surface scratches on clear acrylic, a careful clean, a sensible grit progression, and a proper plastic polish are enough to make the damage disappear or at least become hard to see. My rule is simple: clean first, remove the least amount of material possible, and stop the moment the surface looks evenly clear again. That is the point where the repair looks deliberate instead of overworked.