
What matters before the first pour
- Match the mold style to the part geometry first; the silicone comes second.
- Seal porous masters and keep sulfur off platinum-cure systems.
- Leave about 1 inch of clearance around the model and at least 1/2 inch above the highest point.
- Mix exactly by volume or weight, depending on the product, and pour in a thin stream.
- Demold only after a full cure, then test with the material you actually plan to cast.
Choose the mold format and silicone chemistry
I start by matching the mold to the part, not the other way around. A simple block mold is fast and cheap, a two-piece mold handles more geometry, and a brush-on mold with a support shell is the practical choice when the original has deep undercuts or is too large for a solid block.
| Mold style | Best for | What it does well | Where it falls short |
|---|---|---|---|
| One-piece block mold | Simple shapes, candles, smooth parts, low-risk prototypes | Fast to build, easy to pour, minimal setup | Struggles with undercuts and trapped geometry |
| Two-piece mold | Parts with a clear split line and detail on multiple sides | Better registration and full coverage around the master | More planning, more sealing, more chances to misalign halves |
| Brush-on mold with support shell | Large objects, irregular surfaces, deep undercuts | Thin silicone skin captures detail without wasting material | Needs a rigid shell or mother mold to stay usable |
Silicone chemistry matters just as much as shape. Platinum-cure silicones usually give me the cleanest detail and the lowest shrinkage, while tin-cure systems are the workhorse option when economy and straightforward casting matter more than absolute shelf life. In beginner-friendly systems, 1:1 by volume is common for some platinum silicones, while some tin-cure products mix 100A:5B by weight and cure overnight to 24 hours.
| Silicone type | Typical strengths | Typical limits | Common use case |
|---|---|---|---|
| Platinum-cure | Low long-term shrinkage, long library life, easy detail capture | Sensitive to sulfur and some contaminants | Precision molds, repeat casting, cleaner finish work |
| Tin-cure | Economical, proven, durable enough for many shop projects | Usually shorter library life than platinum systems | Production-style resin, wax, gypsum, and low-melt alloy casting |
The part geometry tells me which chemistry to choose, but the surface of the master tells me whether the silicone will actually cure the way it should. That leads to the step most people underestimate.
Prepare the master so the mold actually releases
Every flaw in the master gets copied, so I repair and clean before I ever open the silicone. Dust, fingerprints, seam lines, pinholes, and uncured residue all show up in the finished mold, which is why prep is usually the highest-value part of the job.
- Wash and dry the master so there is no oil, dust, or release residue from earlier work.
- Fill dents and seams with a material that sands cleanly, then recheck the surface under bright light.
- Seal porous masters such as wood, plaster, and many 3D prints with a compatible clear acrylic coating.
- Avoid sulfur-based clays if you are using platinum-cure silicone; sulfur can inhibit cure.
- Plan the parting line before pouring, because a bad split line creates more cleanup than the mold is worth.
- Use a mold release when the setup calls for it, especially between cured silicone layers or on surfaces that may bond.
I am conservative here because a small contamination issue can waste an entire batch. If I am working around tricky surfaces, I test a small patch first, then move on only when I know the master is stable. Once the master is ready, the rest of the work becomes a matter of control rather than rescue.
Build the mold box and pour the silicone cleanly
Beginner tutorials from Smooth-On follow the same logic I use in the shop: secure the model, build the wall, measure accurately, and pour slowly. The dimensions matter more than they look on paper, because a mold that is too tight, too thin, or too shallow will capture detail but fail in use.
- Fix the master to a flat base with hot glue or another stable adhesive so it cannot float or shift.
- Leave roughly 1 inch (2.54 cm) of clearance around the model so the silicone wall is strong enough to hold its shape.
- Build the mold box from melamine, acrylic, foam board, or another leak-resistant material that fits the size of the job.
- Make sure the box extends at least 1/2 inch (1.25 cm) above the highest point of the master.
- Measure Parts A and B exactly as the data sheet specifies. If the system is by volume, use equal volumes; if it is by weight, use a gram scale.
- Mix slowly and scrape the sides and bottom of the cup so there are no unmixed streaks.
- Pour in a thin stream into one corner of the box and let the silicone rise over the master instead of blasting air into it.
- Tap the box lightly after pouring if you need to encourage trapped bubbles to move up and out.
If the silicone is thick or the master has fine texture, I will degas it when the material and project size justify the extra step. Some low-viscosity platinum systems are forgiving enough that vacuum degassing is optional for many small jobs, but a vacuum chamber still pays for itself on large pours or detailed surfaces. The real rule is simple: pour in a way that protects the detail you want to keep.
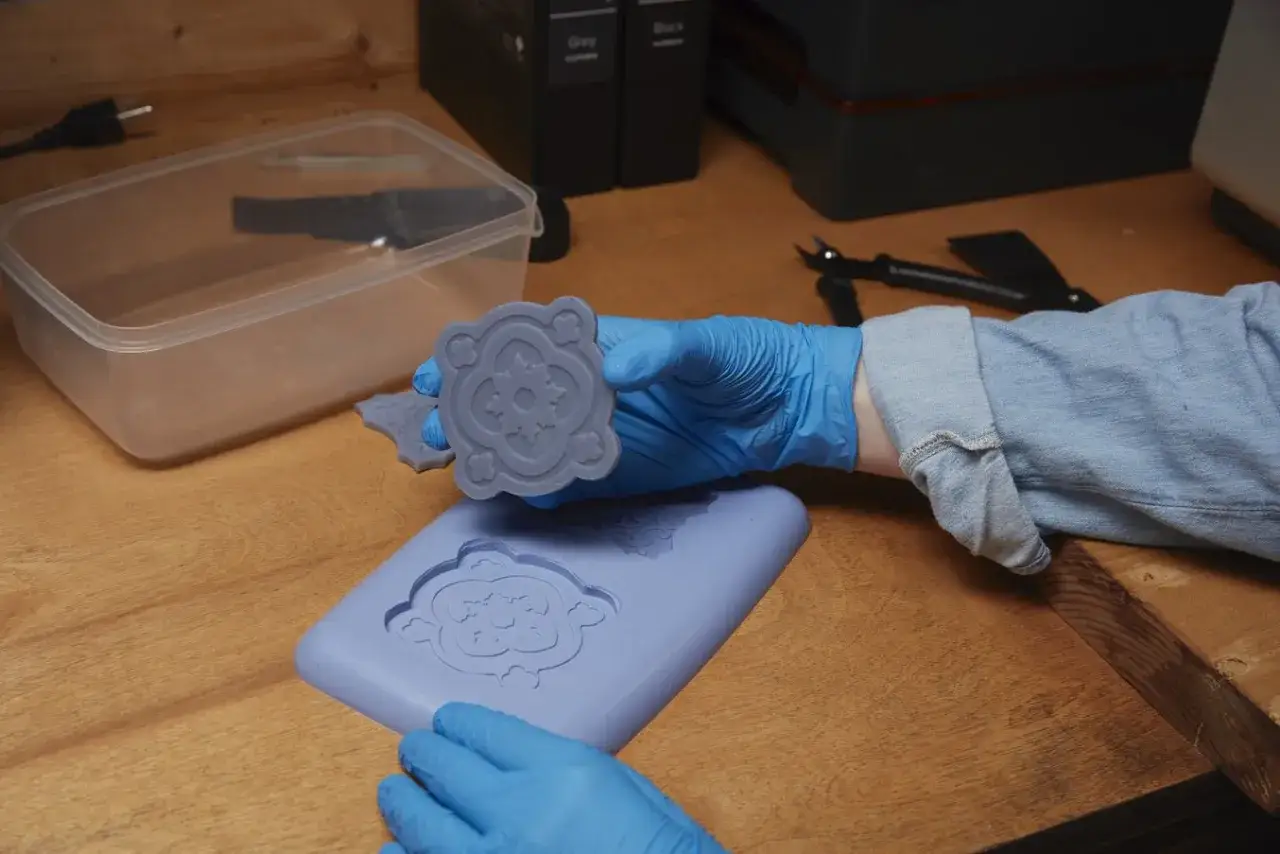
Let it cure fully, then demold without tearing the edges
Silicone can feel ready long before it is actually ready. Some beginner platinum systems cure in about 4 hours at room temperature, many practical molds cure overnight, and heavier tin-cure systems can need 24 hours or more; I follow the product data sheet, not the clock on the bench. Pot life is the usable working window after mixing, and once that window closes, the material should be left alone.
- Do not demold just because the surface is no longer tacky.
- Remove the mold box first, then peel the silicone back over itself instead of pulling straight up.
- Use a fresh blade to trim flash so the cut is clean and the edge does not start tearing later.
- If you are making a two-part mold, use release between cured silicone layers so the halves do not fuse.
- Test the first cast with the actual resin, wax, foam, or other material you plan to run in production.
If you need high-heat capability, a specialty silicone rated for that temperature range can help with low-melt alloys and similar tasks. That is useful, but it still does not turn silicone into a universal thermoforming tool. Which leads to the bigger manufacturing question: when does silicone actually belong in plastics work?
Use the mold for the right manufacturing process
Thermoforming and silicone mold making solve different problems. Xometry describes vacuum forming as a heated sheet being pulled over a mold, which is why the tooling needs to be rigid and dimensionally stable; a flexible silicone tool is excellent for casting resin, wax, foam, or gypsum, but it is not the normal answer for a production thermoforming setup. In practice, I use silicone for duplication and short-run casting, then move to rigid tooling when the part must be formed from heated sheet.| Your goal | Better choice | Why it fits |
|---|---|---|
| Make resin copies, wax pieces, or prototype duplicates | Silicone mold | Flexible release, fine detail, and easy demolding |
| Vacuum-form PETG, ABS, or other thermoplastic sheet | Rigid thermoforming tool | Needs structural stability under heat and vacuum |
| Cast low-melt alloys or use elevated-temperature materials | High-heat specialty silicone or dedicated tooling | Temperature rating becomes the deciding factor |
| Run repetitive, high-volume plastic parts | Production tooling | Cycle time and repeatability matter more than flexibility |
If I am building something for thermoforming, I do not start with a soft mold and hope it behaves like a rigid tool. I start with the process requirements, then choose the material that matches the heat, pressure, and part volume. That avoids a lot of wasted effort and keeps the shop focused on the right fabrication path.
Avoid the mistakes that waste material
Most failed molds are not mysterious. They come from predictable problems: inhibition, trapped air, bad parting lines, or a mold that was never supported properly. The table below is the one I wish more beginners saw before they poured their first batch.
| What you see | Likely cause | What to do next |
|---|---|---|
| Tacky spots or uncured patches | Sulfur contamination, incompatible clay, or residue on the master | Seal the surface, change the modeling clay, and test a small area before repouring |
| Bubbles on the face of the mold | Pouring too fast or skipping degassing on a detailed part | Pour in a thin stream and use vacuum degassing when the setup deserves it |
| Torn edges during demolding | Undercuts too aggressive for the chosen mold style, or demolding too early | Switch to a two-piece or brush-on design and wait for full cure |
| Warped or floppy mold walls | Mold box too thin, or no rigid support shell on a large part | Thicken the wall, add a shell, or reduce the span of the mold |
| Mold halves do not line up | Weak or missing registration keys | Build stronger keys and mark the alignment clearly before the second pour |
If the same flaw shows up in every casting, I assume the process is wrong before I blame the silicone. That habit saves material and time, and it sets up the final step: deciding whether the mold is ready to keep, revise, or retire.
The checks I make before I trust the mold for repeat casts
Before I put a mold on the shelf, I run through a short check that takes less time than fixing a bad production run later. It is a simple habit, but it is the difference between a one-off experiment and a reliable shop tool.
- Confirm that the parting line closes cleanly and the registration keys seat without forcing.
- Check the wall thickness and make sure the mold holds its shape when supported the way it will be used.
- Cast one test part with the exact material the mold is meant to handle.
- Label the mold with the silicone type, mix ratio, and pour date so I can reproduce the process later.
- Store it flat, away from dust and direct sunlight, so the rubber does not distort before the next run.
- Retire the mold as soon as edge tearing, chalking, or distortion starts to show up in the casting.
That routine keeps the work honest. If the goal is a clean duplicate, silicone is still one of the most practical materials available; if the goal is thermoformed plastic sheet, I switch to rigid tooling and let each process do the job it was built for.