Cutting acrylic at home works well when the machine, the sheet, and the workflow are matched correctly. In practice, the difference between a crisp, flame-polished edge and a melted mess usually comes down to material choice, focus, exhaust, and pass count more than raw power. This guide walks through the setup I would use, the acrylic I would buy, and the mistakes that matter most when I explain how to laser cut acrylic at home.
What matters most for clean acrylic cuts at home
- A CO2 laser is the dependable choice for acrylic; diode machines are much less reliable with clear sheet.
- Cast acrylic is better for engraving, while extruded acrylic often gives the nicer cut edge.
- Leave the protective masking on, elevate the sheet, and use strong exhaust so smoke does not mark the surface.
- Thin acrylic usually cuts in one pass; thicker stock may need a slower cut or a second pass.
- Never leave the machine unattended while cutting acrylic, because flare-ups can happen fast.
Start with the right machine, not the wrong expectations
| Machine type | What it does with acrylic | Best use |
|---|---|---|
| CO2 laser | Cuts clear and colored acrylic well, engraves cleanly, and can produce polished-looking edges | Most home acrylic projects |
| Diode laser | Often struggles with clear acrylic and usually performs best on dark, opaque sheets | Small experiments, limited cuts on selected materials |
If the project depends on a clean, transparent edge, I would start with a CO2 machine and skip the wishful thinking. Epilog notes that 30W to 40W systems can handle 1/8-inch acrylic, while 50W to 60W machines are a more comfortable match for 1/4-inch stock. That does not mean power alone solves everything, but it does mean a small desktop CO2 cutter in the 40W to 60W range is the practical sweet spot for home work.
I also keep one rule in mind: a better machine cannot rescue the wrong material. That leads directly to the sheet you choose, which matters more than most beginners expect.
Choose the acrylic that matches the finish you want
| Acrylic type | Best for | Cut quality | Engraving behavior | My take |
|---|---|---|---|---|
| Cast acrylic | Signs, awards, engraved parts, layered designs | Clean, burr-free cuts | Usually better contrast and a more readable mark | My default choice when engraving matters |
| Extruded acrylic | Simple cut shapes, polished edges, basic decorative parts | Often cuts easily and can look flame-polished | Usually a gray, matte result rather than a crisp engraved mark | Good when edge appearance matters more than engraving |
Trotec points out that cast acrylic is usually the better engraving material, while extruded acrylic tends to give the nicer flame-polished edge when it is cut. That lines up with what I see in practice: if I need etched text or a detailed logo to read clearly, I pick cast. If I want a glossy cut edge and the design is mostly vector shapes, extruded can be the easier path.
Thickness matters too. For a home setup, 1/8 inch, or 3.1 mm, is the easiest place to start. At 1/4 inch, or 6.3 mm, the cut becomes more sensitive to focus, airflow, and machine power. I would also leave the masking on both sides unless the manufacturer tells you otherwise, because it protects the surface from smoke, scratches, and handling marks. Once the right sheet is on the bench, the next win comes from machine setup.
Set up the file and machine before the first cut
Most bad acrylic cuts start before the laser ever fires. I keep the artwork as a vector file for cutting, separate any engraving layer from the cut layer, and make sure the cut lines are set correctly in the software. A hairline or the thinnest stroke your program supports is usually the right approach for vector cutting, because the machine should follow a path, not fill a shape.
- Use vector paths for cuts and keep engraving on its own layer.
- Check the part size against the sheet size before sending anything to the laser.
- Understand kerf, which is the thin width the beam removes; press-fit parts often need a small offset.
- Focus on the top surface of the acrylic, or use your machine’s acrylic preset if it has one.
- Elevate the sheet off the bed when possible so the back side does not pick up grid marks or reflections.
- Make sure the exhaust is already running hard enough to pull smoke away from the cut.
- Keep the protective film or masking in place, and cover unused areas of the bed if that helps your airflow.
On some machines, a small focus offset of about 2 mm can improve edge quality on 1/4-inch stock, but I only use that when the machine profile recommends it. If your enclosure smells smoky or the smoke lingers, the airflow is not doing enough. That is the point where I stop tuning power and start fixing the setup, because the laser cannot compensate for bad ventilation.
Once the file and machine are ready, the actual cutting routine becomes much more predictable.
Use a test-first cutting routine
- Cut a small test strip from scrap of the same acrylic type and thickness.
- Start with conservative speed and power, then adjust one variable at a time.
- Watch whether the beam passes through cleanly in a single pass before you commit to the full job.
- Keep the machine under constant observation while it cuts.
- Stop immediately if you see sustained flame instead of a brief flash.
- Let the sheet cool before you remove parts, especially if the design has narrow bridges or small islands.
Thin acrylic can be cut fairly effortlessly when the focus and exhaust are correct, but thicker sheets punish guessing. I would rather make two small test cuts than sacrifice a full sheet because I tried to save five minutes. If the first cut does not go through, I usually clean the optics, recheck focus, and slow the speed before I reach for more power. That sequence solves more problems than people expect.
When the cut succeeds, the edge finish tells you whether the setup is tuned well enough for the next project.
Know when acrylic will look polished and when it won’t
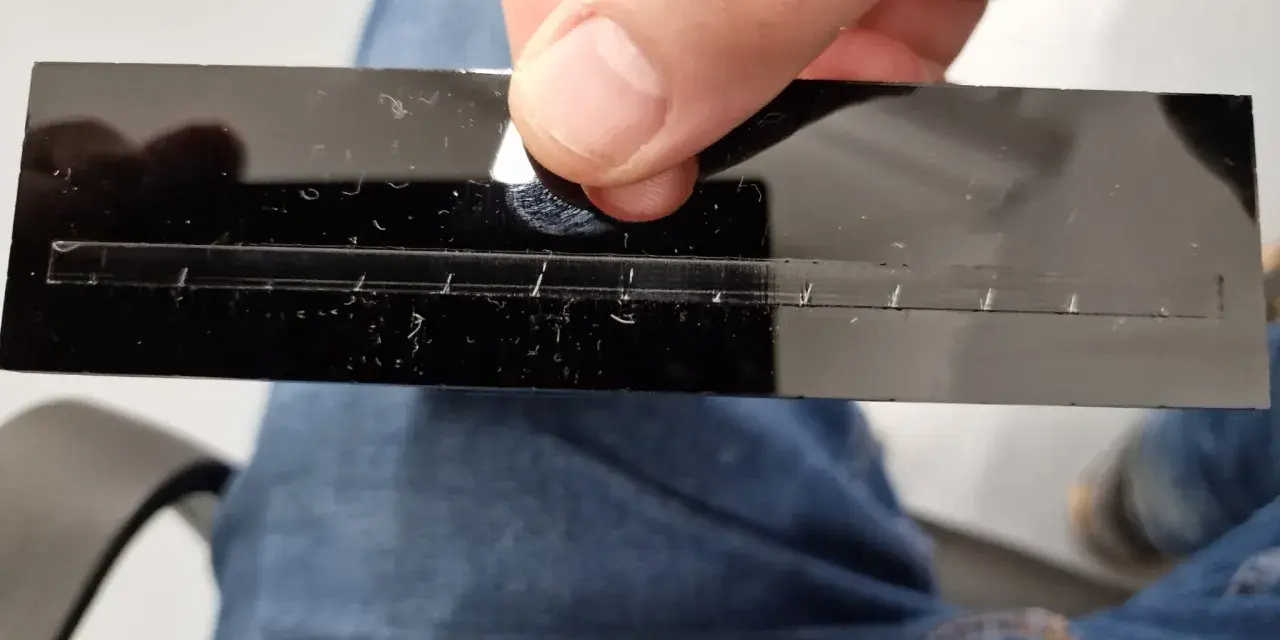
Laser-cut acrylic can come off the machine with a glossy edge because the beam melts the material cleanly as it passes through. That finish is often called flame-polished, and it is one of the main reasons acrylic is so popular for signs, displays, and small precision parts. The effect is real, but it is not magic. It depends on the sheet type, the speed, the focus, and how well the smoke is being cleared.
Cutting finish
Extruded acrylic often gives the strongest polished-edge look during cutting. Cast acrylic still cuts cleanly, but I do not expect every cast sheet to give the same glassy edge as extruded stock. If the cut edge looks cloudy or rough, I usually interpret that as a setup issue first, not a material failure. Too much heat, poor exhaust, or a slightly off focus point can change the finish very quickly.
Read Also: Laser Fonts for Cutting & Engraving - Choose Wisely!
Engraving finish
For engraving, I usually prefer cast acrylic because the contrast is more dependable. Extruded acrylic can engrave to a gray, matte look that is fine for some projects and disappointing for others. If I need a readable logo, depth, or a soft frosted effect, cast is the safer choice. If I am building a layered sign or a decorative piece that is lit from behind, I can use engraving more strategically and let the lighting do part of the work.
Once you understand the finish you are likely to get, the remaining problems are usually easy to diagnose.
Fix the common problems before they ruin the part
| Symptom | What it usually means | What I change first |
|---|---|---|
| Does not cut all the way through | Speed is too high, power is too low, focus is off, or optics are dirty | Clean the lens, refocus, and slow the cut before adding more power |
| Melted or rounded edges | Too much heat buildup or repeated passes | Reduce power, improve airflow, and try to finish in one pass if possible |
| Soot or haze on the face of the sheet | Weak exhaust or the sheet is too close to the bed | Elevate the acrylic, confirm the masking is intact, and strengthen extraction |
| Backside grid marks | The sheet is sitting directly on the table or honeycomb | Use risers, pins, or a proper support method that keeps contact minimal |
| Cracks or warped details | The sheet was stressed, overheated, or cut too aggressively | Use a calmer setting, let the part cool, and switch to better-quality acrylic if needed |
If a part is almost cut but not quite there, I do not usually pile on power and hope for the best. I check the lens, verify the focus, and run a smaller test first. That habit saves material. It also keeps you from masking a real setup problem with a temporary fix that only works on that one sheet.
The last piece is safety, and with acrylic I take it seriously every time.
Treat acrylic like a flammable process, because it is
Acrylic is not a casual material to leave alone in a running laser. Epilog’s manuals are blunt about this for a reason: vector cutting creates the highest chance of flame, and acrylic can ignite if the process is out of control. I never run an acrylic job unattended, even if the cut is small and the machine has behaved well in the past.
- Keep the machine closed and watched while it runs.
- Use proper exhaust or filtration so smoke does not build up in the room.
- Keep a suitable fire extinguisher nearby and know how to use it.
- Clear loose scraps, paper, and other flammables from the enclosure and the surrounding area.
- Do not mix in unknown plastics just because they look similar to acrylic.
- Stop the job if you see sustained flame, not just a brief spark or flash.
In a garage, basement, or spare room shop, I would treat the laser like a tool that demands the same discipline as a saw and a heat source at the same time. Good ventilation, clean optics, and a clear workspace are not optional extras; they are what make the process repeatable. If the room smells wrong or the cut starts acting differently, I stop and fix the setup before I keep going.
The workflow I keep coming back to for home projects
- Choose the sheet first: cast for engraving, extruded when the cut edge matters most.
- Match the machine to the job: CO2 for dependable acrylic work, diode only for limited cases.
- Keep a settings notebook by thickness, color, and finish so the next project starts with real data.
- Test on scrap, not on the finished part, especially when you switch sheet brands.
- Use the first cut as calibration, not as a race to finish the project quickly.
The most reliable acrylic work at home comes from a simple habit: make one controlled test, then trust what the material tells you. Once the setup is right, acrylic is one of the most rewarding plastics to cut because the edges can come off the machine looking finished instead of needing a long cleanup. That is the approach I would use every time, whether the part is a sign, a fixture, or a small custom piece for a larger design.