Can you sand super glue? Yes, once the adhesive has fully cured, and that simple answer hides a few important details. Cured cyanoacrylate behaves more like a hard plastic than a flexible glue line, which is why it can be leveled, blended, and polished on repairs in wood, plastic, metal, and mixed-material assemblies. The trick is knowing when to start, which grit to choose, and how to avoid heat, scratches, or surface damage on the part underneath.
The short version before you start sanding
- Wait for a full cure; a hard surface is not always fully hardened underneath.
- Start around 120 to 150 grit for leveling, then move to 220 for scratch removal.
- Use lighter pressure on plastic and move faster into finer grits to avoid haze and deep scratches.
- A sanding block matters on flat repairs because it keeps the surface flat instead of creating a dip.
- Thin beads sand differently from deep fills; large fills need more cure time and a gentler touch.
- Finishing choice matters if the repair will be painted, stained, or polished to a gloss.
Cured cyanoacrylate sands well, but only after it is truly set
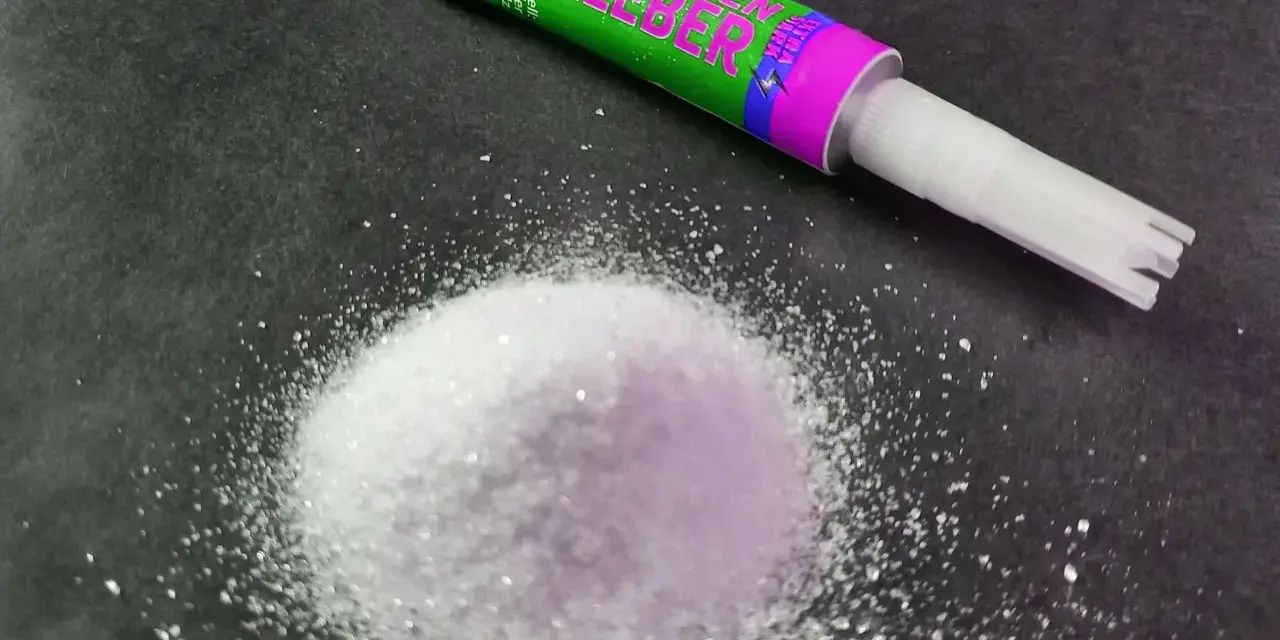
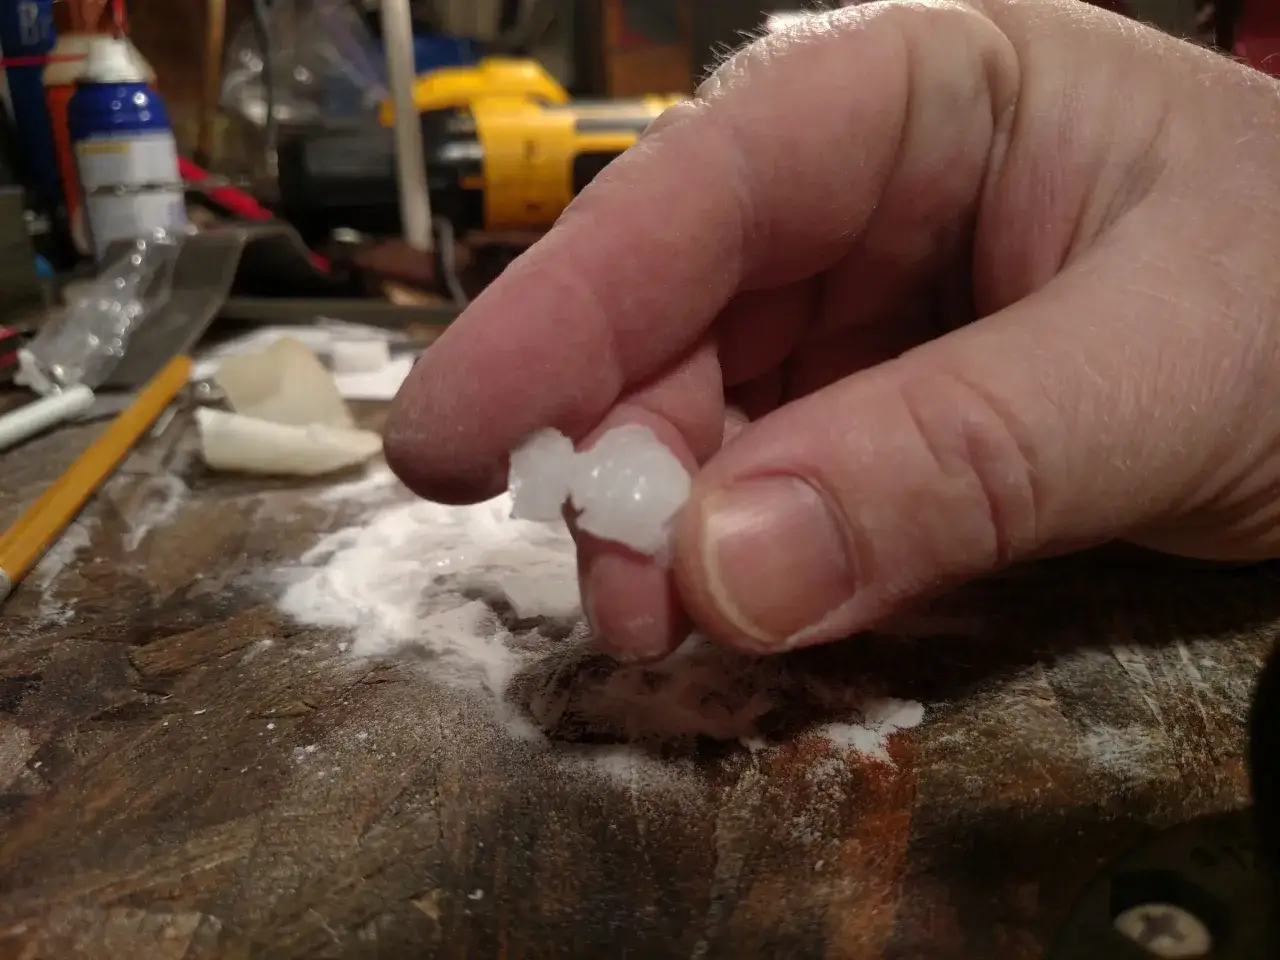
What makes super glue workable after cure is also what makes it tricky: once the chemistry finishes, it becomes hard, rigid, and brittle enough to level cleanly, but that same hardness means it can chip or scratch the surrounding material if you rush the job. I treat it as a surface material, not as a soft filler. If the repair is still green, sanding usually gums up the paper, heats the area, and leaves a smeared ridge instead of a clean transition.
For small repairs, the surface can feel ready in minutes, but I still give thicker fills or anything structural a longer wait, often overnight, before I do the final pass. If accelerator was used, the top skin may set faster, but I do not assume the whole mass has the same hardness right away. Once you understand that behavior, the sanding sequence makes a lot more sense and the repair becomes far easier to control.
How I sand it without wrecking the repair
When I want a repair to disappear, I start with the least aggressive method that will still do the job. A razor blade or sharp chisel can remove a proud bead faster than sandpaper in some cases, but I only use that approach when I can keep the blade flat and away from the substrate. After that, sanding takes over and the goal shifts from removal to blending.
- Confirm the cure first. The repair should feel hard, not rubbery, and it should not dent when I press lightly with a fingernail.
- Level the high spot. On a flat surface, I use a sanding block and begin around 120 or 150 grit. That removes the bulk without digging a hollow around the glue.
- Refine the scratch pattern. Once the bead is flush, I move to 220 grit to erase the heavy marks left by the coarser paper.
- Go finer when the finish will show everything. For visible cosmetic work, I continue with 320, then 400 and beyond using wet/dry paper if I want a smoother transition.
- Keep the pressure light. Let the abrasive cut. Heavy pressure heats the glue, loads the paper, and makes the patch stand out more, not less.
If the repair is on a rounded edge, I sand in short passes instead of long strokes. That keeps the edge profile intact and prevents me from flattening a curve I actually wanted to preserve. The next decision is grit, because that choice controls whether you are shaping a patch or simply polishing it.
Choose grit by the job, not by habit
The right grit depends on how much excess glue is left, what the substrate is, and whether the repair will stay exposed. I usually start a little finer than I would with raw wood because cured CA is already hard and does not need aggressive cutting unless the bead is large.
| Task | Good starting grit | Typical next step | Best use case |
|---|---|---|---|
| Removing a proud bead or ridge | 120 to 150 | 180 to 220 | Wood fills, edge repairs, and any repair that sits slightly above the surface |
| Leveling a cosmetic repair on plastic | 180 to 220 | 320 to 400 | 3D printed parts, housings, and decorative pieces where surface texture matters |
| Preparing for paint | 220 | 320 | Invisible repairs where the final coating will hide minor micro-scratches |
| Preparing for a clear or glossy finish | 400 wet/dry | 800 or finer | Transparent patches, polished plastic, and display surfaces |
On flat parts, I almost never skip the block. Freehand sanding creates a shallow dish around the glue line, especially on soft plastics or thin wood edges, and that is one of the fastest ways to make a repair obvious. Once the grit is matched to the task, the material itself starts to matter more than the adhesive.
What changes when the repair is on plastic, wood, or metal
Super glue does not behave exactly the same on every surface, and the sanding strategy should reflect that. A repair that looks perfect on walnut can look scratched, cloudy, or slightly sunken on ABS or acrylic if I use the same touch everywhere. I adjust my approach based on the substrate, the finish plan, and how visible the repair will be after assembly.
Wood
Wood is the friendliest substrate for sanding cured CA because the adhesive and the grain can be blended together fairly cleanly. I still watch for dark halos if the repair will be stained later, because the glue can wick into nearby fibers and change how the stain takes. For that reason, I prefer to seal surrounding wood first when I know the final finish will be a stain, dark oil, or anything that makes patching obvious.
Plastic
Plastic needs more restraint. Many plastics scratch easily, and acetone cleanup can damage the part if I am not careful. On plastic repairs I usually roughen the bond area first with 120 to 220 grit so the adhesive has a better bite, then sand the cured repair more gently than I would on wood. I also avoid aggressive solvents unless I know the plastic can tolerate them, because one cleanup mistake can ruin a part that was otherwise salvageable.Metal and other hard surfaces
On metal, the challenge is less about softness and more about visible transitions. The glue can still be sanded flush, but the contrast between the shiny substrate and the opaque adhesive makes every scratch stand out. I keep the abrasive fresh and use controlled pressure so I am not polishing one area while gouging another. A small block or sanding stick usually gives better control than a loose sheet in my hand.
Read Also: Gorilla Glue - When to Use It (And When Not To)
3D printed parts
For 3D printed parts, super glue is often used as both a bonding agent and a cosmetic filler, especially when layer lines or seam lines need to disappear. That is where CA earns its place in fabrication work. I use it to fill tiny gaps, then sand progressively finer until the print lines, glue lines, and surface texture all read as one continuous surface. If the part is functional rather than display-grade, I stop earlier and save time where the eye will not notice the difference.
Those material differences are why the same repair can feel easy on one project and frustrating on the next. Even when the substrate is right, a few common mistakes can still make the result look worse than the original damage.The mistakes that make the repair look worse
- Sanding before the glue is fully cured. The paper loads up, the surface smears, and the repair ends up higher than it started.
- Starting too coarse. A heavy grit can cut a trench around the repair before the glue itself is level.
- Using too much pressure. Heat softens the adhesive at the surface and can distort thin plastic or delicate edges.
- Sanding without a block on flat work. Freehand sanding creates low spots that catch light and reveal the patch.
- Using acetone blindly on plastic. Some plastics tolerate it poorly, so cleanup can cause more damage than the adhesive did.
- Expecting one fill to solve a deep void. Large gaps usually sand better when built in stages instead of flooded all at once.
If I notice the glue has sunk after the first pass, I add a bit more and let it harden again rather than forcing the level with a coarse grit. That extra patience usually saves the surrounding surface, and it leads directly into the finishing step, where the repair either disappears or becomes a shiny reminder of the fix.
How I finish the repair after the sanding marks are gone
Once the glue is flush, I decide whether the job is meant to be hidden, painted, or polished. If the surface will be painted or covered with an opaque finish, 220 to 320 grit is often enough because the topcoat will do the visual work. If the repair must stay visible, I keep stepping up through finer wet/dry paper until the scratch pattern is small enough that light does not catch it.
For glossy plastic, I prefer a gentle progression into 400 and 800 grit, then a plastic polish or fine compound if the part needs to look clean rather than merely flat. For wood, a careful finish schedule matters just as much as sanding, because a poor topcoat can make a repaired spot flash under light even when the surface is perfectly level. In my own shop, I get the best results when the repair is sanded clean, the dust is removed completely, and the finish is chosen to match the substrate instead of fighting it.
The main thing I want readers to take away is simple: cured super glue is absolutely sandable, but the real success comes from timing, grit choice, and restraint. If I treat it like a hard, brittle surface material rather than a soft filler, I can usually turn a messy bead or small void into a repair that blends into the part instead of drawing attention to itself.