Resin parts reward a precise adhesive choice. In practice, the best super glue for resin models is usually a cyanoacrylate formula that matches the size of the joint, the weight of the part, and how much alignment time you need. This guide breaks down which glue types actually hold on resin, which bottles I would shortlist first, and how I prep and bond parts so the joint survives handling, transport, and cleanup.
The fastest path to a solid resin bond is choosing the right CA viscosity and preparing the joint properly
- Medium CA is the safest all-round choice for most resin kit seams and medium-sized parts.
- Gel CA is easier to control on vertical joins, awkward angles, and tiny contact points.
- Epoxy makes more sense for heavy, load-bearing parts, large contact surfaces, or gaps that need filling.
- Washing off mold release and lightly roughing the mating surfaces usually improves adhesion more than switching brands.
- If a joint carries weight, pinning it with brass rod or a paperclip can matter more than the glue itself.
- For most hobby buyers in the U.S., a useful CA bottle usually lands in the $5 to $15 range, with premium kits higher.
Why cyanoacrylate usually wins on resin
Resin does not respond to plastic cement the way styrene does, so I almost never treat it like a normal plastic kit. Super glue works because it bonds to the surface rather than trying to chemically melt it, which is exactly what resin needs. Loctite points out that super glue or two-part epoxy both work for resin, but the real decision is about speed versus durability: CA is faster, while epoxy is stronger and more forgiving on larger joints.
That is why I think in terms of viscosity before I think in terms of brand. Thin CA wicks into tight seams, medium CA gives a better balance of control and strength, and gel CA stays where I place it instead of running all over fine detail. Resin models often have small contact patches and delicate parts, so the adhesive that behaves best is usually the one that lets me place a tiny amount exactly where it belongs.
If you only remember one rule, make it this: for resin, the bond quality depends as much on preparation and fit as it does on the bottle. Once that is clear, choosing the right product becomes much easier.
The glues I would shortlist first
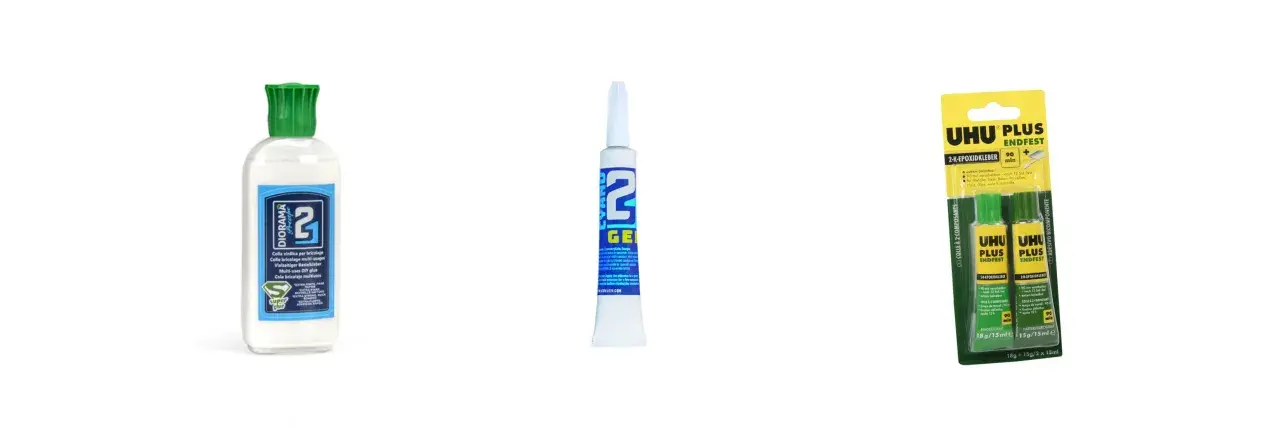
I would narrow the field to a few practical options rather than chasing a mythical one-size-fits-all bottle. The right choice depends on whether you need speed, control, gap tolerance, or extra toughness. In the U.S. hobby market, a standard CA like Starbond’s medium formula currently sits around the middle of the price band, while mass-market gels often come in cheaper and premium hobby kits can climb quickly once accelerator is included.
| Product | Best for | Why it stands out | Trade-off | Typical U.S. price |
|---|---|---|---|---|
| Starbond Medium CA | Most resin kit joints, pinned parts, general hobby assembly | Medium viscosity is versatile, sets in about 10 to 15 seconds, and the brand’s 2 oz pro kit is listed at $12.50 | Can wick into detail if you use too much | $10-$15 |
| Loctite Super Glue Ultra Gel Control | Vertical seams, beginner-friendly assembly, parts that need a little repositioning time | Gel formula gives better control and a less frantic working pace | Too thick for the tiniest capillary seams | $5-$10 |
| Gorilla Super Glue Gel | Quick repairs, small resin components, everyday bonding | Dries fast, resists impact better than basic bargain glue, and is easy to find in U.S. stores | Less specialized for very fine model work | $5-$8 |
| Bob Smith Industries IC-2000 | Heavier joins, parts that need a tougher bond, model pieces that get handled a lot | Rubber-toughened CA adds a bit of flexibility and shock resistance | Black color can show if the seam is visible | $8-$15 |
| Two-part epoxy | Large resin figures, load-bearing connections, awkward gaps | Best when strength and gap filling matter more than speed | Slower and messier than CA | $6-$20 |
If I want one bottle for most resin kits, I start with a medium CA. If I know the part will hang off the model, get touched often, or carry a lot of weight, I move straight to epoxy or a tougher CA and often add a pin. That decision saves more failed builds than any brand loyalty ever will.
How I prep resin parts before the glue goes on
Before I open the glue, I treat resin like a surface-prep job. Warhammer Community recommends dry-fitting and trimming uneven joins before gluing, and that advice matters because resin often looks fine until two parts actually meet. A glossy or slightly greasy surface can sabotage even a good adhesive, so I want the bond faces clean, flat, and as well matched as the kit allows.
Wash off mold release first
Most resin kits pick up residue from the casting process, and that residue can interfere with both glue and paint. I wash parts in warm water with a drop or two of dish soap, scrub lightly with an old toothbrush, rinse them, and let them dry completely. If the parts still feel slick, I repeat the wash instead of blaming the glue.
Dry-fit before committing
Dry-fitting is where I catch the obvious problems: warped contact points, part numbers that need trimming, and seams that want to sit at an angle. If the fit is uneven, I file or sand the mating faces before I reach for the bottle. Even a few strokes with 320- to 600-grit paper can turn a weak, hairline contact into a much better bond.
Use the right amount, not more glue
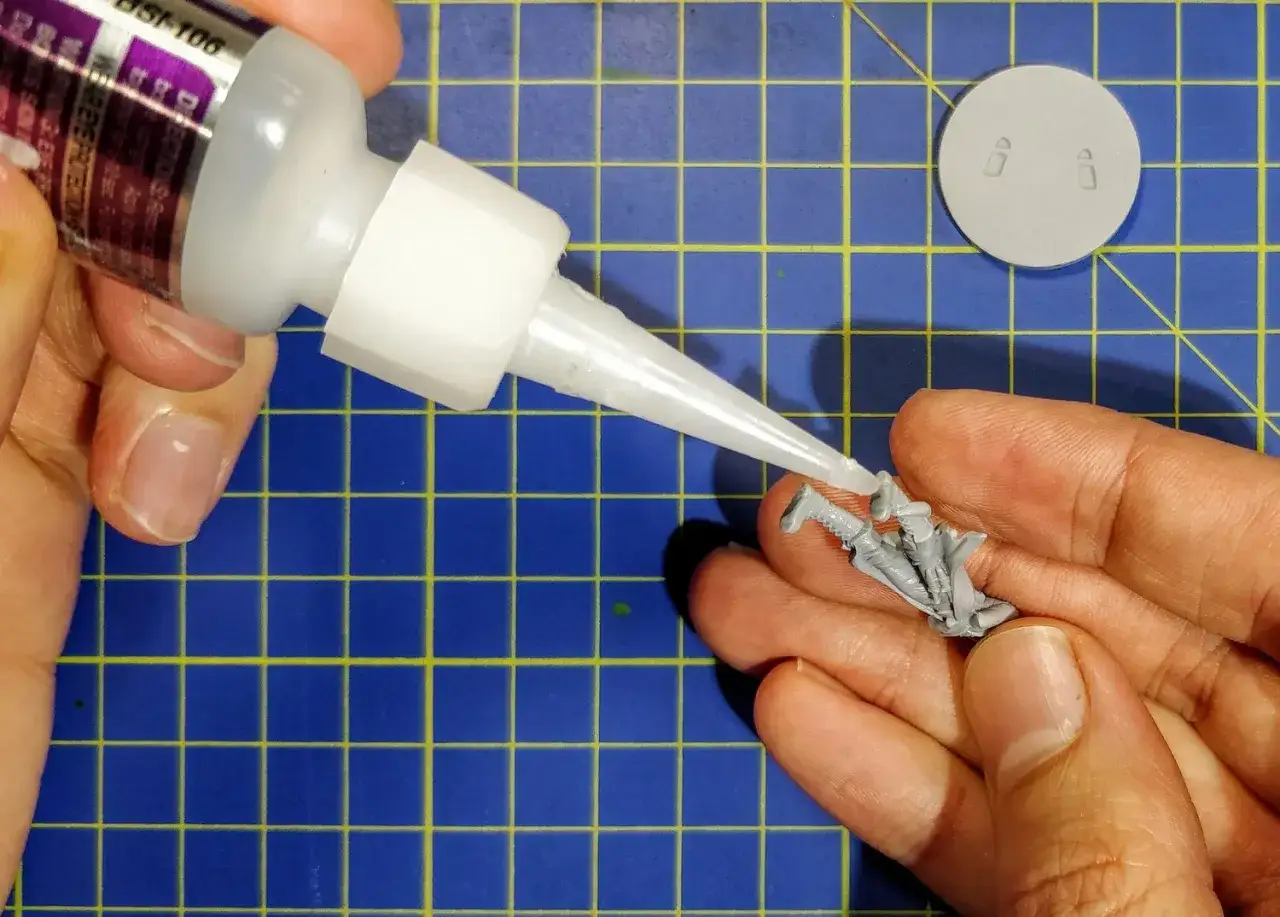
With CA, excess glue is usually the enemy. I apply a tiny amount to one side, press the parts together, and only add more if the joint truly needs it. Too much glue slows the set, increases squeeze-out, and leaves a messy seam that is harder to sand than the original joint.
Pin heavy parts when the model needs it
For larger arms, banners, backpacks, bases, or anything that hangs off the body, I often drill matching holes and insert brass rod or a clipped paperclip. That small metal pin does not replace the glue; it gives the joint mechanical strength so the adhesive is not carrying all the stress by itself. For resin, that is often the difference between a model that survives display use and one that keeps snapping at the same point.
Read Also: Loctite vs Gorilla Glue for Plastic - Which is Best?
Use accelerator carefully
Accelerator can be useful when I need a part locked in place quickly, but I do not flood it into every seam. It can shorten working time so much that alignment becomes harder, and on some finishes it can leave a white bloom around the joint. I treat it as a tool for stubborn situations, not as the default way to assemble everything.
Once the prep is right, the next question is not which bottle to buy but when CA is no longer the smartest choice.
When epoxy beats super glue
I reach for epoxy when the joint is carrying real weight, when the parts do not mate cleanly, or when I want more open time to adjust the fit. CA is fast, but epoxy is more forgiving on big resin figures and awkward assemblies because it fills gaps better and gives me time to correct alignment before it sets. That is especially useful on large display pieces, scenic bases, or converted models where the original join was never designed to do much.
Epoxy also makes sense if the part will be handled a lot. Bob Smith Industries notes that its epoxies are mixed 50-50, which is one reason hobbyists like them for larger assemblies: the workflow is simple, and the bond can be stronger and less brittle than a basic super glue joint. The trade-off is obvious, though. Epoxy is slower, messier, and less convenient for tiny parts that need instant tack.
My own rule is blunt: if the piece is heavy, visible, and irreplaceable, I would rather tolerate epoxy’s mess than trust a tiny CA dot to do all the work. If the part is small and the fit is good, CA usually stays the better tool.
The mistakes that make resin joints fail
Most weak resin bonds come from process errors, not from the glue being inherently bad. I see the same mistakes over and over, and they are easy to avoid once you know what to look for.
- Using plastic cement on cured resin, which does not give the chemical weld people expect from styrene.
- Skipping the wash and leaving mold release on the surface.
- Applying too much CA, which creates squeeze-out and slows the cure.
- Moving the joint too early before the adhesive has developed enough strength.
- Trusting glue alone for heavy parts that should really be pinned.
- Ignoring the fit and trying to fill a bad joint with glue instead of fixing the contact surfaces first.
One more thing matters here: resin dust. If I sand or file resin, I keep the area ventilated and avoid breathing the dust directly. Good glue cannot rescue a sloppy prep workflow, and in resin work the prep workflow is half the job.
My buying rule for the next resin build
If I had to keep the shopping list short, I would use a very simple rule. For most hobby projects, I would buy one medium CA as the main adhesive, one gel CA for vertical or awkward joins, and one small epoxy pack for heavy or gappy connections. That combination covers almost everything a resin model builder runs into without forcing a lot of trial and error.
For quick practical decisions, I use this shortcut:
- Small, clean seams - medium CA.
- Vertical or awkward parts - gel CA.
- Heavy, load-bearing joins - epoxy plus pinning.
- Parts that must stay flexible - rubber-toughened CA like IC-2000.
That is the real answer behind the best resin-model adhesive choice: not a single miracle product, but a small set of adhesives matched to the job. If the parts are cleaned, fitted, and supported properly, even an ordinary CA can perform extremely well; if the joint is demanding, choosing the right glue and reinforcing the bond will save the build.