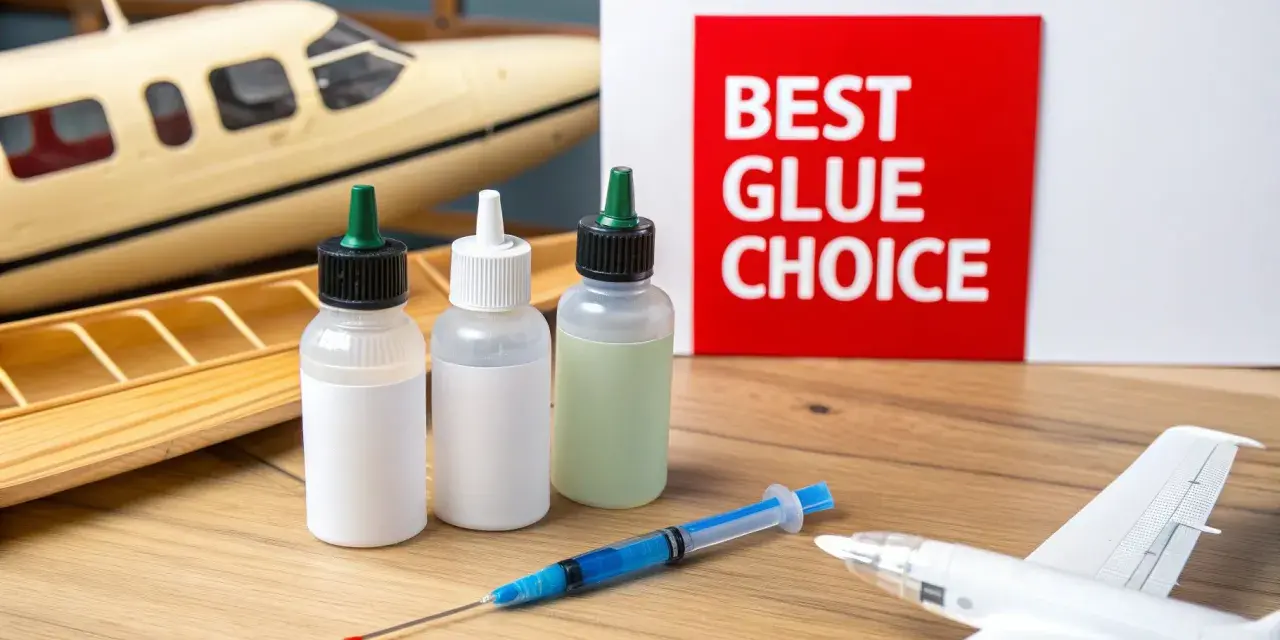
Styrene model kits reward the right adhesive and punish the wrong one. The best glue for styrene plastic models is usually not a generic super glue at all, but a solvent cement that softens the plastic and fuses the seam. The catch is that different parts of a build call for different products, and one bottle rarely handles every job well.
The right adhesive depends on the part, not just the kit
- Styrene-to-styrene joints are usually best handled with liquid solvent cement because it chemically welds the parts together.
- Clear parts need a non-fogging option such as clear parts cement or canopy glue.
- Resin, photo-etch, and metal details are better suited to CA or epoxy than plastic cement.
- Thin liquid cement is ideal for tight seams and capillary action, while thicker cement gives more working time.
- Good fit matters more than brand; the cleanest bond starts with dry-fitting and aligned parts.
What solvent cement actually does to styrene
For most model kits, the smartest choice is a solvent-based plastic cement. Instead of sitting between the parts like a normal glue, it softens the mating surfaces and lets them fuse into one seam. That is why a well-made styrene joint can end up stronger and cleaner than a surface bond from super glue.
In practice, that matters in three ways. First, the joint is usually easier to sand because there is less hard adhesive line to scrape away. Second, the finish looks better because the parts merge instead of sitting side by side. Third, the bond tends to hold up better on long seams such as fuselages, hulls, wings, and armored vehicle tubs.
I usually think of solvent cement in two categories. Thin liquid cement flows by capillary action into a pre-fitted seam, which is why it is so popular for modern kits. Thicker cement gives a little more working time and is more forgiving when a part needs to be positioned more carefully. Once that chemistry is clear, picking the right bottle becomes much less mysterious.
Which adhesive I would choose for each job
When people ask for the strongest option, I usually answer with a more useful question: strongest for what? A canopy, a tank hull, and a photo-etch bracket do not want the same adhesive. Here is the practical breakdown I use on the bench.
| Adhesive type | Best for | Why it works | Main limitation |
|---|---|---|---|
| Thin solvent cement | Most styrene-to-styrene joints, especially tight seams | Flows into the joint and welds the plastic with very little cleanup | Can be unforgiving on poor fit and unsafe for clear parts |
| Thicker plastic cement | Larger parts, beginner builds, small alignment corrections | More control and a slightly slower grab | Messier than thin cement and easier to over-apply |
| CA glue | Resin, photo-etch, metal pins, quick repairs | Bonds dissimilar materials fast and works where solvent cement cannot | Brittle on long seams and can fog clear parts |
| Epoxy | Nose weights, stressed joints, mixed-media assemblies | Strong, gap-filling, and gives more working time | Slower, bulkier, and less convenient for tiny details |
| Clear parts cement or canopy glue | Windows, canopies, lenses, transparent housings | Dries clear and reduces fogging risk | Usually weaker than solvent cement or epoxy |
If I were building in the US and wanted a simple, reliable setup, I would look for a thin solvent cement such as Tamiya Extra Thin or Testors Liquid Cement first. Tamiya’s Extra Thin comes in a 40 ml bottle with a brush in the cap, and its job is exactly what model builders want: it flows into small gaps and seams. Testors also sells plastic cements and a clear parts cement for transparent styrene. That combination covers most plastic-kit needs without forcing one product to do every job.
The important detail is not just the brand. It is the task. A product that excels on a wing seam can be the wrong choice for a canopy, and a great CA glue can still be the wrong answer for a long styrene joint. That distinction is what saves a model from avoidable cleanup later.
How to apply liquid cement for the cleanest seam
The best adhesive in the world cannot rescue a sloppy joint, so application matters. My routine is simple: dry-fit first, align the parts, hold them under light pressure, and then apply thin cement sparingly to the seam. On a good joint, the liquid will wick in on its own. You do not need to paint the part like you are varnishing it.
For long seams, I prefer to work in short sections. I tack the parts together, touch the brush to the joint, and let capillary action do the rest. On a fuselage or hull side, that usually gives me more control than flooding the entire length at once. If a seam needs more authority, I go back with a second pass instead of trying to solve everything in one heavy application.
Surface prep is half the battle. Scrape paint and primer off the contact points if the parts are already finished, because solvent cement needs bare plastic to do its job. For a load-bearing joint, I still wait overnight before sanding aggressively, even if the surface feels dry much sooner. Humbrol’s Liquid Poly and Poly Cement, for example, are described as surface dry in 10 to 20 minutes and fully dry in about 1 hour, but a modeler usually benefits from giving structural joints more time than the label minimum.
That workflow changes once the parts are clear, metal, resin, or already painted, which is where a different adhesive earns its place.
When CA, epoxy, or canopy glue is the better call
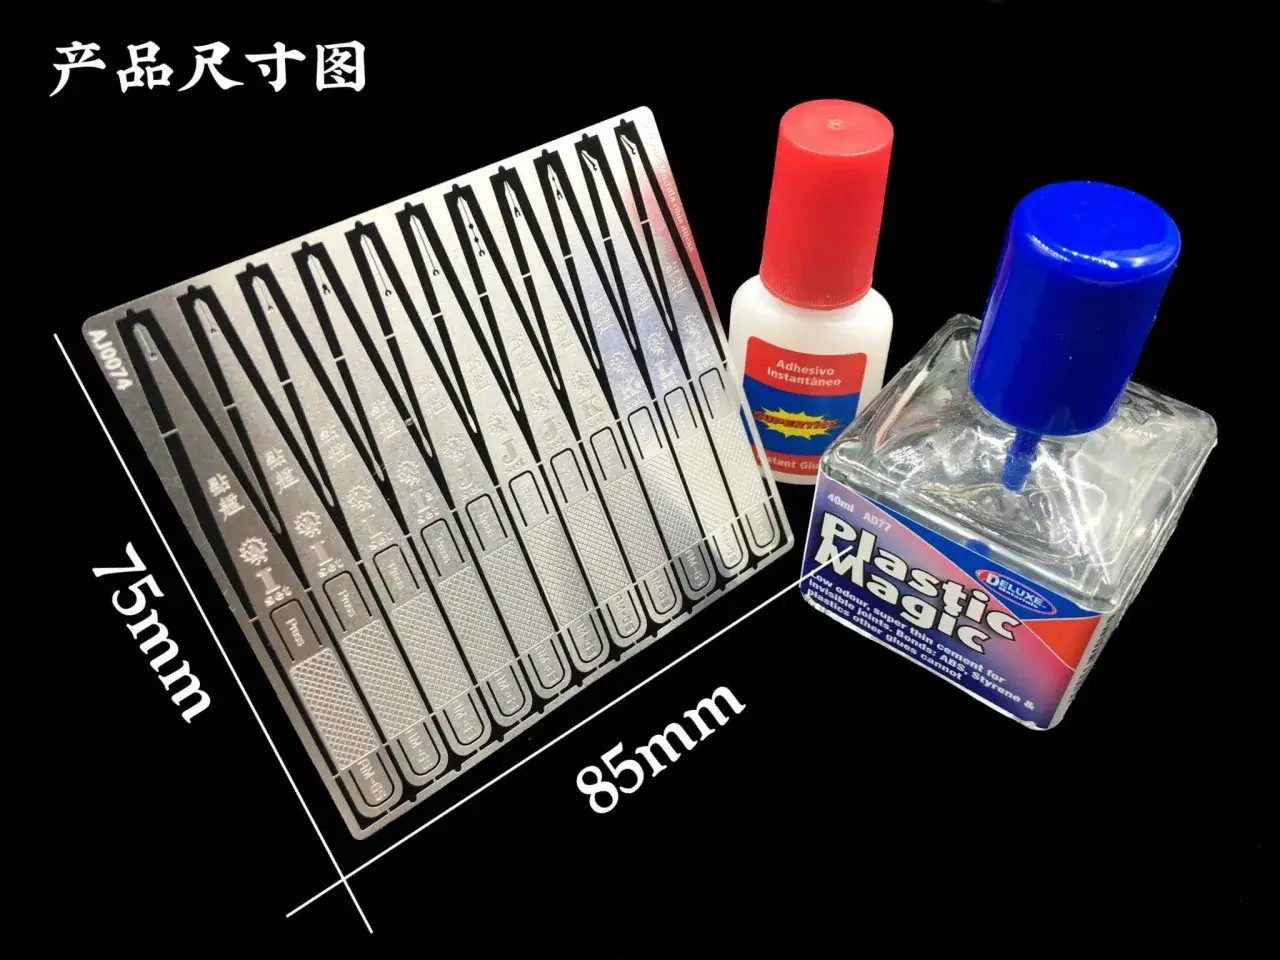
CA glue is useful, but I do not treat it as a universal model cement. It is the right choice when the parts are not both styrene, or when the bond has to grab quickly. Photo-etch seatbelts, brass railings, resin cockpit inserts, antenna wires, and metal detail parts are all sensible CA jobs. If the joint is tiny and the fit is good, CA can be exactly what you want.
Epoxy earns its keep when I need more working time or a gap-filling bond. Nose weight is the classic example. So are large mixed-media assemblies where a part needs to stay adjustable long enough to align properly. Epoxy is also my fallback when I want strength without relying on a very thin seam. It is slower, but that slower cure is often the price of flexibility.
Clear parts are different again. Canopies, windscreens, lenses, and glazing do not like standard solvent cement, and they often do not like CA either because of fogging. That is why clear parts cement, canopy glue, or a PVA-style adhesive is the safer route. The bond is usually not as aggressive, but it is transparent, cleaner, and much less likely to ruin a clear part at the last minute.
There is one more category worth mentioning: mixed styrene and ABS. Most kit parts are styrene, but some accessories and subassemblies are ABS. Tamiya even sells a dedicated ABS cement, which is a reminder that not every plastic behaves exactly the same. Once you stop assuming one adhesive fits everything, the build gets easier fast.
The mistakes that ruin otherwise good joints
Most adhesive problems on styrene are not caused by a bad product. They come from a few very predictable mistakes.
- Using super glue for a long styrene seam when a solvent cement would have created a cleaner welded joint.
- Skipping dry-fit checks and discovering misalignment after the cement has already started to bite.
- Flooding the seam so the plastic softens too much, oozes out, or marks the surface.
- Bonding over paint or primer and expecting a plastic weld to happen through a coating layer.
- Using solvent cement on clear parts and ending up with fogging or stress marks that do not polish out easily.
I also see beginners overestimate how much adhesive they need. With styrene, more liquid is rarely better. The joint should be controlled, not drenched. If you can see a bead sitting on top of the part for long, you probably used too much. Clean joints come from restraint, not force.
Avoid those mistakes and the remaining choice becomes much simpler: you are mostly choosing between speed, working time, clarity, and how many different materials are in the build.
The small adhesive kit I would keep on the bench
If I were setting up a model-making bench from scratch, I would not buy a dozen glues. I would keep a small, practical lineup that covers nearly every styrene build without clutter.
- One thin liquid solvent cement for the majority of styrene joints.
- One thicker plastic cement for larger parts, beginner-friendly work, or slower assembly.
- One CA glue for resin, metal, photo-etch, and quick repairs.
- One clear-parts adhesive for canopies, windows, and lenses.
- One small epoxy only if you build heavy or mixed-media subjects often.
That is the setup I trust because it respects the material. Styrene wants a solvent bond, clear parts want a non-fogging adhesive, and mixed media wants something stronger than plastic cement alone. If you keep those jobs separated, the build looks better, the seams are easier to finish, and you spend less time fixing avoidable problems.