UV resin works by turning light energy into a chemical reaction, not by simply drying in air. That is why it can go from liquid to solid in minutes, why the light source matters so much, and why the same material can behave very differently depending on layer thickness, wavelength, and exposure. In the sections below, I break down the chemistry, the curing sequence, the limits of the process, and the practical choices that matter when you use UV resin in fabrication or repair work.
The short version of how UV resin cures
- UV resin contains reactive ingredients such as oligomers, monomers, photoinitiators, and additives.
- The right light triggers the cure by activating the photoinitiator, which starts polymer chains linking together.
- Wavelength matters; many resin systems are tuned for LED ranges around 365, 385, 395, or 405 nm.
- Thin, exposed sections cure fastest, while thick, opaque, or shaded areas take longer and may stay soft inside.
- A tacky surface usually signals incomplete cure or oxygen inhibition, not a broken material.
- Post-curing improves final performance when the resin maker recommends it, especially for harder or more stable parts.
What UV resin is made of and why the formula matters
I never think of UV resin as a single generic product. The bottle usually contains oligomers, which are short pre-linked chains that form the backbone of the finished plastic, monomers, which help the liquid flow and later join the network, photoinitiators, which react to light, and additives that tune color, flexibility, clarity, or shelf stability.
That recipe matters because it determines how the resin behaves before and after curing. Some formulations are acrylic and cure by free-radical polymerization, which means the light creates highly reactive species that start chain growth. Others are epoxy or oxetane based and cure by a cationic mechanism, which follows a different reaction path and can keep building after the light is removed. In practice, that difference affects cure speed, depth, hardness, and how forgiving the material is in thicker parts.
When I choose a resin for a project, I look at the chemistry first and the advertised cure time second. The next step is understanding what the light is actually doing to that formulation.
What happens when UV light hits the resin
The key event is simple: the photoinitiator absorbs light at a matching wavelength and breaks into reactive fragments. Those fragments start the polymerization chain, which pulls the liquid molecules together into a crosslinked network. Crosslinking is what turns the resin from a flowable liquid into a rigid solid.
This is why the light source cannot be random. If the wavelength misses the absorption window of the photoinitiator, the reaction slows down or never fully starts. That is also why line-of-sight matters so much. Light can only cure what it reaches, which is why hidden pockets, deep cavities, and shadowed undersides are common failure points.
There is one more twist that catches beginners: oxygen in the air can interfere with the reaction at the surface. The top layer may look cured but still feel tacky because oxygen suppresses the radical reaction right where the resin meets the air. Once you know that, the usual surface problems make much more sense.
The curing process step by step
For a small part, the workflow is usually straightforward, but each step matters more than people expect.
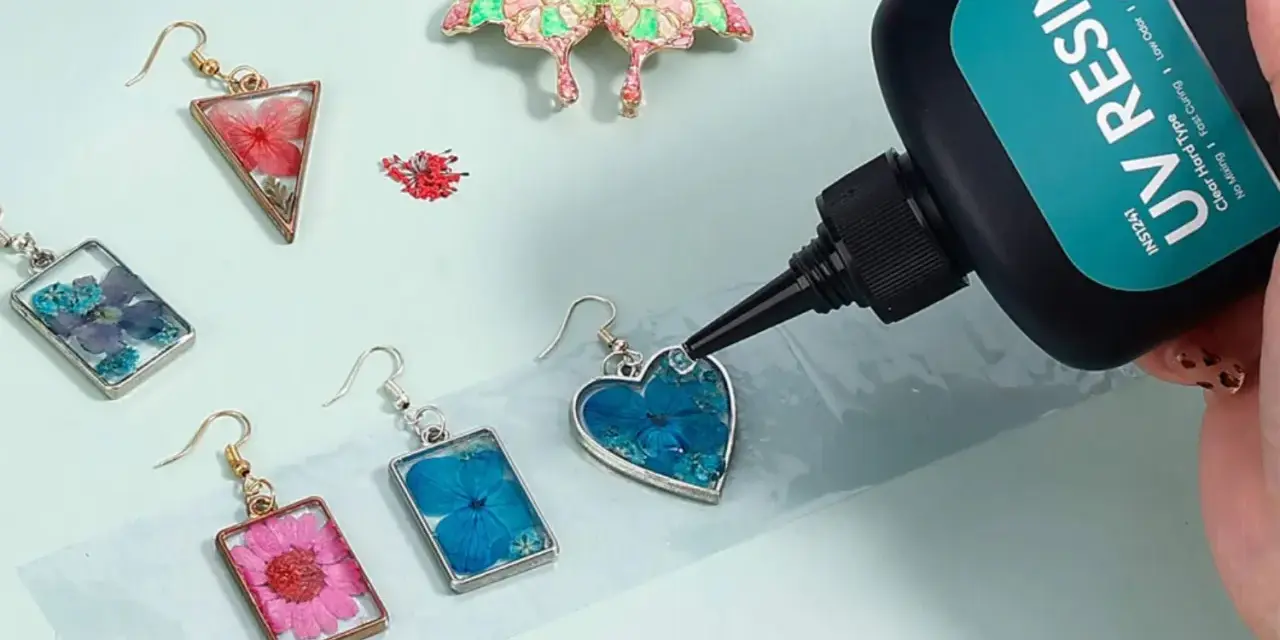
- Prepare the resin layer. Keep it thin and even so the light does not have to fight through a heavy mass of material.
- Expose it to the correct wavelength. A lamp or LED array must match the resin formulation; more power is not useful if the wavelength is wrong.
- Let the photoinitiator start the chain reaction. This is the moment the liquid begins to gel and lose its flow.
- Allow the network to build. The resin moves from tacky to firm as more bonds form and the structure becomes crosslinked.
- Post-cure if the resin calls for it. A second exposure, sometimes with controlled heat, helps the part reach its final hardness and stability.
For practical work, I usually think in terms of exposure rather than a stopwatch. A clear, thin bead of resin cures quickly; a deep cast or a part with internal shadows may need multiple angles, more time, or a different material altogether. That leads directly to the variables that change the result from one project to the next.
What changes the cure speed and finish
Two parts made from the same resin can finish differently if the exposure setup changes. These are the variables I pay attention to most:
| Factor | What it changes | What I do with it |
|---|---|---|
| Wavelength | Whether the photoinitiator actually activates | I use the lamp range the resin was designed for instead of guessing |
| Light intensity and distance | How much energy reaches the surface | I keep the source close enough for efficient cure, but not so awkward that it creates shadowing |
| Layer thickness | How deeply the light must penetrate | I cure in thinner layers when I need reliable hardening through the full section |
| Opacity and pigments | How much light gets scattered or absorbed | I expect slower cure in colored or filled resins |
| Oxygen exposure | Surface tack and incomplete top cure | I rotate, shield, or post-cure the part if the top stays sticky |
| Temperature | Reaction speed and final properties | I follow the resin maker's post-cure guidance instead of improvising heat |
The pattern is consistent: the resin behaves well when the light, geometry, and chemistry line up. If one of those pieces is off, the surface may still look fine while the core remains undercured. That is exactly why tacky parts are so common, and why the problem is usually fixable.
Why a cured part can still feel tacky or soft
A tacky finish does not always mean the resin failed. In most cases, it means the resin is partially cured and needs better exposure or a cleaner post-cure. The usual causes are predictable:
- The lamp wavelength does not match the resin formula.
- The exposure time is too short for the layer thickness.
- The light source is too far away or too weak.
- The part has shadows, deep recesses, or internal voids.
- Oxygen has slowed the surface reaction.
- Unwashed residue is still sitting on the surface.
When I see a sticky top layer, I do not assume the resin is defective. I first check whether the surface was washed clean, whether the light actually matched the formulation, and whether the part needed a second pass from another angle. In other words, the fix is often process control, not a different product. Once that is clear, the next sensible question is whether UV resin is even the right material for the job.
UV resin and epoxy resin solve different problems
I reach for UV resin when I need speed, crisp detail, and a part that can be exposed directly to light. I reach for epoxy when I need longer working time, deeper pours, or a broader margin for large-volume work. They overlap in some crafts, but they are not interchangeable.
| Criterion | UV resin | Epoxy resin |
|---|---|---|
| Cure trigger | UV or UVA light at the correct wavelength | Mixing resin and hardener, then waiting for chemical cure |
| Working time | Stays workable until exposed to light | Usually much longer and easier to manage on larger projects |
| Best use case | Small parts, detail work, surface repairs, fast fabrication | Thicker casts, structural bonding, larger fills, longer open time |
| Main limitation | Light penetration and oxygen inhibition | Longer cure time and sensitivity to mix ratio |
| Typical workflow | Apply, expose, and post-cure | Measure, mix, pour, and wait |
For plastic design and fabrication, that tradeoff matters. UV resin is excellent when I need speed and precision. Epoxy is usually the safer choice when the geometry gets bulky or the part needs more open time for adjustment. That distinction leads naturally to where UV resin really earns its place.
Where UV resin earns its place in plastic design
In practice, UV resin is strongest where control and speed matter more than bulk volume. I see it work well in cosmetic repairs, edge sealing, small clear inserts, fine-detail prototypes, jewelry-style components, and quick fixtures where waiting overnight would slow the whole project down.
It is also useful in workflows where I want to confirm geometry early. If I am checking the fit of a small feature, I would rather lock it in quickly than wait for a full epoxy cure. That said, I would not choose UV resin for large opaque pours, deep structural fills, or anything that needs reliable cure through a thick interior. The light simply does not travel that way, and pretending otherwise wastes material.
Used well, UV resin is not a shortcut. It is a targeted process with clear strengths and clear limits. That is why the final quality check matters just as much as the initial exposure.
The checks I use before I trust the finished part
Before I call a UV-cured part finished, I run through a short checklist. It saves time later and catches the mistakes that are easiest to miss at the bench:
- The surface feels hard, not rubbery, after the proper wash and cure sequence.
- There is no persistent tack on flats, corners, or recessed areas.
- The part has cured from the directions that matter, especially if one side was shaded during exposure.
- The geometry still matches the design, because some resins move slightly as they finish curing.
- The part has been handled safely, with gloves, ventilation, and clean tools if the resin was still uncured.
If a project needs maximum hardness, heat resistance, or long-term dimensional stability, I follow the resin maker's post-cure schedule instead of improvising. That final step is often what turns a decent print or cast into a part you can actually trust. If you remember only one thing, make it this: UV resin does not just dry, it crosslinks under matched light, and the quality of the cure depends on the light, the part geometry, and the chemistry working together.