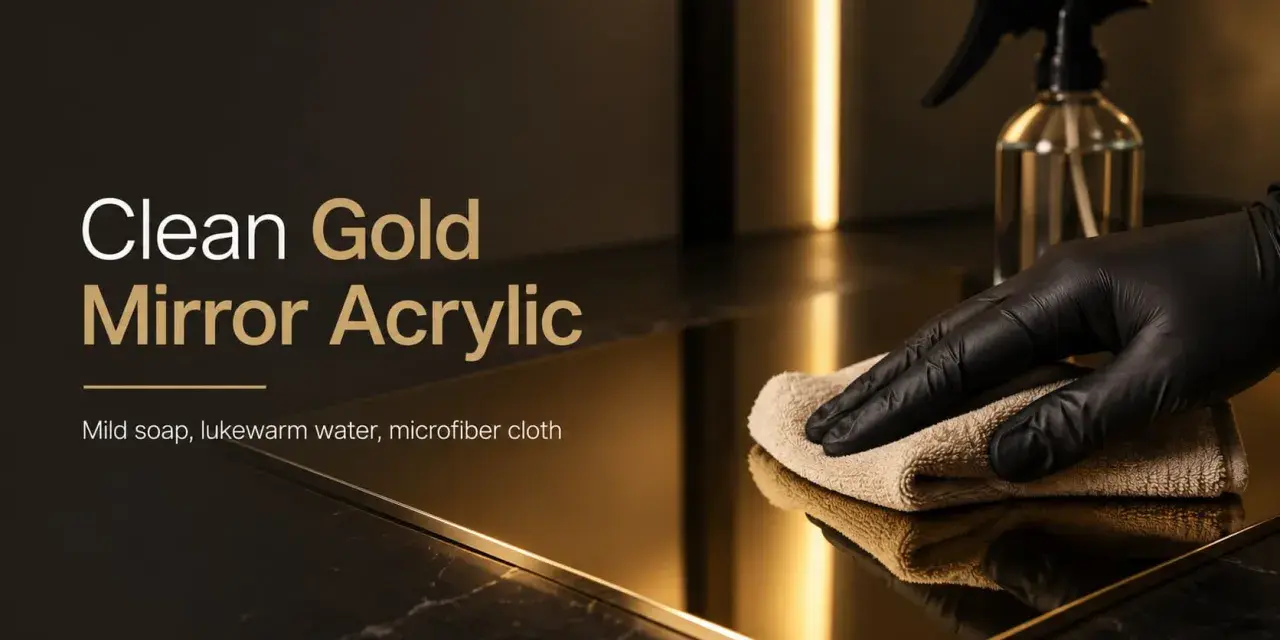
The safest cleaning approach in one glance
- Start by removing loose dust with a dry microfiber cloth so grit does not drag across the surface.
- Use lukewarm water with a little mild dish soap, then wipe with light pressure.
- Spray the cloth, not the mirror, especially near edges and seams.
- Dry the surface with a second clean microfiber cloth to prevent spots and streaks.
- Avoid ammonia glass cleaners, alcohol, acetone, abrasive pads, and razor blades.
- If haze remains after cleaning, the problem may be scratches, crazing, or backing damage rather than dirt.
Why acrylic mirror needs a gentler routine
Acrylic mirror is still a plastic sheet, even though it behaves much more like a reflective panel than a decorative plastic part. That matters, because the front face can scratch more easily than glass, and strong solvents can create crazing, a network of fine stress lines that often looks like the surface has gone permanently dull. I also treat the back carefully, because the reflective coating or paint layer is not meant to be soaked, scrubbed, or attacked with aggressive cleaners.
In practice, that means I clean it like a finished plastic surface, not like a bathroom window. Once you accept that difference, the rest of the routine becomes straightforward and much safer for the panel. The next step is the actual method, and that is where most of the useful detail sits.
The safest everyday cleaning method
My routine is simple, and I keep it that way on purpose. The less friction you create, the less chance there is of building up fine marks that only show under bright light.
- Remove loose dust first with a dry microfiber cloth or a gentle air blow. Any trapped grit can turn into a scratch if you wipe too early.
- Mix lukewarm water with a small amount of mild dish soap. You want a light cleaning solution, not a foam bath.
- Dampen a microfiber cloth with the solution. I prefer to spray the cloth, not the mirror, so liquid does not run into edges or behind the backing.
- Wipe in straight, light passes. Do not press hard. Let the cloth do the work.
- Rinse the cloth in clean water, wipe away soap film, and finish with a dry microfiber cloth.
- If the panel is installed, keep moisture away from cut edges, seams, and mounting points.
For a lightly dusty indoor panel, that is usually enough. For a kitchen splash area or a display piece that gets handled often, I repeat the same process rather than moving to a stronger cleaner. The next question is what not to use, because that is where most damage starts.
What to avoid if you want the surface to stay clear
Most problems with acrylic mirror come from using the same products you would use on glass. That shortcut is expensive in the long run, because many common cleaners are simply too aggressive for plastic.
| What I avoid | Why it is a problem | Safer alternative |
|---|---|---|
| Ammonia-based glass cleaner | It can attack the surface and encourage hazing or fine crazing over time. | Mild dish soap and lukewarm water |
| Alcohol, acetone, and solvent sprays | These can soften acrylic and leave permanent stress marks. | A plastic-safe cleaner made for acrylic |
| Scouring pads, abrasive powders, and rough sponges | They scratch the front face quickly, even when the marks are hard to see at first. | Soft microfiber cloth |
| Razor blades, scrapers, and squeegees | They can gouge the surface and leave visible lines that do not buff out easily. | Soften residue with moisture and wipe gently |
| Paper towels | They can leave lint and create micro-scratches on a glossy finish. | Lint-free microfiber |
I also avoid cleaning in direct sun or on a hot panel. Heat makes cleaning products behave less predictably, and on acrylic that can be enough to leave streaks or stress marks that were not there before. When the wrong product has already left a mark, the trick is to diagnose it before you start rubbing harder.
How to handle fingerprints, sticky residue, and light haze
Not every mark needs a full wash. Sometimes the right fix is smaller and gentler than people expect.
- Fingerprints usually come off with a dry microfiber cloth first. If the smudge remains, use a barely damp cloth with mild soap, then dry it immediately.
- Greasy film responds well to a second pass with the soap solution, but I keep the pressure light and the cloth clean.
- Sticker residue or adhesive should be softened, not scraped. I place a damp cloth on the spot for a short moment, then wipe gently and repeat instead of forcing the residue off in one pass.
- Static dust can keep coming back on indoor display panels. In that case, an acrylic-safe anti-static cleaner can help after the normal wash.
If the haze clears when the panel is viewed from one angle but not another, that often points to residue or static rather than true surface damage. If the haze stays put no matter how carefully you clean, the issue may be deeper than dirt. That leads to an important distinction that saves a lot of wasted effort.
When a mark is not dirt
Some issues cannot be cleaned away because they are not contamination. They are damage, or the early stage of damage, and they need a different response.
Fine scratches usually show up as soft lines that catch the light when the panel is tilted. Crazing looks more like a web of tiny cracks or cloudy stress lines. If the mirror has a painted or metallized backing, damage there can look like dark patches, dull spots, or a distorted reflection near the edges.
I do not reach for polish automatically. On coated or specially finished panels, buffing can make things worse unless the manufacturer says the surface is meant to be polished. On uncoated acrylic, a plastic polish may improve very light surface marks, but it will not erase deep scratches or structural crazing. If the mark is still there after a careful wash, I stop and inspect it rather than turning a cleaning job into a repair job. A few small habits keep the panel clear far longer than any aggressive polish ever will.
The habits that keep the mirror clear longer
The easiest way to keep acrylic mirror looking good is to prevent dirt and abrasion from building up in the first place. I prefer a light maintenance routine over heavy occasional cleaning, because plastic tends to look better when it is handled less aggressively and more consistently.
- Dust it before wiping, even if the surface only looks slightly dirty.
- Use clean hands or gloves when installing or moving large sheets.
- Store spare panels flat or properly supported so the face does not pick up edge damage.
- Keep labels, tape, and adhesives off the reflective face unless they are absolutely necessary.
- Test any new cleaner on a hidden corner or scrap piece before using it on the full panel.
- For retail displays or other high-touch areas, wipe fingerprints often instead of waiting for buildup.
If I had to reduce the whole routine to one sentence, it would be this: remove dust first, use mild soap and lukewarm water, keep pressure low, and stop the moment the mark looks more like damage than dirt. That is the difference between a mirror that stays clear and one that slowly loses its finish.