Backlit acrylic panels are one of the cleanest ways to turn a flat graphic into a controlled source of light, but the material alone does not guarantee a good result. When I spec one of these projects, I start with the viewing distance, the light source, and the finish of the sheet, because those three decisions do most of the visual work. The difference between a crisp, premium glow and a patchy sign usually comes down to a few details that are easy to overlook.
The main choices that determine whether the glow looks refined
- Acrylic usually gives the best balance of clarity, weight, and fabrication ease for illuminated faces.
- Sheet colour and transmission matter more than most people expect; brightness and diffusion are not the same thing.
- Uniform LED spacing and enough depth behind the face are what keep hot spots from showing through.
- Cast sheet, clean edges, and service access are the details that make a panel hold up over time.
- Testing the panel at full output and dimmed output is the fastest way to catch a bad spec before production.
Why acrylic is usually the right material for an illuminated face
In most sign and display work, acrylic wins because it balances optical clarity, weight, machinability, and cost better than the alternatives. Glass can look elegant, but it is heavier, more brittle, and much less forgiving once you need cutouts, polished edges, or hidden wiring. Polycarbonate is tougher than acrylic, and I reach for it when impact resistance matters more than visual perfection, but it scratches easier and usually does not deliver the same clean finish.| Material | Strengths | Trade-offs | Best fit |
|---|---|---|---|
| Acrylic | Clear, lightweight, easy to machine, easy to polish | Scratches more easily than polycarbonate | Signs, illuminated graphics, display faces |
| Polycarbonate | Very high impact resistance, good for rough environments | Scratches more easily and can look softer optically | Public spaces, vandal-prone areas, safety-focused installs |
| Glass | Rigid, premium feel, excellent scratch resistance | Heavy, brittle, harder to fabricate and service | Fixed architectural features where weight is not a problem |
If the panel is mainly structural, extruded sheet can be fine. If I need polished edges, engraved copy, or a face that will be seen up close, I lean toward cast acrylic because it usually machines more predictably and gives me a cleaner optical result. That first material decision narrows the field quickly, and once it is made, the sheet finish becomes the real design lever.
How to choose the sheet color, finish, and thickness
Sheet colour and transmission decide whether the panel reads as bright, soft, or clinical. For most illuminated faces, I work with white translucent sheet rather than clear sheet, because the white base smooths the light and makes the whole assembly feel intentional instead of improvised. Thickness matters too: thinner sheet is easier to light evenly, but thicker sheet adds stiffness when the panel spans a larger opening or needs to resist flexing.
| Sheet option | Typical light transmission | What it does well | When I would avoid it |
|---|---|---|---|
| White 2447 / P95 | About 47-55% | Bright output, strong logos, a cleaner punch through the face | When hot spots are already hard to control |
| White 7328 | About 28-32% | Smoother diffusion, softer glow, more traditional sign-face behaviour | When maximum brightness is the main goal |
| Clear cast sheet with diffuser film | Variable | Flexible for prototyping, graphics, and custom optical control | When you want a simple build with fewer layers |
| Frosted or opal sheet | Variable | Soft ambient light, decorative panels, low-glare presentation | When typography or fine detail must stay razor sharp |
As a rough U.S. budget anchor, raw translucent sheet can start around $65 for a smaller cut piece and move past $115 for a full 48 by 96 inch sheet before cutting, finishing, LEDs, and installation. For most indoor projects, I use 1/8 inch for small faces, 3/16 inch for medium panels, and 1/4 inch when the span gets larger or the assembly needs extra rigidity. The material is rarely the expensive part; getting the light to behave is where the real effort goes. Once the face is selected, the lighting layout becomes the next constraint.
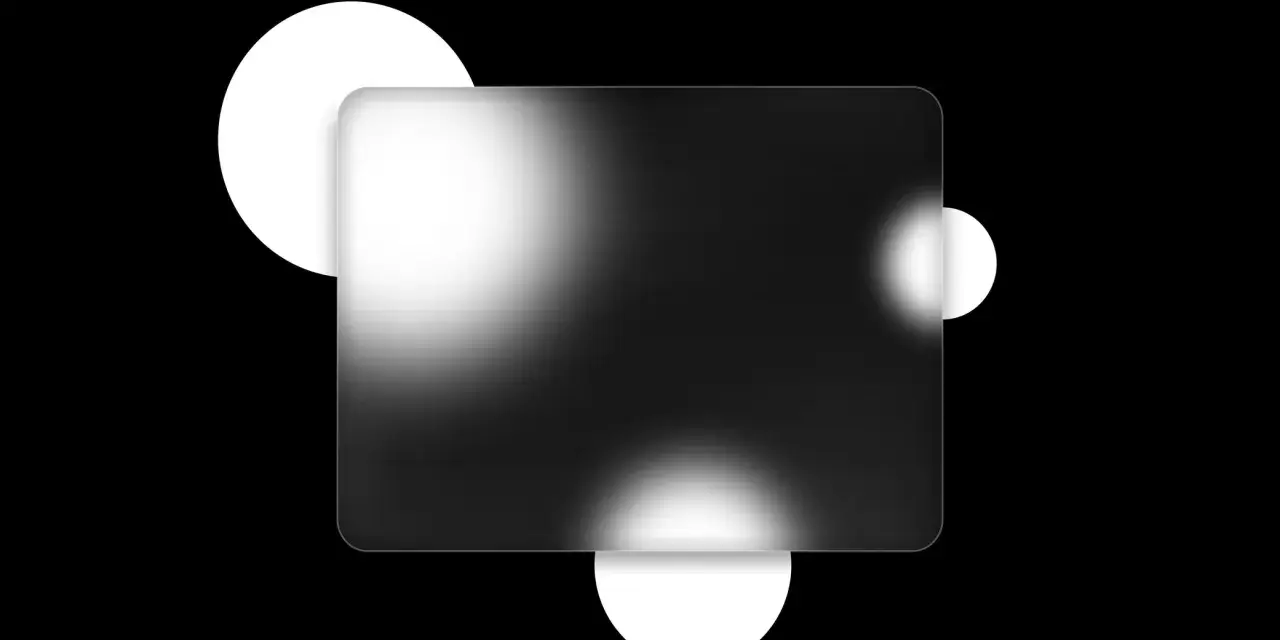
Lighting layout that avoids hotspots
Uniform backlighting is mostly a spacing problem. If the LED source sits too close to the sheet, you see dots; if it sits too far away, you waste depth and often spend more on the enclosure than you need to. For direct-lit builds, I usually want about 3 to 4 inches of depth, or roughly 75 to 100 mm, between the LEDs and the face when the cabinet allows it. Shallower boxes can still work, but they need denser LEDs and a better diffuser.
| Lighting approach | Best for | Typical depth or space | Main trade-off |
|---|---|---|---|
| Direct-lit back box | Storefront signs, larger logo panels, bright feature walls | About 3 to 6 inches in many builds | Can show hot spots if the spacing is too loose |
| Edge-lit light guide panel | Thin displays, menu boards, wayfinding, slim architectural details | Very compact overall depth | Needs better optical design and cleaner edge finishing |
| Mixed perimeter plus center lighting | Wider faces that need more even spread | Usually used when a single run is not enough | More parts and more planning, but better uniformity |
For width-based planning, I treat under 24 inches as a zone where perimeter lighting can sometimes be enough, 24 to 48 inches as a range where a perimeter plus one center run often makes sense, and anything larger as a candidate for two or three evenly spaced runs or a custom module pattern. A light guide panel, or LGP, is a thin optical acrylic sheet that redistributes edge light across the whole face, and it is especially useful when the design has to stay slim. I also pay attention to colour temperature: 4000K to 5000K reads neutral and versatile, while 6500K feels crisper but can look harsh in a warm interior. If the graphics depend on precise brand colour, I want a high-CRI light source, ideally 90+, so the face does not shift under illumination. Even a strong lighting plan can be weakened by sloppy fabrication, which is where many projects lose their edge.
Fabrication details that change the result
The difference between a polished illuminated panel and a cheap-looking one is often hidden in the fabrication. I care about the cut quality first, because rough edges, burn marks, and poor corner geometry are visible as soon as the light turns on. Laser cutting can be excellent for fine detail, while CNC routing is often the better choice for thicker sheet or larger parts where edge quality and dimensional stability matter more than ultra-fine detail.
- Edge finish: If the edge will be seen, I want it polished, not just cut. On a lit panel, a rough edge can catch stray light and make the whole assembly look unfinished.
- Mounting method: Standoffs, hidden channels, or a removable rear panel make service easier. A sealed box that cannot be opened without damage is a maintenance problem waiting to happen.
- Thermal movement: Acrylic expands and contracts, so I leave room for movement and avoid over-tight clamping across long spans.
- Graphics application: Reverse printing or second-surface graphics need a real test piece. Colours can shift under LED light, especially if the white point is too cool or the print layer is too dense.
- Ventilation: LEDs are efficient, but drivers and enclosed cavities still warm up. A little airflow can prevent bowing, adhesive failure, and premature aging.
I also ask for a lit sample whenever the design uses engraving, frosted cut lines, or very thin typography. A detail that looks sharp on the bench can become muddy once it is vertical, powered, and viewed from across the room. Once the fabrication is under control, the next question is where this format earns its keep.
Where these panels work best and what each use case needs
This format is flexible, but it is not equally strong in every setting. Retail wants fast readability, hospitality wants atmosphere, wayfinding wants clarity first, and art displays want colour accuracy more than raw brightness. I usually decide the use case before I decide the light source, because that keeps the spec honest.
| Use case | Why it works | What I would prioritize |
|---|---|---|
| Retail signage | Strong visibility day and night, clear brand impact | Brightness control, consistent white point, easy service access |
| Hospitality lobbies | Soft visual presence and a premium feel | Even diffusion, dimming, warmer colour temperatures |
| Wayfinding and menu boards | Legibility at a glance | High contrast, glare control, clean typography, high CRI |
| Architectural feature walls | Large-format visual impact | Structural backing, uniform light spread, module access |
| Art and photo displays | Strong depth and luminous colour when handled well | Colour accuracy, minimal hotspots, careful print testing |
For U.S. storefronts and commercial interiors, I also pay attention to electrical compliance, driver replacement, and whether the enclosure can be serviced without pulling the whole face apart. Outdoor work adds another layer: weather sealing, drainage, and a realistic plan for heat, moisture, and future maintenance. This is where the design stops being a concept and becomes a piece of equipment, which is exactly how it should be. The final step is locking the few decisions that matter most before anyone cuts sheet or buys LEDs.
The few specs I would lock before approving a build
If I had to reduce the whole project to a short checklist, it would look like this:
- Viewing distance and expected ambient light level.
- Direct-lit or edge-lit construction, with the actual depth measured, not guessed.
- Sheet type, transmission target, and thickness.
- Colour temperature and dimming range for the LEDs.
- Service access, driver location, and how the panel opens for repairs.
- A sample lit at full output and again at the dimmed level you expect to use most.
That is usually enough to avoid the expensive mistakes: too little diffusion, too much brightness, no access for maintenance, or a sheet that looks good on a desk and wrong on the wall. When those details are settled early, the finished panel reads as a deliberate illuminated surface rather than a glowing box.