Clear plastic sheet looks simple from a distance, but it does not behave like glass once the blade touches it. Acrylic, polycarbonate, and similar clear thermoplastics each react differently to scoring, sawing, routing, and finishing, so the best method depends on thickness, shape, and the edge quality you need. This guide focuses on the practical part: which tool to use, when to score and snap, how to avoid melted edges, and how to leave the cut looking clean enough for a visible installation.
The cleanest cut starts with the right sheet and the right blade
- Thin acrylic up to about 0.118 in (3 mm) is the best candidate for score-and-snap cuts.
- Saws do the heavy lifting on thicker acrylic and on most polycarbonate cuts.
- Blade choice matters more than force, because dull or wrong-tooth blades create heat, chips, and haze.
- Support and clamping are non-negotiable, since vibration is what ruins many clear cuts.
- Edge finishing is usually just deburring and light sanding, but visible parts may need more refinement.
Start by identifying the sheet, not the saw
Before I cut anything, I want to know whether I am dealing with acrylic, usually sold as PMMA or plexiglass, or polycarbonate, usually sold as PC. Acrylic is generally easier to get a crisp, glass-like edge on a bench saw, while polycarbonate is tougher, more flexible, and far less likely to crack under impact. That toughness is useful in service, but it also changes how the sheet reacts under the blade.
| Property | Acrylic (PMMA) | Polycarbonate (PC) |
|---|---|---|
| Clarity | Excellent, with a glass-like look | Excellent, also very clear |
| Cutting behavior | Scores cleanly and machines well | Best cut with saws, harder to score cleanly |
| Impact resistance | Good for displays, covers, and glazing | Much higher, better for guards and safety panels |
| Surface hardness | Better scratch resistance | Softer surface, scratches more easily |
| Best fit | Decorative glazing, signs, frames, covers | Machine guards, protective shields, safety glazing |
Within acrylic, I usually treat extruded sheet as the easier material for score-and-snap work, while cast sheet is the one I prefer when machining quality matters more than speed. If I am not sure which one I have, I assume the sheet wants a conservative cut and I test on a scrap corner first. Once you know the material, the cutting method becomes much easier to narrow down.
Choose the right cutting method for the shape you need
The shape matters as much as the plastic. A straight trim line and a curved cutout should not be handled the same way, and the best results usually come from matching the method to the job instead of forcing one tool to do everything.
| Method | Best for | My note |
|---|---|---|
| Score and snap | Thin acrylic under 0.118 in (3 mm), straight lines only | Fastest option when the cut is simple |
| Table saw or circular saw | Straight cuts in thicker acrylic and most polycarbonate | Use a sharp carbide triple-chip blade |
| Jigsaw or band saw | Curves, corners, and rough cutouts | Choose a fine-tooth blade and keep the sheet supported |
| Router | Templates, flush trims, final shaping | Very good for repeatable shapes and cleaner final edges |
| Laser cutting | Production acrylic parts with polished edges | Best in a fabrication shop, not my first pick for polycarbonate |
If the part is small, complex, or expensive, I decide early whether a shop cut is smarter than a risky DIY pass. That saves time and avoids turning a clear sheet into a practice piece. With that map in mind, I start the actual cut by choosing the method that fits thickness and shape.
Use score and snap only when the sheet is thin enough
I use this method only for straight cuts in thin acrylic, and only when the line is simple. For 0.118 in (3 mm) sheet and thinner, a clean score line is often faster and neater than a saw because it avoids heat and vibration.
- Leave the protective film on and mark the cut line on top of it.
- Clamp a metal straightedge firmly along the line.
- Score with an acrylic cutter or sharp utility knife using several firm passes until the groove is clearly established. I want a controlled groove, not a deep trench.
- Move the score line to the edge of the bench or over a support board and snap downward in one smooth motion.
- Deburr the edge lightly with 220 to 400 grit paper or a fine file.
The biggest mistake here is pressing too hard on the first pass. That usually makes the line wander or creates a ragged edge that chips during the snap. If the sheet resists, I stop and switch to a saw instead of forcing it. That habit matters even more once the sheet gets thicker, which is where the next section starts to make sense.
Make straight saw cuts with a blade designed for plastic
For thicker acrylic and almost all straight cuts in polycarbonate, I prefer a table saw or circular saw with a dedicated carbide triple-chip blade. Triple-chip grind means the teeth alternate between a beveled cutter and a flat raker tooth, which helps remove chips cleanly and keeps heat down. On a 10-inch blade, 60 to 80 teeth is a practical range, and I keep one blade reserved for plastic only.
- Set the blade to protrude only about 1/2 to 1 in (12 to 25 mm) above the sheet.
- Clamp or fully support the panel so it cannot chatter.
- Feed at a steady pace. If the edge turns white or glossy, the cut is usually running too hot.
- Back off the feed near the exit edge so the last fibers do not blow out.
- Keep the sheet flat, because even slight flex can turn a clean cut into a chipped one.
If the cut chips, I look first at blade sharpness, vibration, and feed speed. If it melts, I assume the blade is dull, the tooth count is too aggressive for the job, or I am feeding too slowly. That diagnosis is usually faster than adjusting everything at once. Once straight cuts are under control, curves and internal openings become the next challenge.
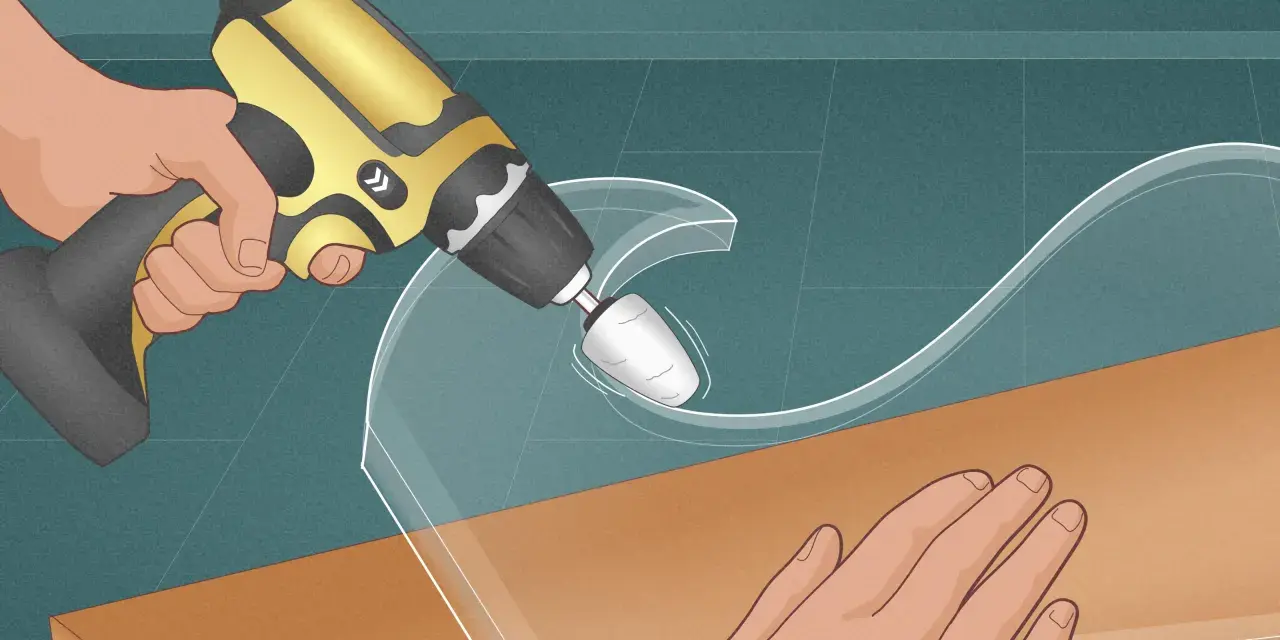
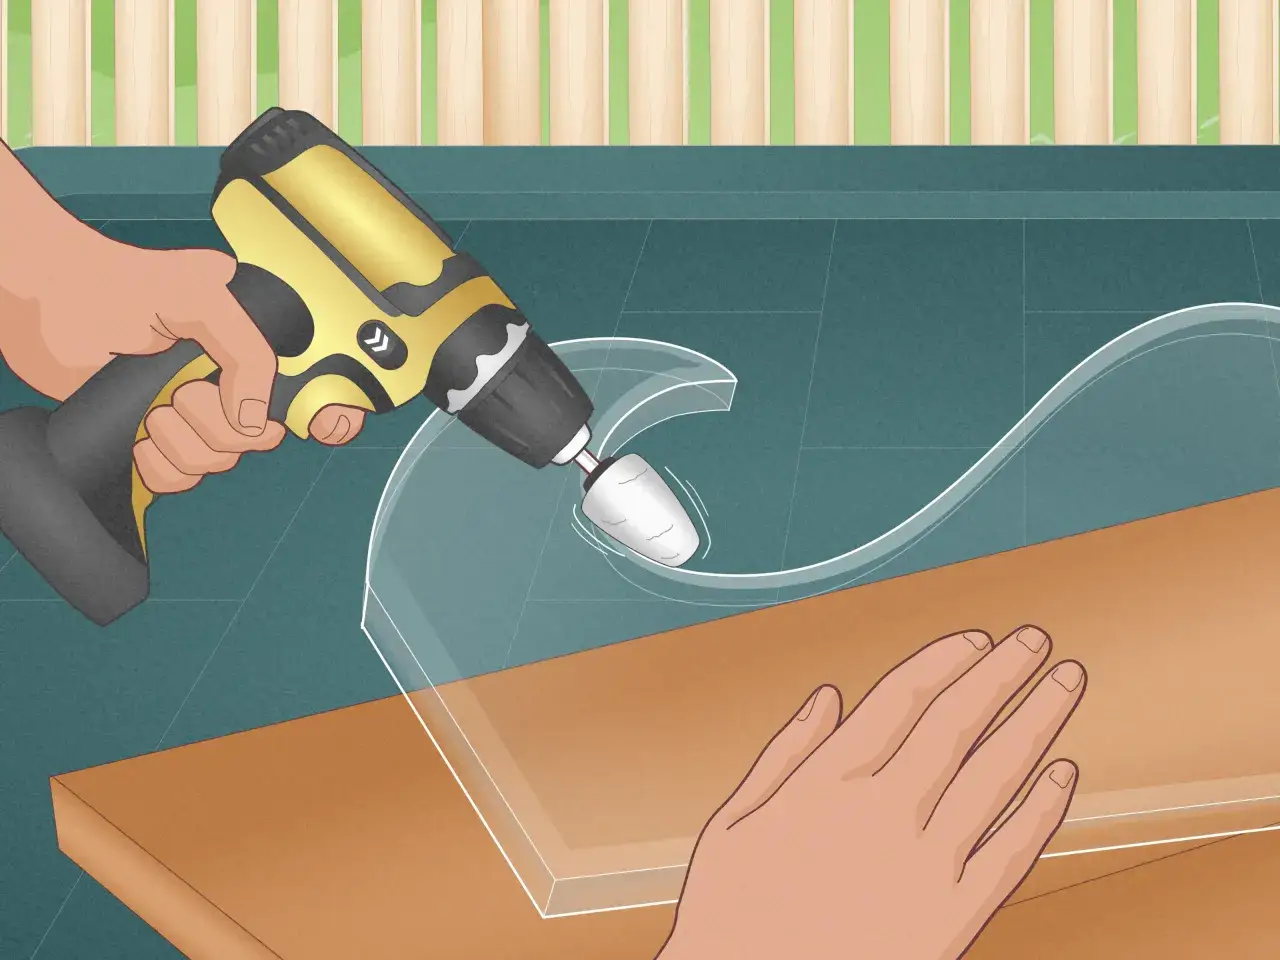
Handle curves, holes, and internal cutouts without forcing the material
Curved cuts are where people often make clear plastic look messy. A jigsaw or band saw is the practical answer for irregular shapes, but the blade needs to be fine enough to avoid tearing. For a jigsaw, I look for a fine-tooth blade in the 8 to 14 tpi range, and tpi means teeth per inch. On acrylic, a wavy-set style blade works well. On polycarbonate, the material is more forgiving, but a rough blade still leaves a noisy edge.
- Support the sheet right up to the cut line so the offcut cannot vibrate.
- Move slowly enough that the blade clears chips instead of rubbing them into heat.
- For internal cutouts, drill a starter hole before inserting the blade.
- Use a router and template when the opening must match a pattern or a radius exactly.
- Keep the router bit sharp and the passes light, because a clean edge usually comes from restraint, not speed.
When the shape is intricate, I think in terms of sequence: rough cut first, final trim second, and edge finishing last. That workflow gives a better result than trying to make the final edge in one aggressive pass. It also reduces the chance of a small layout mistake becoming a permanent flaw in the visible face.
Avoid the mistakes that turn a clear edge cloudy
Most bad cuts come from a short list of avoidable errors. I see the same ones again and again: dull blades, too much blade speed, too much pressure, and not enough support.
- Using a wood blade that has already dulled on lumber.
- Removing the protective film before cutting.
- Letting the sheet hang off the bench so it flexes at the cut line.
- Pushing harder when the blade starts to heat the plastic.
- Trying to score thick acrylic or any polycarbonate sheet as if it were thin sign material.
- Starting with the final finish in mind and skipping a rough cut or test piece.
There is also a material mistake that matters: acrylic and polycarbonate are not interchangeable in fabrication. Acrylic gives a cleaner decorative edge, while polycarbonate buys impact strength and a little forgiveness in handling. Choosing the wrong sheet for the job can create more problems than any cutting method ever will.
Finish the edge so the part still looks intentional
For hidden edges, a quick deburr is often enough. For visible signage, guards, covers, or display panels, I usually take the edge a step further. Start with a fine file or scraper to remove burrs, then move through 220, 400, and sometimes 600 grit if the edge needs to catch the light cleanly. Wet sanding helps keep the surface cooler and reduces haze.
Flame polishing can make acrylic edges look almost molded, but I treat it as a finishing step for acrylic only and only when the part can tolerate the added stress. I do not use that approach as a default, and I do not rely on it for polycarbonate. If the edge is going to be hidden inside a frame or channel, a smooth sanded finish is usually the smarter choice.
When the sheet is part of a customer-facing design, edge finishing is not cosmetic extra work. It is the point where a cut starts to look like fabrication instead of a workshop accident. That is why I keep this step short, controlled, and matched to the application.
The rule I use when a clear sheet has to come out right the first time
If I have to reduce the whole process to one rule, it is this: match the tool to the thickness, then protect the edge from heat and vibration. Thin acrylic can often be scored and snapped, thicker acrylic wants a dedicated saw, and polycarbonate usually behaves best when I stop trying to treat it like glass and cut it as the flexible thermoplastic it is.
For most shop jobs, the fastest path to a clean result is simple: keep the film on, use a sharp plastic blade, support the full panel, and finish the edge only as much as the part needs. That combination matters more than any single trick, and it is usually what separates a crisp clear panel from one that looks stressed before it is even installed. If I am working on a large sheet, a costly part, or a design where the edge will stay visible, I will often let a plastics supplier or fabrication shop make the first cut, because one clean pass is usually cheaper than replacing a cracked panel.